The Landing Bay, Part 2
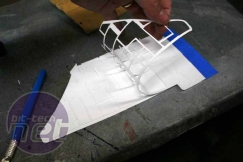
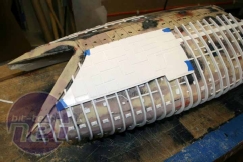
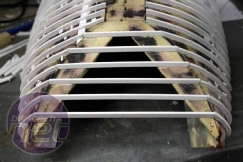
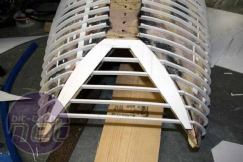
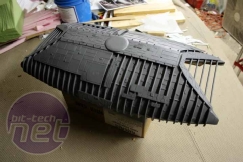
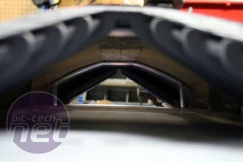
Curiously the extra details are called “Greebles” in the Starship modelling arenas. These small, randomly shaped squares and pipes serve no purpose other than to give the surface texture and a hint of realism.After the greebles came the ribbing; I used 1/8” styrene plastic rods spaced 5/8” apart, and each rib was individually hand-formed over the landing bay with a heat gun before being glued in place. This by far was the most arduous part of the entire build and it took ages to get perfect. If I ever see another rib it will be too soon!
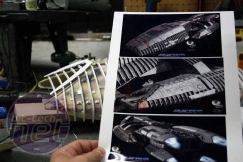
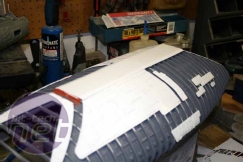
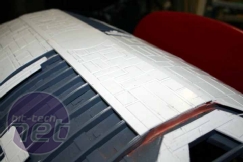
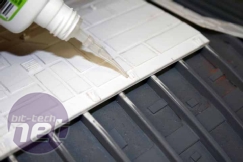
With the ribs finally done, I could move on to the next layer: the armour panelling. Using the reference pictures to guide me, I drew out the shapes on .04” styrene sheets and cut them out. Then I applied yet another layer on top of that, using a thinner .01” sheet of styrene. I drew out random shapes with equal spaces between them and cut them out almost completely.
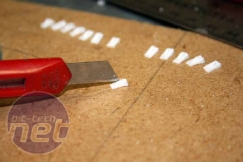
Leaving just a sliver of material barely connected to the styrene sheet, I applied a small drop of glue in the centre of each shape and glued them down all at once. After the glue dried, I merely pulled up the left-over parts, finishing off the cuts as I went. Finally I went back over the shapes and glued down the edges. This method ensured that all the shapes would remain evenly spaced, and it saved me a lot of time placing and spacing them individually too.
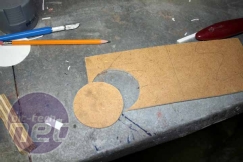
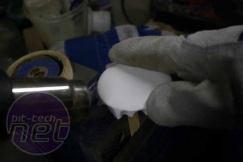
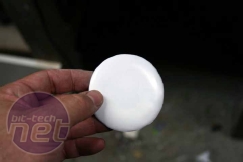
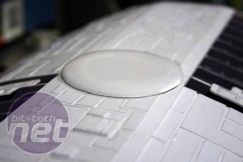
In the centre I cut a circular piece of styrene much larger than I needed and then used a heat gun (with appropriate hand-wear to protect the pinkies! Modding safely is always important!) to melt the edges in order to create an embossed look. Then it was simply a case of trimming off the excess and gluing it to the top in the middle - job done.
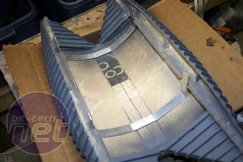
For the ends of the landing bay, I curved the styrene rods over the edges and ran them down the inside. I only went in a few inches though, just far enough where visible to get the effect right. The whole thing was then primed and painted to seal it together and provide a uniform finish.
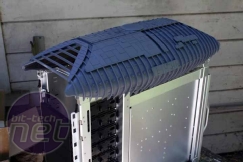
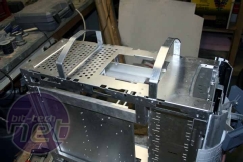
Extra metal bars were bolted to the roof of the Stacker in order to support the structure and keep the height just where I wanted it.
Lastly, more detail pieces were added along the top, matching the ship’s attributes from the reference pics.

MSI MPG Velox 100R Chassis Review
October 14 2021 | 15:04




Want to comment? Please log in.