
Technical Details
- Temperature threshold -10ºC to +75ºC
- Non-flammable
- Waterproof
- Decay Resistant
Likewise, it may be electrically inert but if you’re modding a new case into a quiet, small environment with something like a Shuttle motherboard, you want to be careful about how far away it is. A CPU might not reach 75ºC but we’ve just last week recorded the temperature of PWMs on a Shuttle motherboard in a new XPC hitting 100ºC! This could easily melt or scorch the foam even if it is non-flammable.
Being waterproof but more importantly decay resistant is certainly a bonus and something the Akasa PaxMate is missing. After three years of PaxMate in my previous case the surface had started to degrade in certain areas.
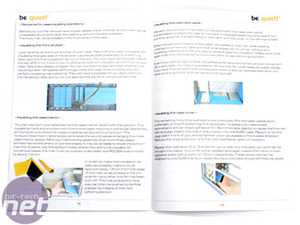
I'm actually reading it as I’m writing this review and the more I skip through the manual the more I become impressed at how much effort has been put in. It describes, with pictures, exactly what should be insulated, and in what order everything should be done to maximise the effect and use of your purchase. Big kudos to Be Quiet! for the extra effort on that front.
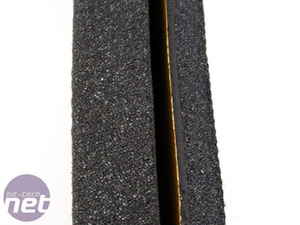
The very top of the mats are sealed, which means they don’t hold onto dust like a carpet (again, a problem I found with my PaxMate) and I'm warning you that the self adhesive is very sticky so be wary – once it’s on, it’s staying on.
Time to Carpet My Innards
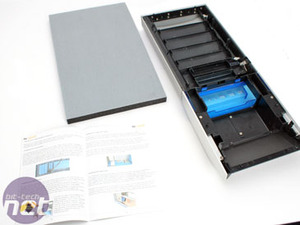
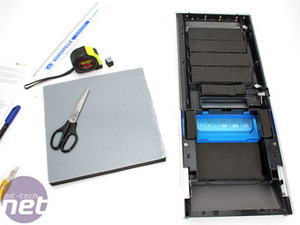
For this modding escapade I’ll be using my own humble work PC. I would have used Joe's, since I’m not around next week so he can’t complain if I break it, however we have a kit for a larger tower case and Joe uses an Enermax Pandora Case, which strictly isn’t big enough – instead we’ll fit the absorber kit to my Gigabyte 3D Aurora. Regardless of whether you have a midi or large tower case, it’s probably better to get the larger kit just in case you need that bit extra – it saves buying a whole second kit.First of all you attack the front of the case with the thickest (20mm) stuff. After a quick wipe down with the cloth to remove the dust I popped off a 5.25" bay and carefully measured the internal size of this and other dimensions that needed insulating.
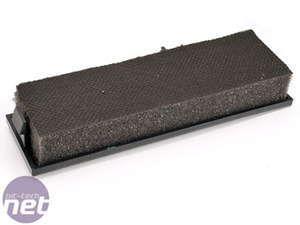 Immediate problem found: because the top layer is so sticky and the foam very soft, it sticks to the blade making it hard to pull the knife through. Making quicker incisions was easier but more prone to mistake.
 A helpful tip is to put something like a piece of cardboard or wood underneath to stop the knife from cutting your desk, floor or carpet. If you're confident enough with scissors you can use a pair for the thick foam, but the thinner stuff with 2.2mm plastic will be harder.
Another key thing to note is that even though you take the case front off and find places to put foam, remember to check where the air has to go for front fan intakes and if there's anything protruding from the front of the case like USB or audio ports.
Have a conservative use of space too – anyone else who grew up on Tetris should be more than able to sort out the shapes into the most efficient use of space.

MSI MPG Velox 100R Chassis Review
October 14 2021 | 15:04



Want to comment? Please log in.