
Next the insides:
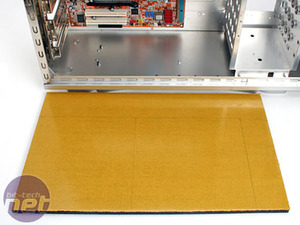
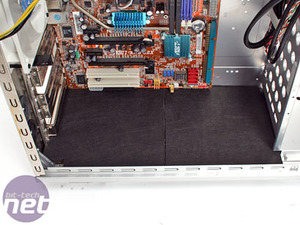
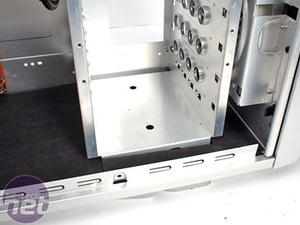
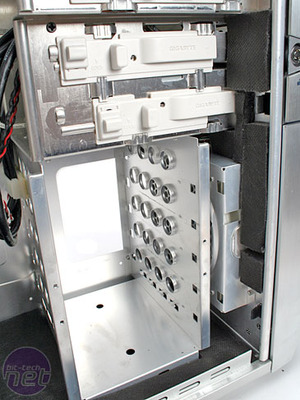
After several sneezes from wiping out a copious amount of dust and dead insects, I got to measuring out the matting for the bottom.Unfortunately the hard drive cage is non-removable so I had to work around it. I could have modded it, but that would have required some power tools to drill out the pop rivets. As a result of this, I decided to cut two half sizes to make it easier to install than one huge piece.
Another thing I found about the thick 2.2mm plastic is that you want to be careful that the blade doesn't snap and ping in your face if you're struggling. Also remember to cut with it to one side of you, at least then if you slip the blade doesn't end up in your leg! Yeesh! Modding is suddenly an "extreme" past-time. (hasn't it always been that way? – Ed.)
Once you've got past the plastic it's all strawberries and waffles from then on.
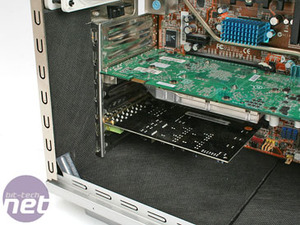
Getting it stuck down in awkward places takes some practice to make sure it doesn't stick to something other than what you intend – the temptation is to not bother sticking it and just letting it sit there, but without firmly attaching it the thick plastic base can't effectively do it's job of absorbing mechanical vibrations.
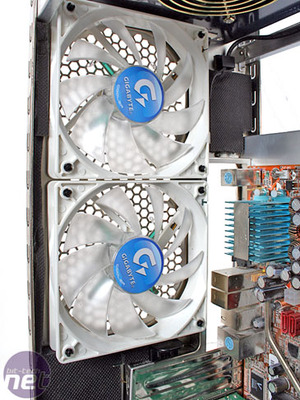
You may get carried away doing the in between bits and be tempted to use more sheets up, but remember you've still got both case sides and inside roof to do as well! If you're running out of parts to cover the insides, concentrate on putting foam opposite the areas producing the most noise: hard drives, fans and basically anything with moving parts.
It may not look quite as neat, but using offcuts to fill in the gaps can finish it off without using any more sheets up.

MSI MPG Velox 100R Chassis Review
October 14 2021 | 15:04



Want to comment? Please log in.