
Cutting corners
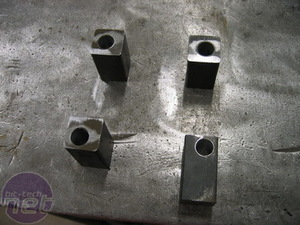
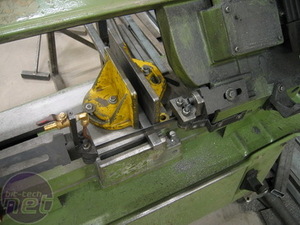
As it would be beneficial to be able to open the case and put stuff into it, I needed something heavy duty that could hold all the sides together, while it still being pretty easy to take apart.
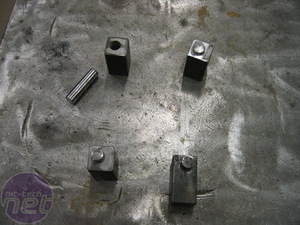
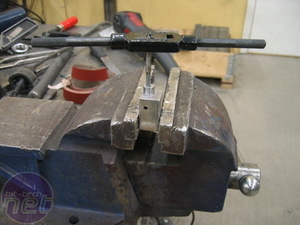
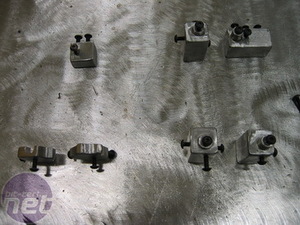
I settled for iron-cubes that would be sturdy enough to hold for screwing and unscrewing the bolts many many times – as opposed to aluminium.
A small little test to assure that everything was in the right position, and fitting as it should. With that complete, it was time to get onto making this box fit its theme, and give it some support to boot.
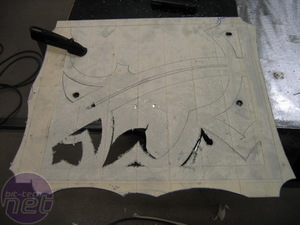
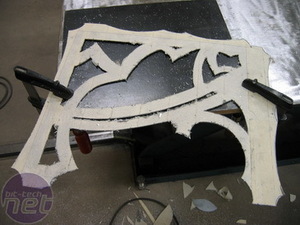
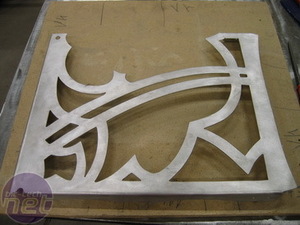
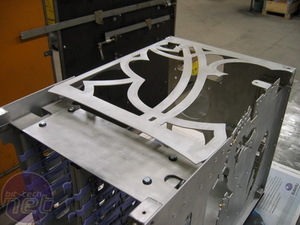
Inner top
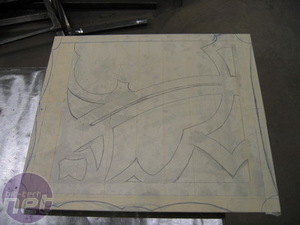
The purpose of the inner top is to provide stability to the whole case, connecting the back with the supports for the HDD-cage.The acrylic will be seated on top of this, but I’m counting on the light glowing up through the top, so I added a bit of shape to it instead of leaving it as is.
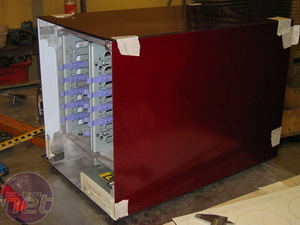
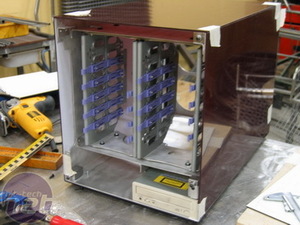
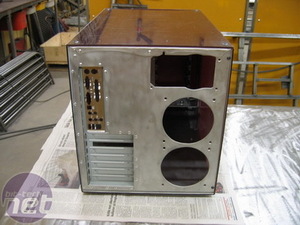
Most of the internal parts were done, so I clearcoated the aluminium to prevent future fingerprints, and pop riveted it together. At this stage I could drill all the holes in the acrylic to pass the screws through, fastening it securely into the case.

MSI MPG Velox 100R Chassis Review
October 14 2021 | 15:04


![FutureNe[]n by Sethnmalice](http://images.bit-tech.net/content_images/2007/12/futureneon_by_sethnmalice/featured_double.jpg)


Want to comment? Please log in.