
The next stage was to install the hardware inside the case and to see how it matched.
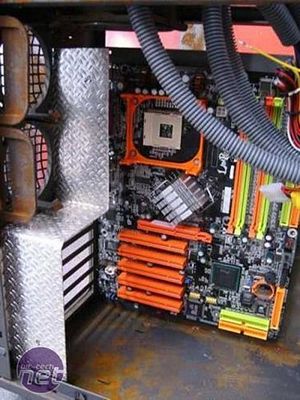
I fitted a piece of bent aluminium checkerplate around the PCI slot openings. This sheet is held in place with screws.
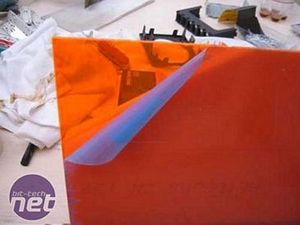
I then made broken plastic parts out of this 3 mm thick, UV reactive Perspex sheet, and rusted the checkerplate PCI guard
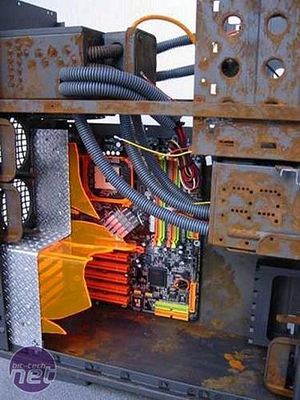
Slowly but surely the case was starting to take shape.
I added more broken plastic to increase the \"smashed\" effect.
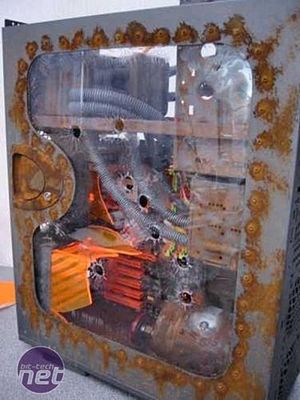
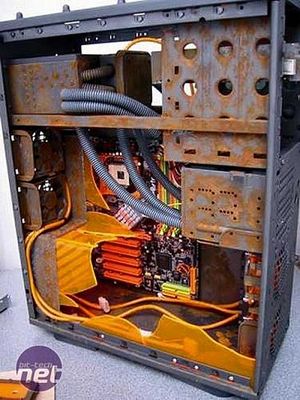
Here it is with the side panel in place
I fitted a piece of bent aluminium checkerplate around the PCI slot openings. This sheet is held in place with screws.
I then made broken plastic parts out of this 3 mm thick, UV reactive Perspex sheet, and rusted the checkerplate PCI guard
Slowly but surely the case was starting to take shape.
I added more broken plastic to increase the \"smashed\" effect.
Here it is with the side panel in place
RELATED ARTICLES


MSI MPG Velox 100R Chassis Review
October 14 2021 | 15:04

Want to comment? Please log in.