
The next stage was to install the water-cooling parts, the first of which was the BIX² radiator. (Black Ice II).

The radiator was to be fitted to the cases top plate. Domed nuts were fitted to the top plate.
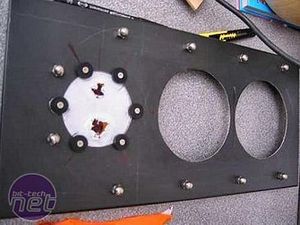
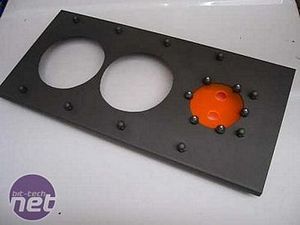
The two large holes are for the radiator fans and the small one is to be a gland plate for the wires to the fans.
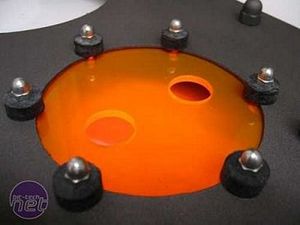
Detail of the gland plate showing the domed nuts mounted on rubber washers.
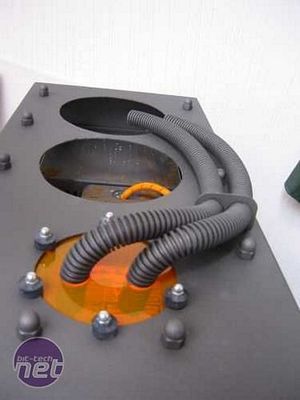
Flexible conduit and its retaining bracket were fitted and sprayed dark grey.
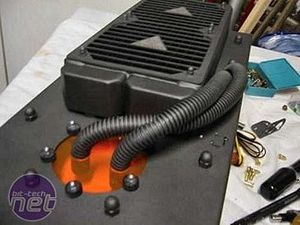
The radiator was fitted and the fan wires will be run through the plastic flexible conduit.
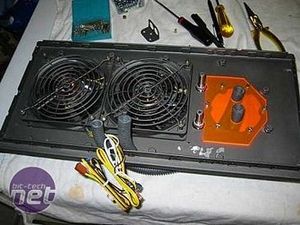
The underside.
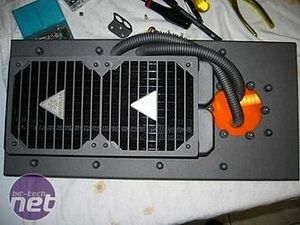
Completed top view.
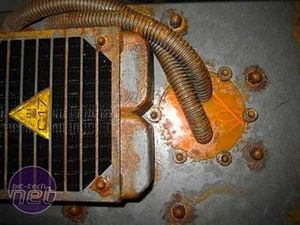
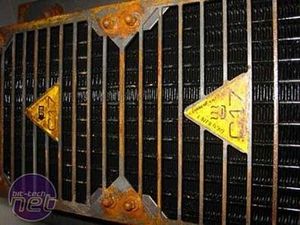
The radiator needed to be aged to match the rest of the case. It also needed some more colour to bring it to life so I painted logos with yellow colour paint and I made two logo with decals that gave a better look to the fan grill.

The radiator was to be fitted to the cases top plate. Domed nuts were fitted to the top plate.
The two large holes are for the radiator fans and the small one is to be a gland plate for the wires to the fans.
Detail of the gland plate showing the domed nuts mounted on rubber washers.
Flexible conduit and its retaining bracket were fitted and sprayed dark grey.
The radiator was fitted and the fan wires will be run through the plastic flexible conduit.
The underside.
Completed top view.
The radiator needed to be aged to match the rest of the case. It also needed some more colour to bring it to life so I painted logos with yellow colour paint and I made two logo with decals that gave a better look to the fan grill.
RELATED ARTICLES


MSI MPG Velox 100R Chassis Review
October 14 2021 | 15:04

Want to comment? Please log in.