
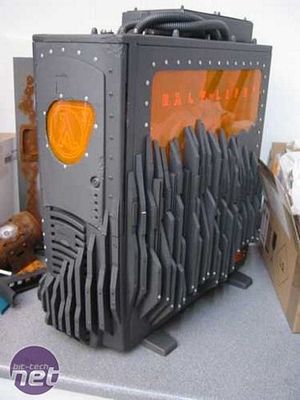
I continued the wall theme around to the front of the case and added an orange window to the drive-bay door on the front.
The water for the water cooling system sits behind the window...
...which can be seen through,... well the window.
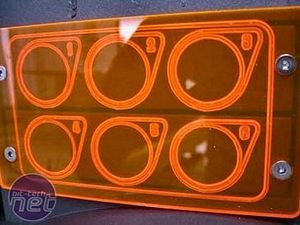
Here is a little Perspex piece I made to mount switches that will be used to operate the case lights. It fits over the two 3.5\" drive bays.
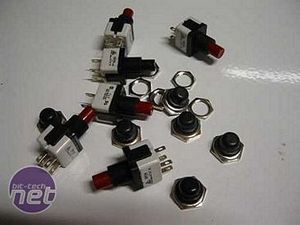
These are the push switches used to operate the lighting. They will be protected by rubber switch covers to give a more industrial look to the switch panel.
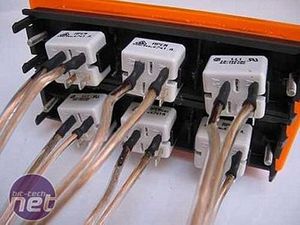
Once the wires were soldered and sleeved the switches were mounted behing the bay covers with the orange plastic panel.
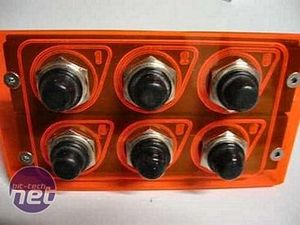
The finished module with the switchs rubber covers fitted..
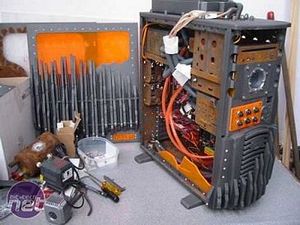
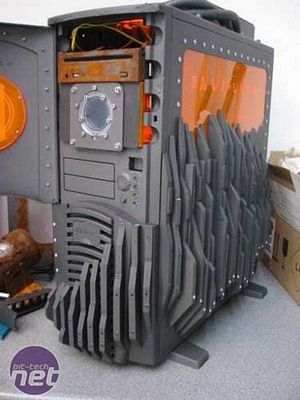
Here is the switch module mounted in place of the case front. (far right)

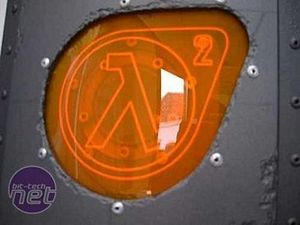
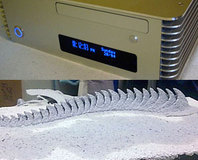
Because I didn\'t want this project to be too shiny - I am looking for the beaten up industrial look, after all - keeping all the lightning in the case UV gives an excellent look to the UV Perspex parts, like this Valve logo on the side panel.

The front door window with UV backlighting.
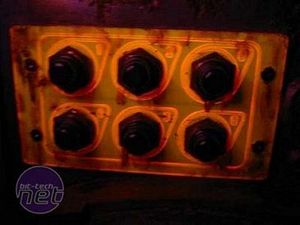
The switch panel was dirtied down.
RELATED ARTICLES


MSI MPG Velox 100R Chassis Review
October 14 2021 | 15:04

Want to comment? Please log in.