
Time to mount the rest of the kit into the case...
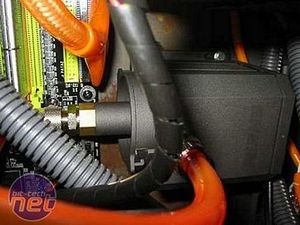
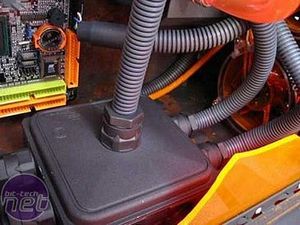
Water-cooling parts were put into position.
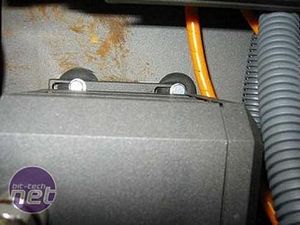
The pump was mounted using rubber washers to reduce vibration.
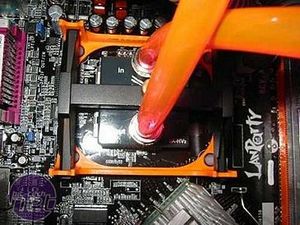
CPU cooling block in place.
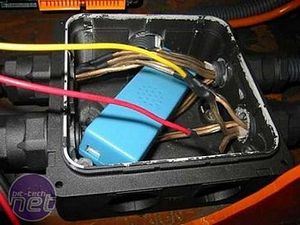
At this stage the case was full of messy wires that needed to be tidied up. I decided to use the same electrical tubing I had used for the PSU to manage the wires. To conceal all of the wires it took 2 electrical boxes and 14 metres of electrical tubing...
...but the result was worth it.

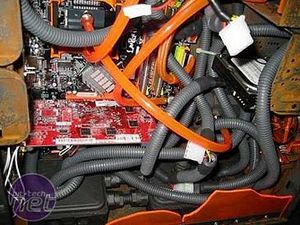
The flexible conduit really helps to tidy the wiring and also has the added bonus of accentuating the overall \"industrial\" look of the project.
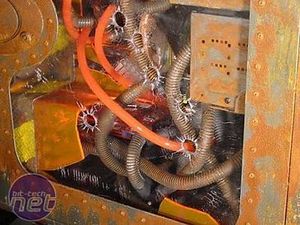
Of course the tubes needed to have the \"seen better days\" look also. The rust paint did the job perfectly.

It was starting to look like a rusty jungle in there...
Water-cooling parts were put into position.
The pump was mounted using rubber washers to reduce vibration.
CPU cooling block in place.
At this stage the case was full of messy wires that needed to be tidied up. I decided to use the same electrical tubing I had used for the PSU to manage the wires. To conceal all of the wires it took 2 electrical boxes and 14 metres of electrical tubing...
...but the result was worth it.
The flexible conduit really helps to tidy the wiring and also has the added bonus of accentuating the overall \"industrial\" look of the project.
Of course the tubes needed to have the \"seen better days\" look also. The rust paint did the job perfectly.
It was starting to look like a rusty jungle in there...
RELATED ARTICLES


MSI MPG Velox 100R Chassis Review
October 14 2021 | 15:04

Want to comment? Please log in.