Getting Started
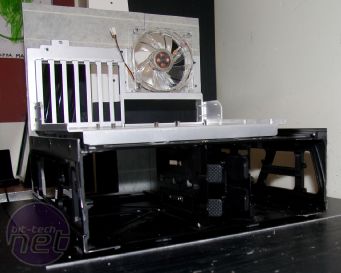
The first thing that came to mind was a cube case with the motherboard lying flat at the bottom. Since time was a factor in this mod, I had to take a few shortcuts.Here we come to the start of the build that I missed getting shots of. I needed a good base to build on so I looked around my workshop (kitchen) for things that could be used.
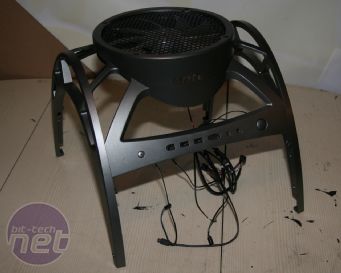
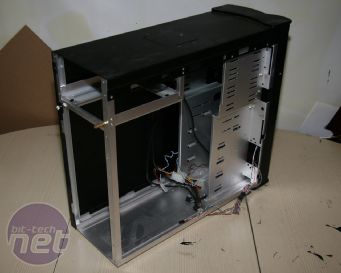
Under the kitchen table I found an Antec Skeleton case (as you do - Ed.). The bottom part of this case was perfect for my needs. After some serious cutting I had the bottom part of the case separated from the rest and could get going.
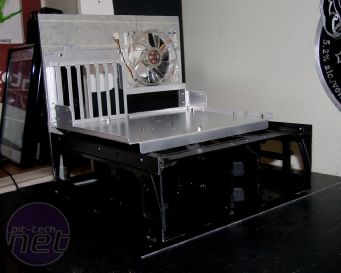
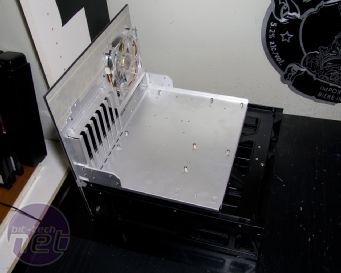
Now I realised that I had to make a motherboard tray as well, but with my limited time to machine parts that would take to long, so once again I went on a hunt for what I could reuse. Well what do you know, under the very same table I found a Cooler Master Wave Master that just happened to have a removable motherboard tray. I trimmed down the tray to fit on top of the Antec base and voilà! The base was done. I’m sorry to say that all evidence I have of this is a picture of the victims.
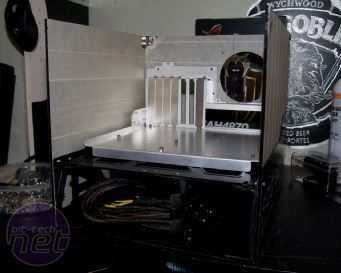
After I got the two base pieces that I needed I just had to join them together and make a back plate in black acrylic. As usual I’m using the AC Ryan Acrypanels.
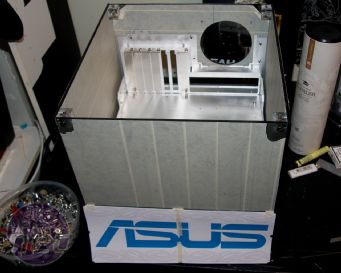
The case needed some sides as well but I felt that showing you the cutting of two square pieces of acrylic didn’t rate very high on the ‘want to see’ list so here’s the result instead:
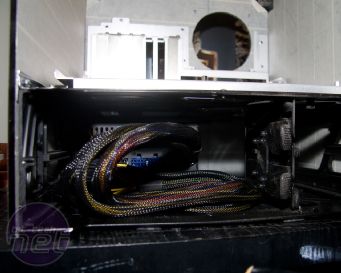
Now it was time also to do a first test fit of the Corsair HX1000 PSU. A front plate was also made, as well as a plate from black brushed aluminium for the bottom part that would be engraved with the Asus logo later on.

MSI MPG Velox 100R Chassis Review
October 14 2021 | 15:04




Want to comment? Please log in.