The Finer Details
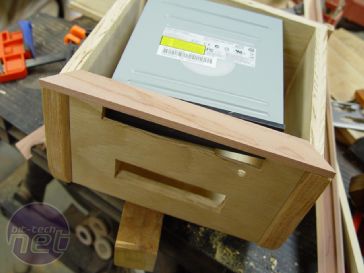
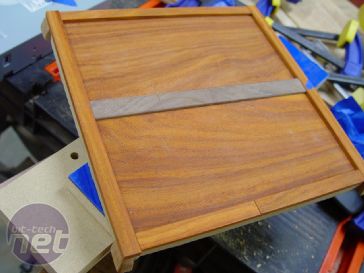
The ideas I came up with turned out to be something a little simpler in design and more complicated to achieve. I used Cedar here because it smells really nice. Ha! Not really! It's because I can work it like Styrofoam since it is so lightweight, it was ideal to fill the gaps. On the front I was a little more adventurous and grabbed some Mahogany.Time to bring in more Padauk wood trim: this stuff just looks good on anything. It will darken to a deep red when I finally finished everything and had a go at it with the varnish. Part of the fun for this type of project is anticipating the finished look of all the wood together. Here we can see a section of dark walnut trim already fitted. At this point I hadn't had this go wrong yet and maybe it's just me, but I like the mix of many woods together and they always seem to go together well.
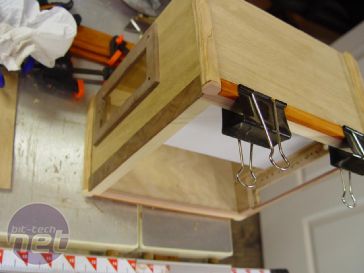
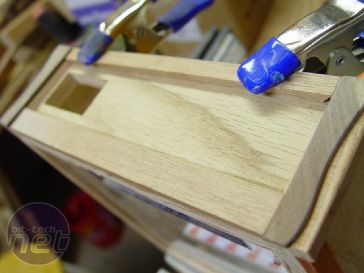
The top needed some serious trim work as the Plywood was showing it's useless side here as well. I'll stick to the "never use again" rule until I build a PC for Trading Spaces or something. Again I decided on the red Padauk here as well, and the top section has been trimmed out with cedar as well.
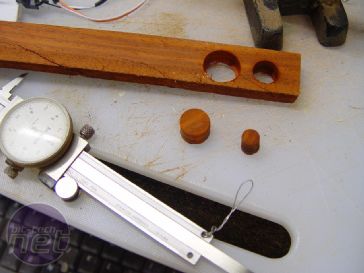
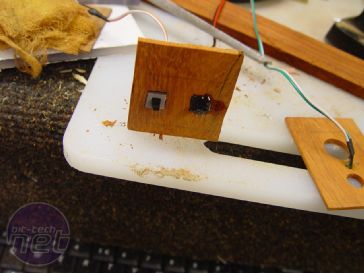
Just like with FiveWood, I decided to have a go at making my own buttons again. Above became the power and reset switches.
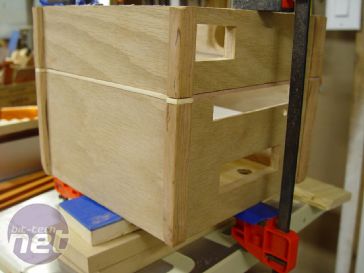
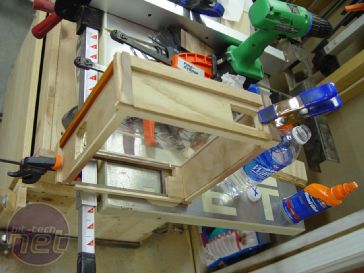
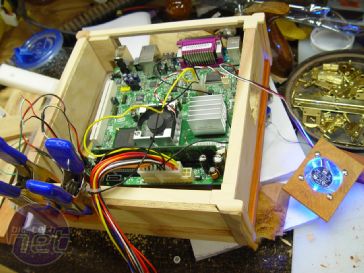
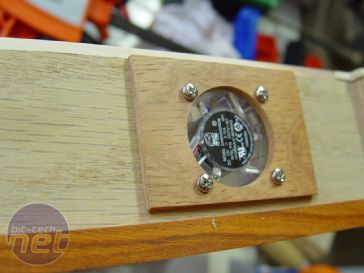
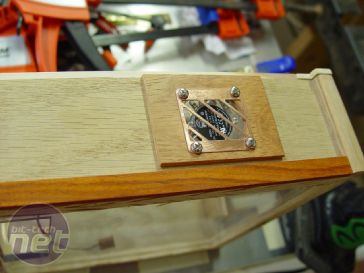
Two things ended up broken at this stage: the first was my thumb which I managed to cut badly, the second was the case which can be seen here when I stuck it back together. I had a dress rehearsal for the power and reset buttons as well as the fan, power LED and motherboard. This went pretty smoothly.
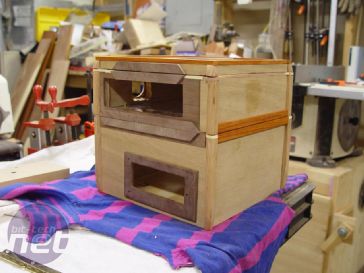
Here are the parts stacked in even more completed form ready for the hinges which will allow the top and bottom sections to swing open.

MSI MPG Velox 100R Chassis Review
October 14 2021 | 15:04




Want to comment? Please log in.