BluBawx Mod by E.E.L. Ambiense
November 16, 2009 | 00:54

Bawx build starts!
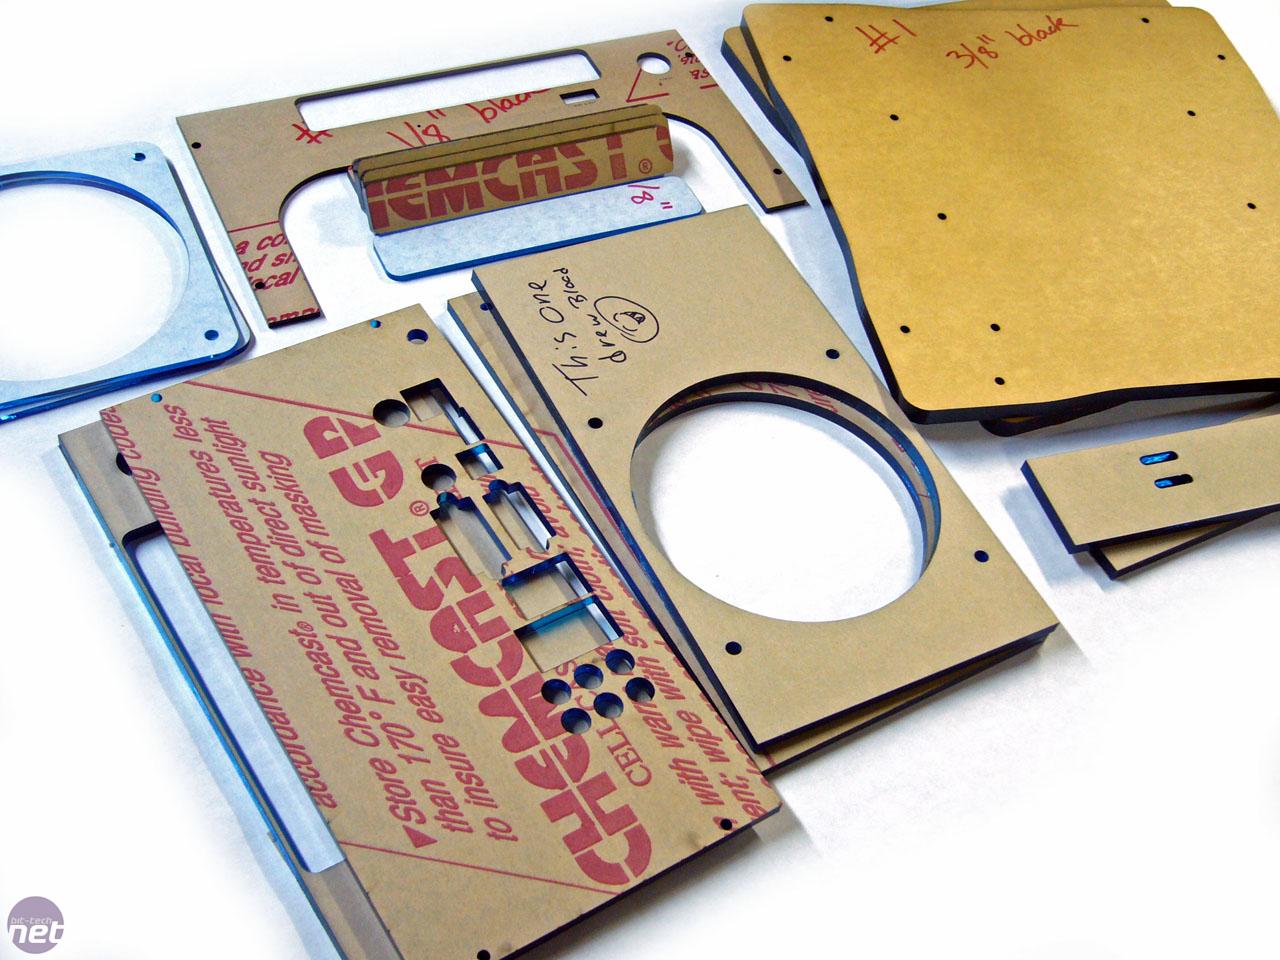
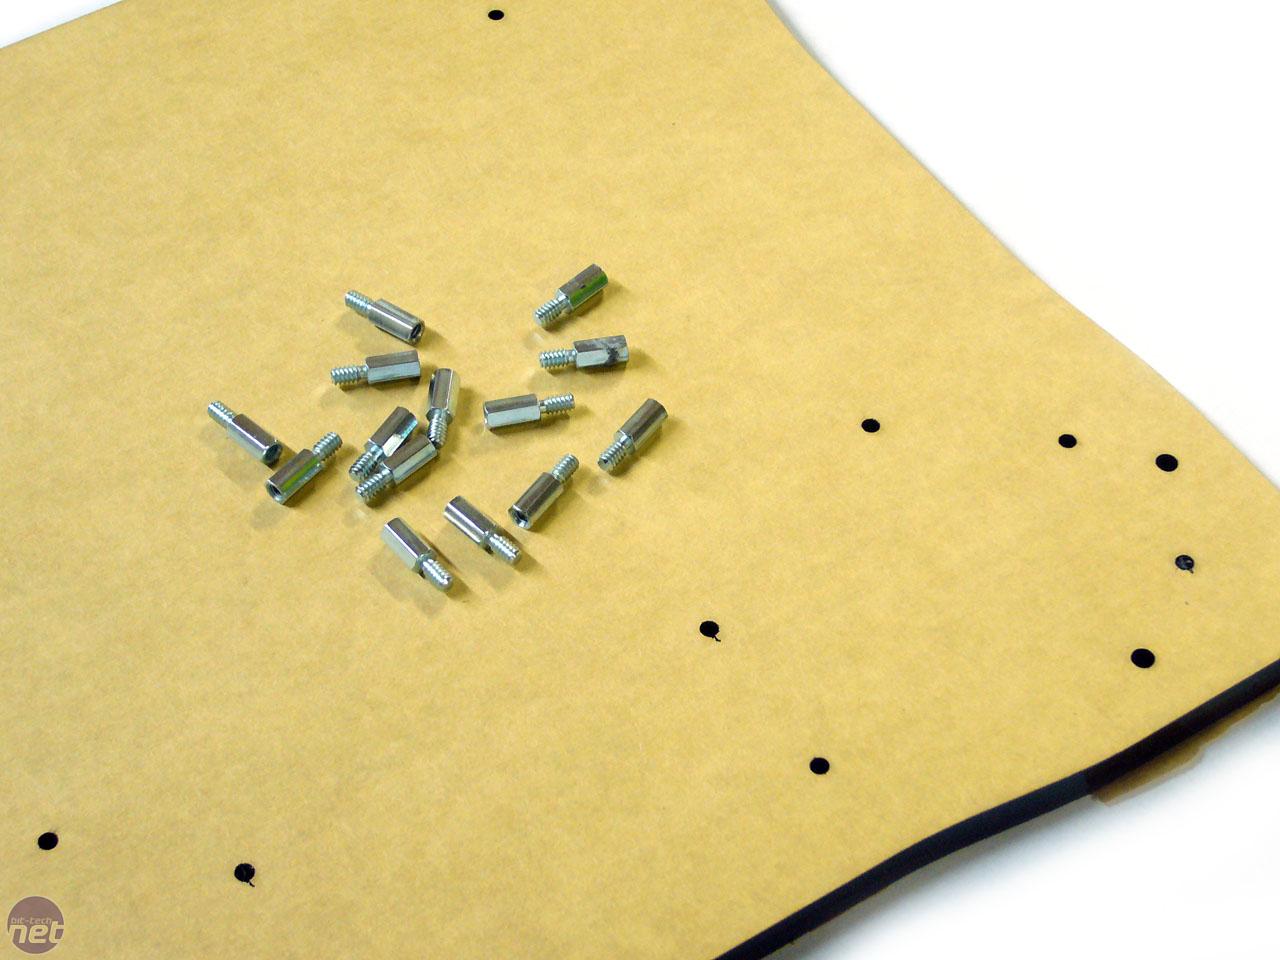
After the successful PSU test, I went forward with the true modding: acrylic cutting. After being cut and looking fine, I double checked the measurements, which were pretty close to the bone. I probably could have even tightened up the size a little more, but it's fine! I think it'll look great sitting on my component stand by the LCD TV, although it was hard to tell at this point.First thing's first, I need to tap the holes for the motherboards stand-offs. I had to start somewhere, right?
Click to enlarge
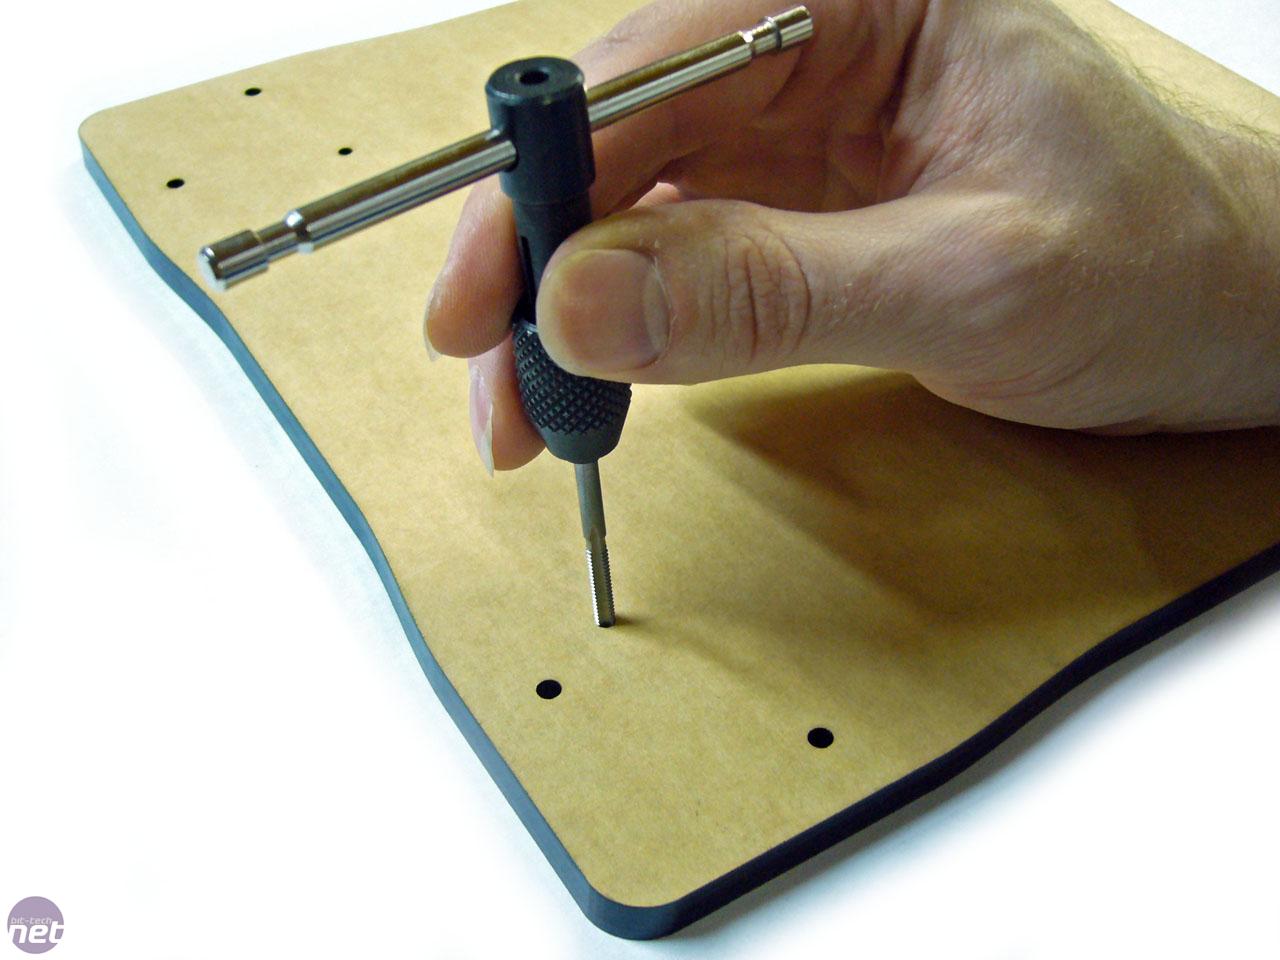
And with my trusty 6-32 tap, I get to work on it:
Click to enlarge
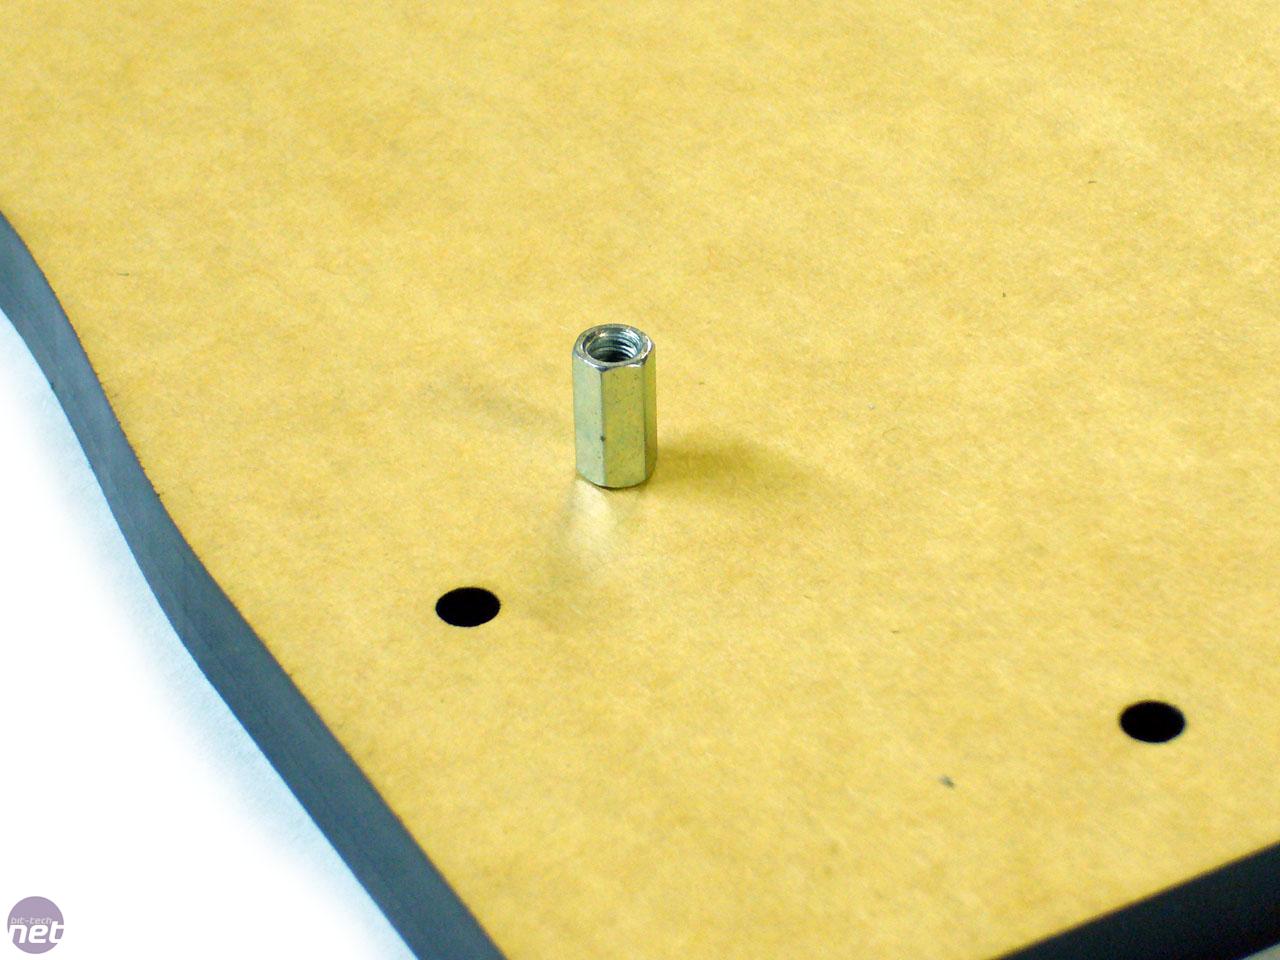
And after carefully cutting some threads, I installed the first stand-off to make sure it's fine. Yup, they are solid! Now, let's finish the rest of them as well:
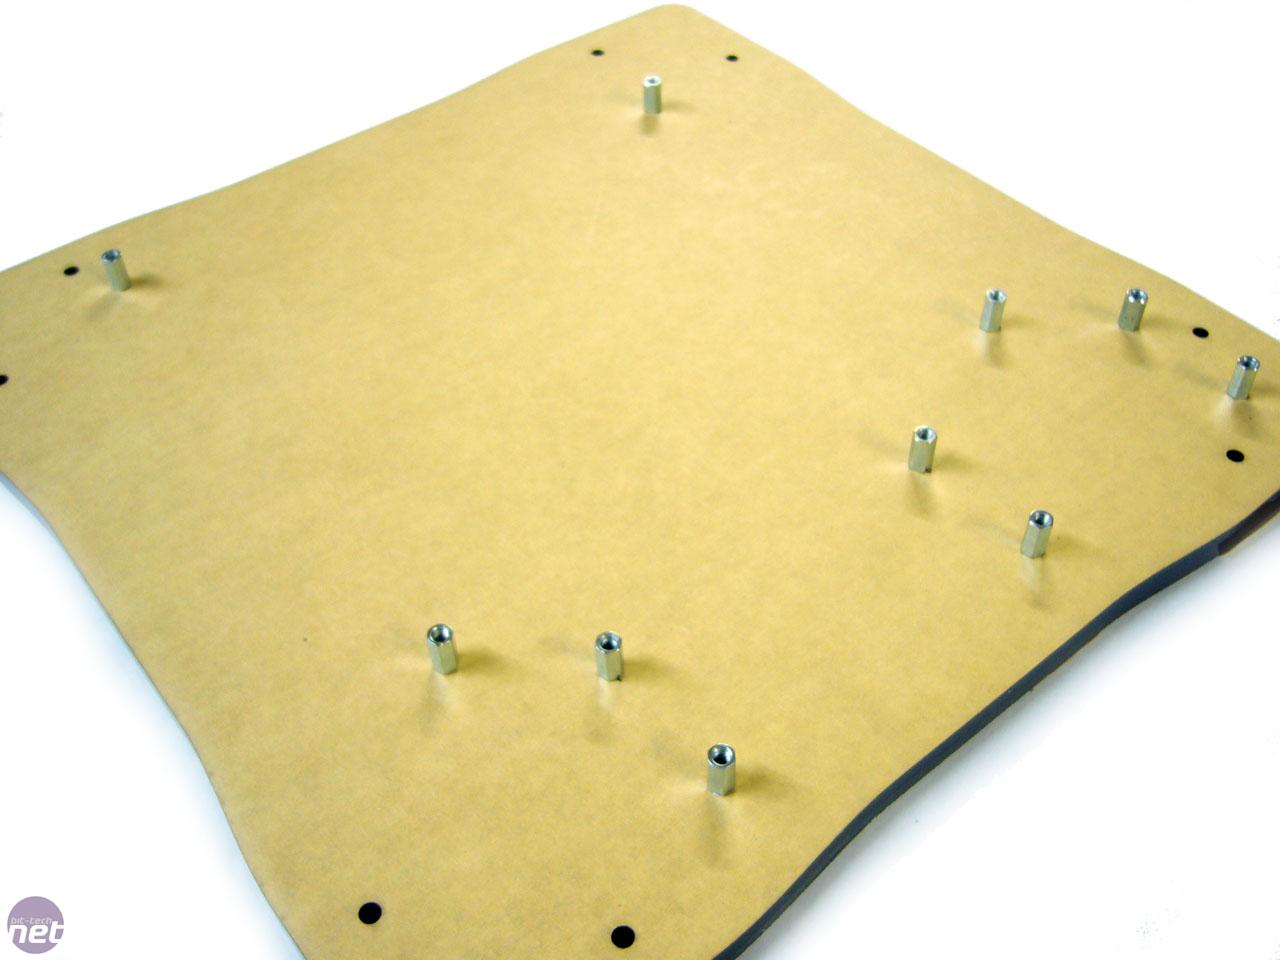
Click to enlarge
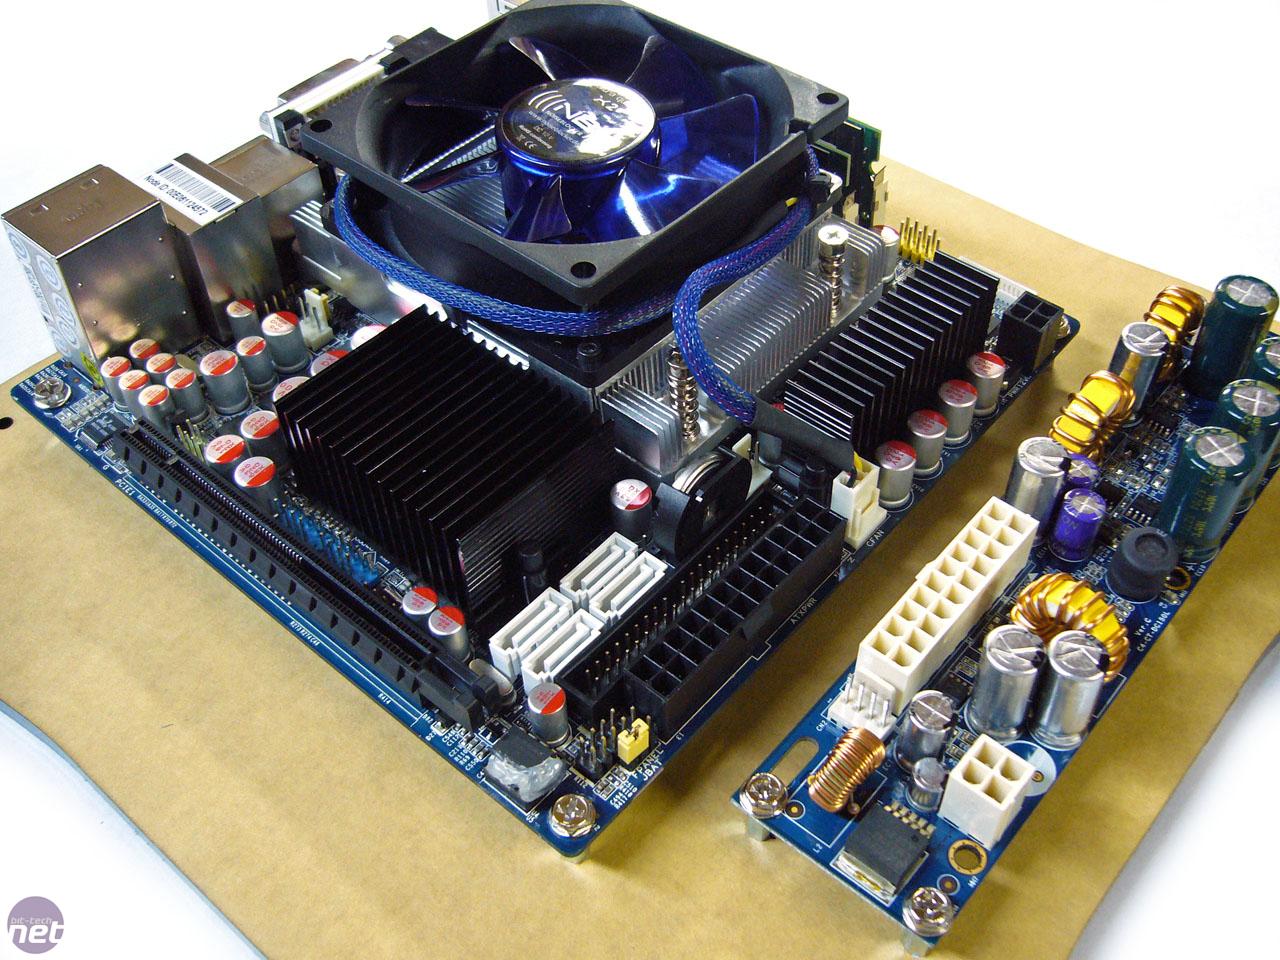
Add a quick install of the motherboard to make sure, and that's all good too. Then I went ahead and tapped all the holes for the PSU to sit along side as well. Stand-offs installed - everything is still going great!
RELATED ARTICLES


MSI MPG Velox 100R Chassis Review
October 14 2021 | 15:04

Want to comment? Please log in.