BluBawx Mod by E.E.L. Ambiense
November 16, 2009 | 00:54

Finally coming together
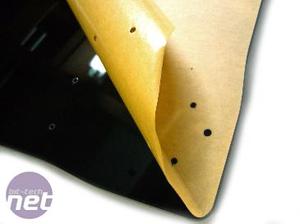
Now, let's start doing what I've been wanting to do: taking off the protective film! I wasn't looking forward to disassembling the whole thing after I just finished putting it together, but it's a satisfying necessity.And like a career in fast-food, I started at the bottom and worked my way up!
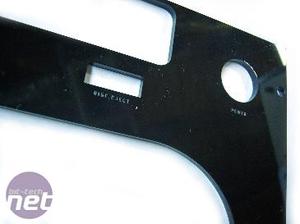
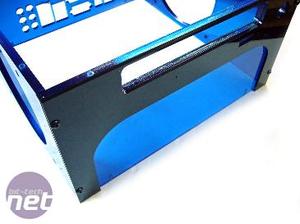
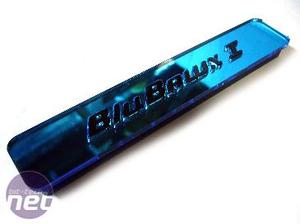
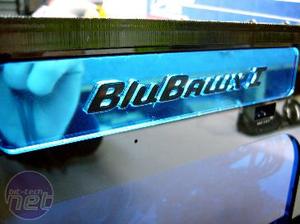
Here's the front plate with the lettering engraved and the rest of the chassis put into its final positions.
At this point I found a small problem: because the holes were all hand-drilled and tapped, after I reassembled it I had issues with the occasional hole not lining up exactly perfect, and unfortunately I had a couple spots crack after re-threading the screws into them. Damn!
It was very disappointing, because had I just assembled it with the protective film removed in the first place, and not needing to reassemble the box, I probably wouldn't have had a problem.
With the top and bottom installed, you can't even see inside the chassis without a bright bulb though, so the cracks aren't that evident. Although I'm still thinking I'll cut a modified front black piece to cover the small crack up, just because I know it's there. I'm thinking I'll even make one for the back as well, so it doesn't look totally off with just the front having a plate. But really, you can't tell and had I gone with solid acrylic instead, I'd have never known.
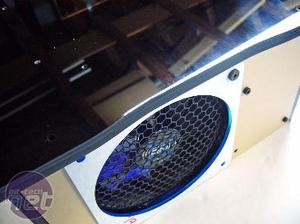
Anyway, back to the meat of the matter. I also finished the crown for the front of the box; the stealth-cover for the drive tray. I'll just let the picture show everything instead of trying to explain:

MSI MPG Velox 100R Chassis Review
October 14 2021 | 15:04



Want to comment? Please log in.