Case, Panels and Painting
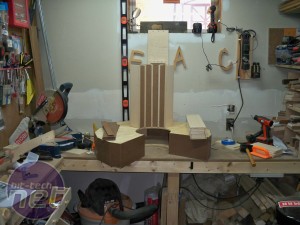
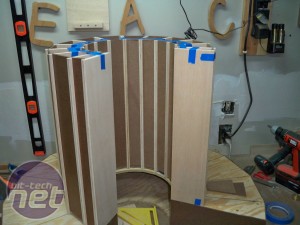
With the tops inserted, everything lined up the way it was intended. Since I was not using glue to keep everything together, all the joints were a tight fit.Click to enlarge
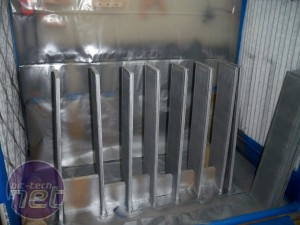
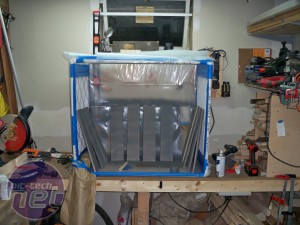
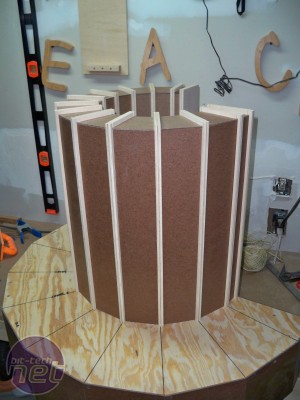
Here is the temporary paint shop. All the fins were given a couple coats of silver and aluminium spray paint.
Click to enlarge
Particular attention was paid to the edges, as they would be seen from the front and the back.
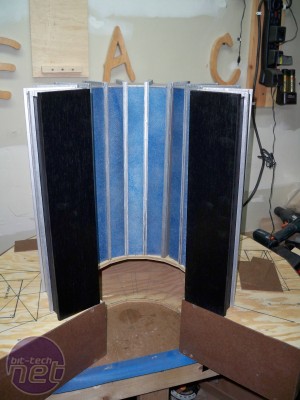
The back panels of the Cray-1 were a bit more challenging. To give the illusion of wires from a distance, the rough side of the masonite was used, plus a base coat of silver spray paint.
Click to enlarge
After it dried, a couple of thing coats of light blue paint were applied. Lastly, a layer of reflective paint was sprayed on.
The front panels were painted in several steps. First a base coat of primer was applied, followed by a combination of silver and aluminium paint.
Next, several coats of colour were applied and finished off with several more layers of glossy clear coat.
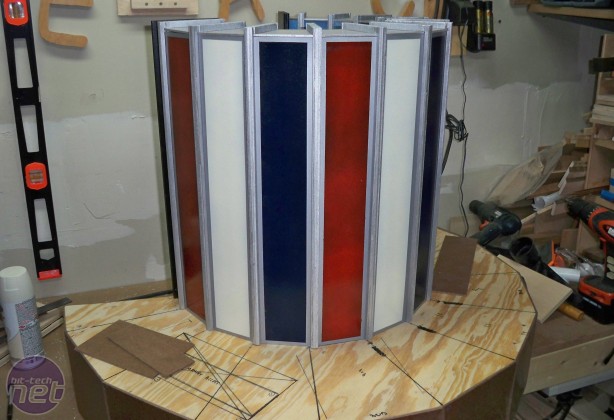
The result had both the affect of texture and depth. I used the same colour pattern as the Cray-1 at the Smithsonian.

MSI MPG Velox 100R Chassis Review
October 14 2021 | 15:04




Want to comment? Please log in.