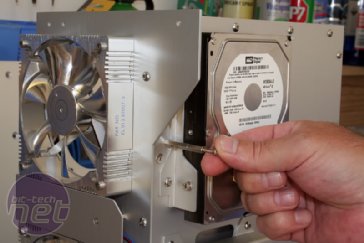
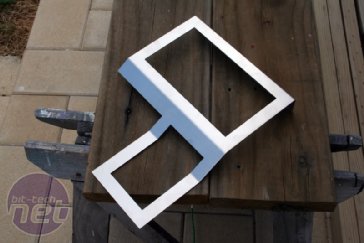
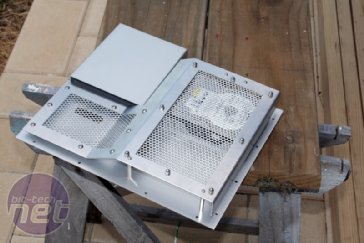
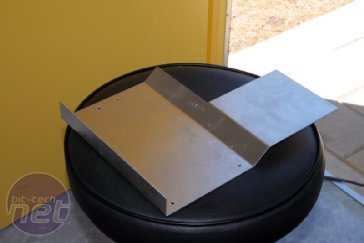
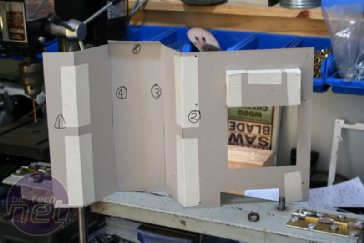
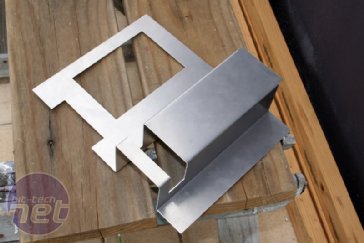
Then, a spark of inspiration, I had an idea to make some covers to obscure the hardware. I went through two designs for the drive side but luckily got the motherboard design right first time, although I had to make it twice because of an incorrect bend in the first fabrication.
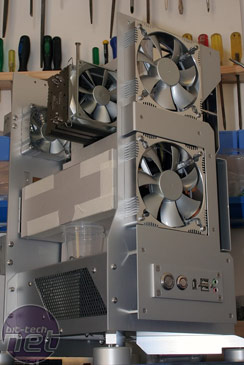
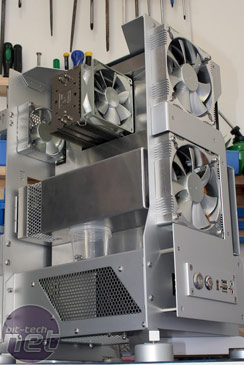
After a lot of work, it lead to this (ignore the plastic cup holding up the middle section, it wasn't yet affixed):
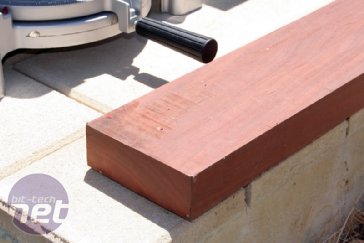
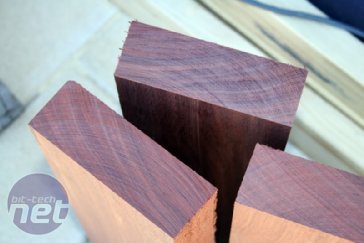
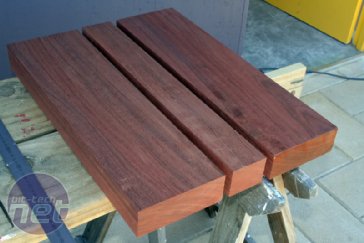
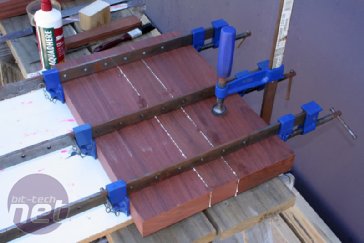
Now it was time to start making the shell. I settled on solid wood with aluminium features. I have to admit that, right from the start I was concerned about how heavy this was going to be, and how much weight could be reduced. At this stage it was an unknown, but like before I ploughed on ahead in faith that I could resolve or redesign any issues. The wood is West Australian Jarrah, a particularly hard native timber, cut to 50mm thick. As such, I needed to join three pieces together to make one side panel body.
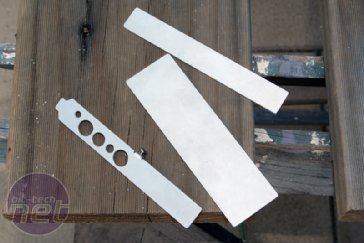
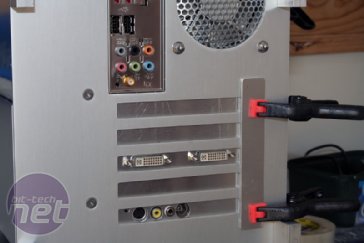
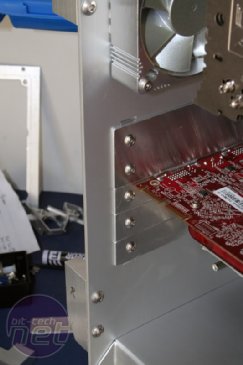
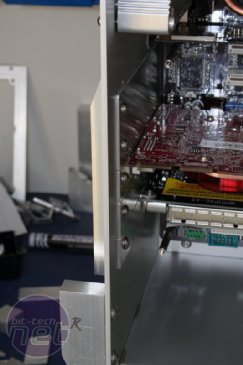
Meanwhile, because the rear panel is flat, with no raised level for locking expansion cards, I needed to make new back panels for the graphics and TV tuner card, plus some blanks.
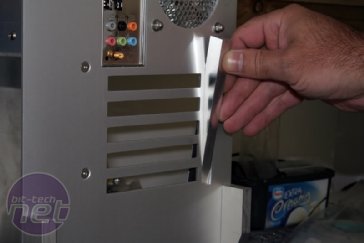
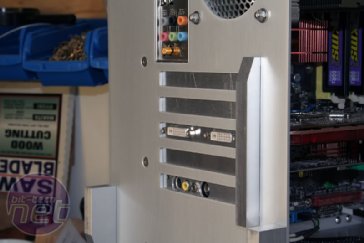
In the last picture you can see what I was planning to retain the slot plates. But with the gracious help of forum member, Boddaker (Ed: You may know him from this mod!), a new one was made with a bar of alloy that slots into the vertical recess for the slot covers to bolt to.
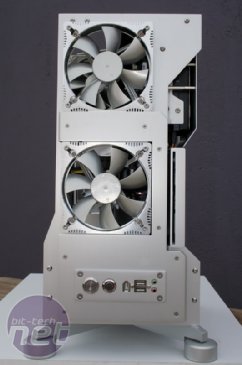
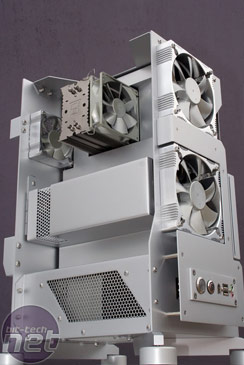
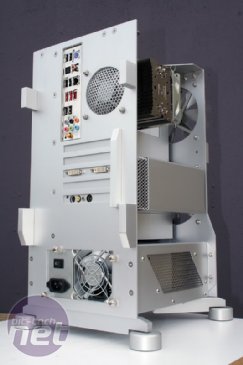
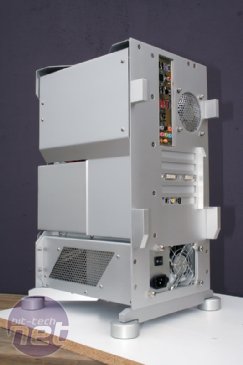
After another round of anodising, the chassis was complete (or, so I thought).

MSI MPG Velox 100R Chassis Review
October 14 2021 | 15:04




Want to comment? Please log in.