click to enlarge
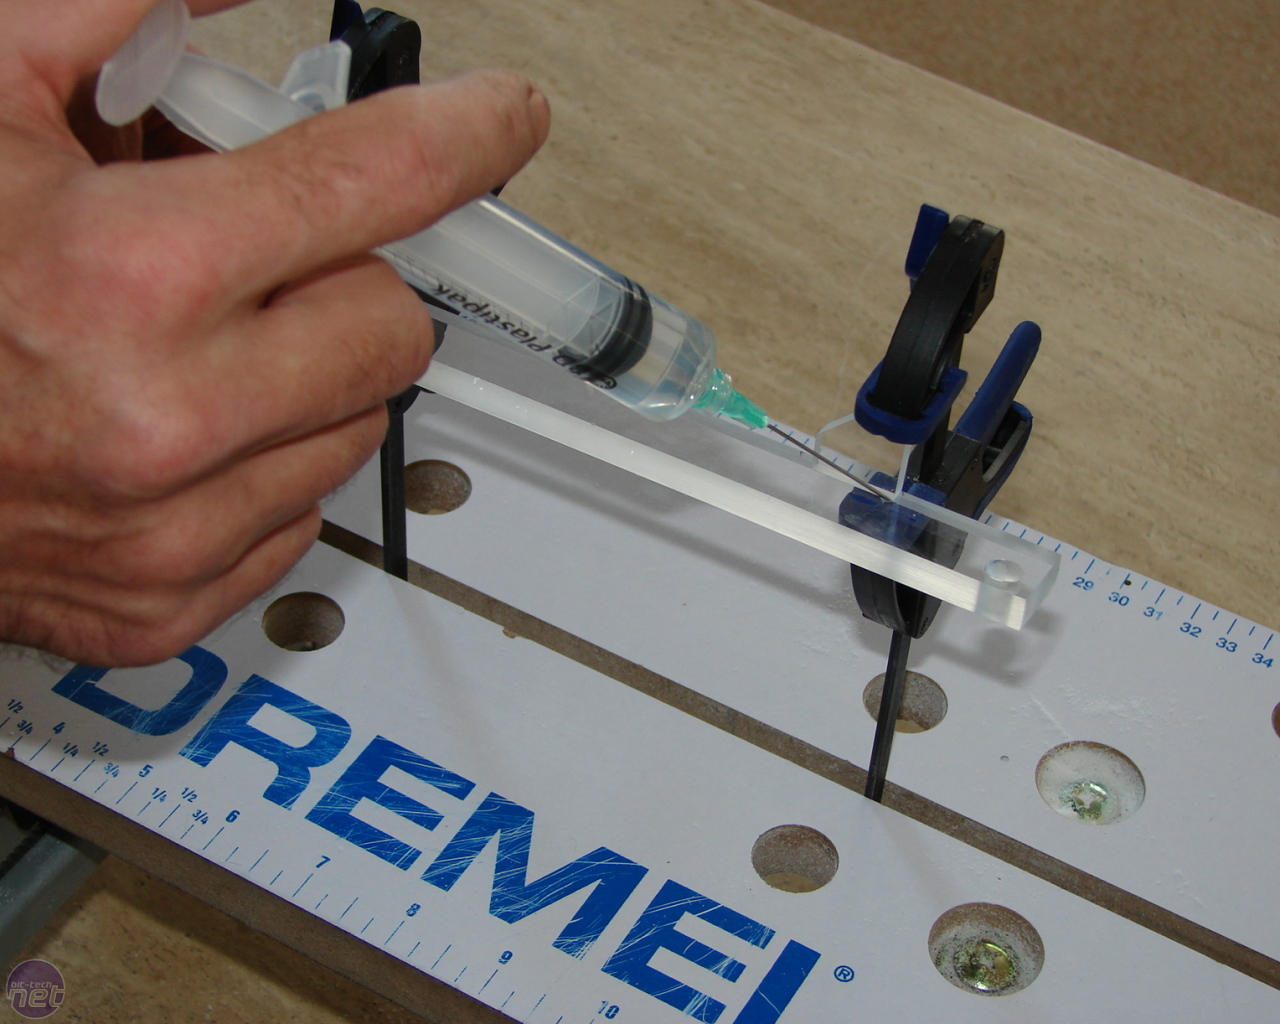
I don’t like the idea of glue. I know modern adhesives are better than they ever have been, but I much prefer to bolt or screw things together (it has a nice mechanical feel about it). So I had to learn how to glue acrylic, I found all the techniques and instructions I needed on YouTube, always a good source of info.
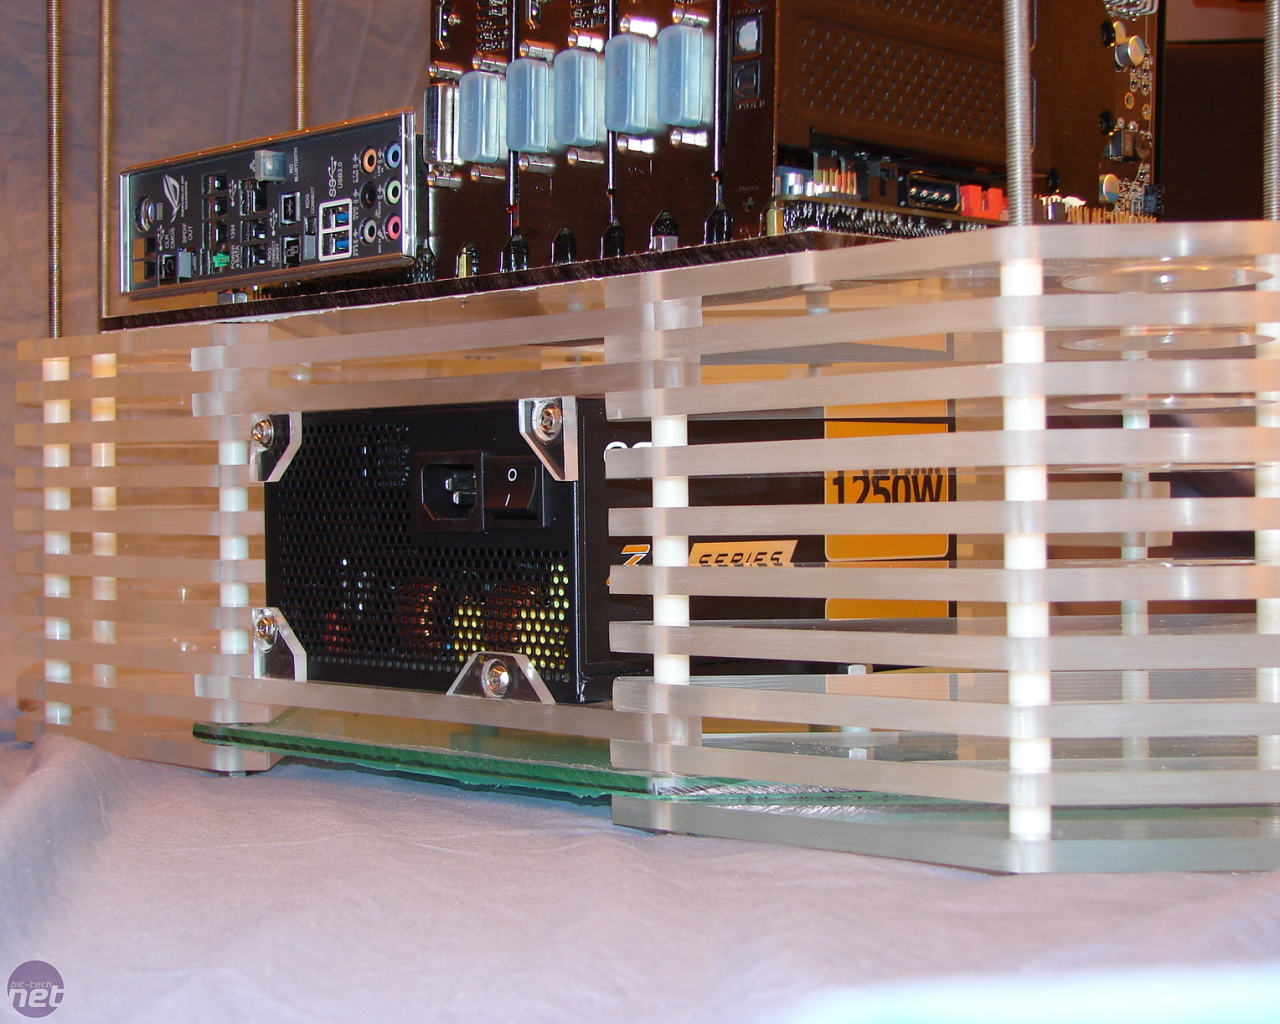
I used small tabs so that I could screw the PSU and keep my mechanical fetish in check. They are glued vertically but the tabs are so small that they don’t look out of place.
Click to enlarge
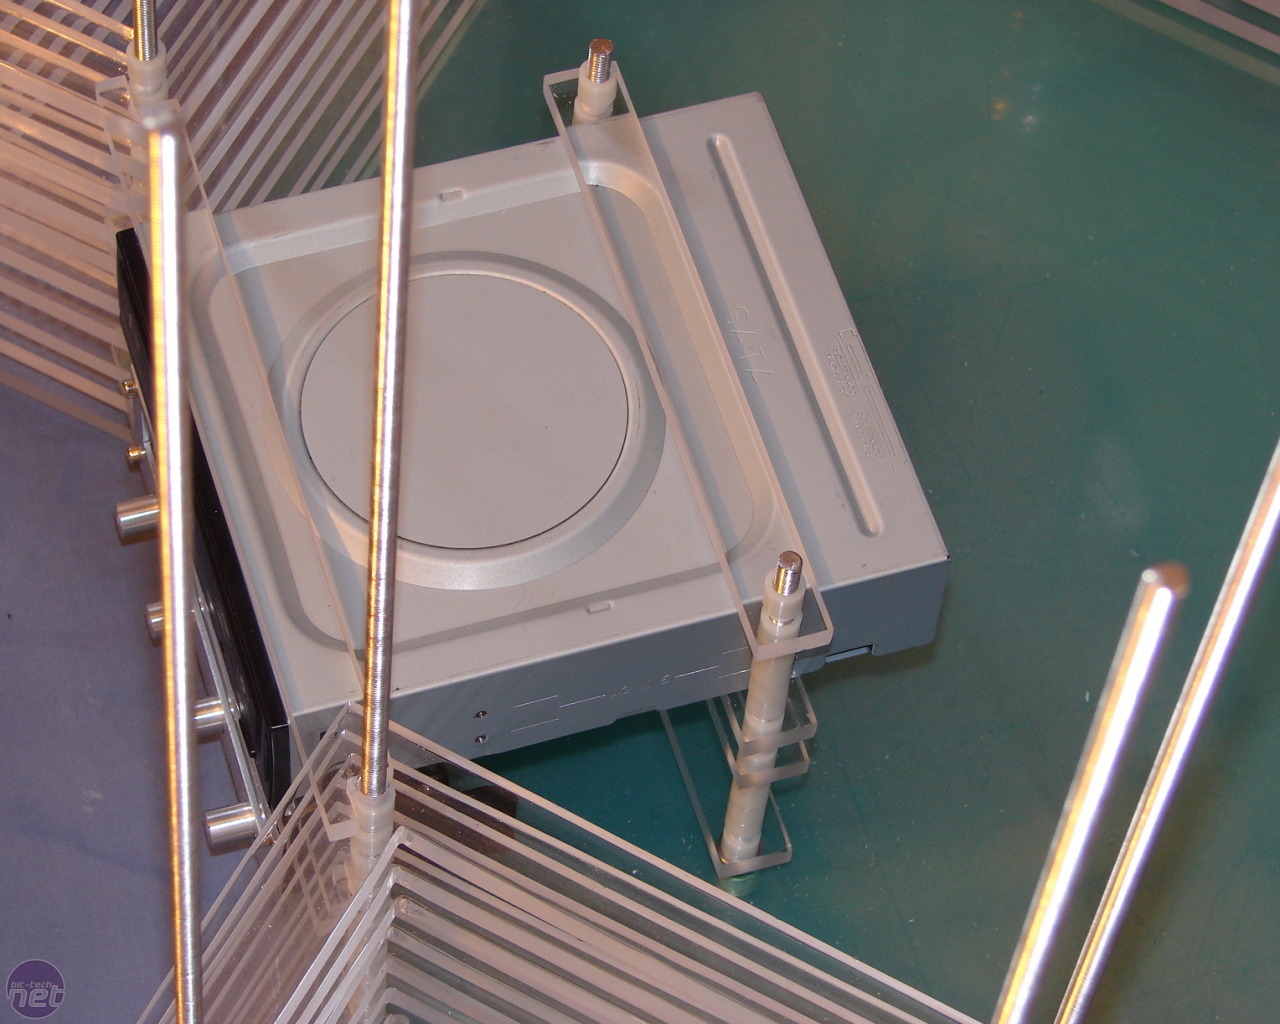
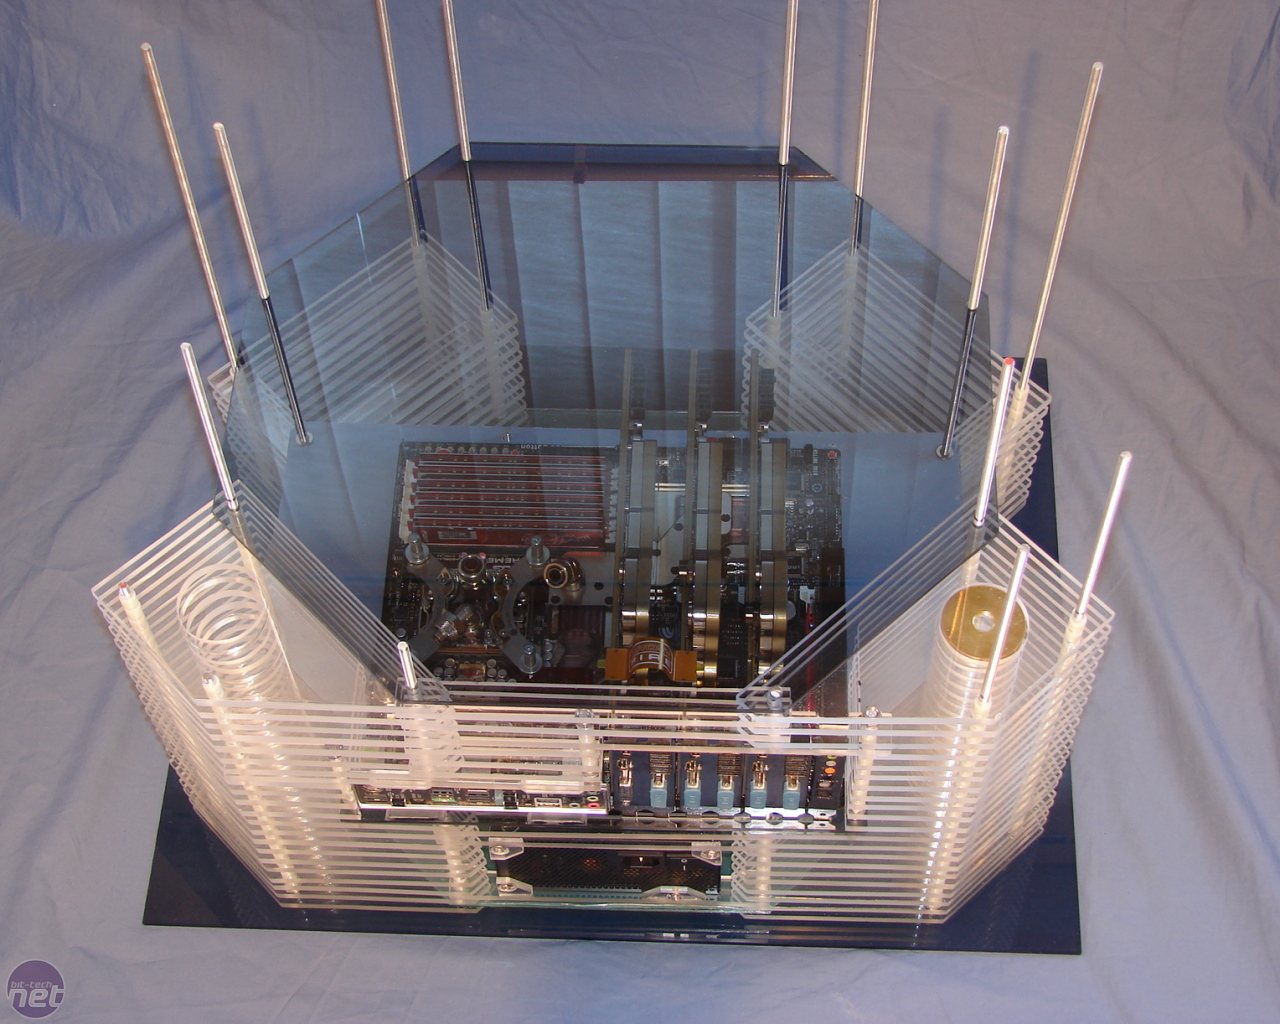
After mounting the motherboard, I could finally finish off the case, The IO shield was secured using small tabs - exactly the same way that I’d mounted the PSU. The next big decision was what colour and tint to use for the top cover.
I wanted to have some colour. Looking through Phinix’s project log I liked how he’d used a darker colour to give the case much more interest and contrast. I decided on a mid grey tint. I tried to keep the protective film on the tinted acrylic for as long as I could, but if you’ve ever used it, you will know how hard the temptation is to unwrap and see exactly what it looks like. I held out for quite a long time but eventually …well, you know.

Click to enlarge
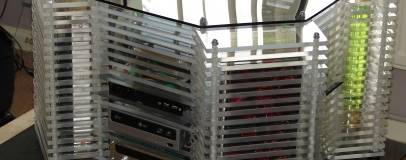
So with the case finished, I could now get stuck into the fun stuff. This was a massive relief after all the cutting and sanding which really took its toll, almost to the point where the build wasn’t fun anymore. The details were where I was going to get my interest back and have some fun.
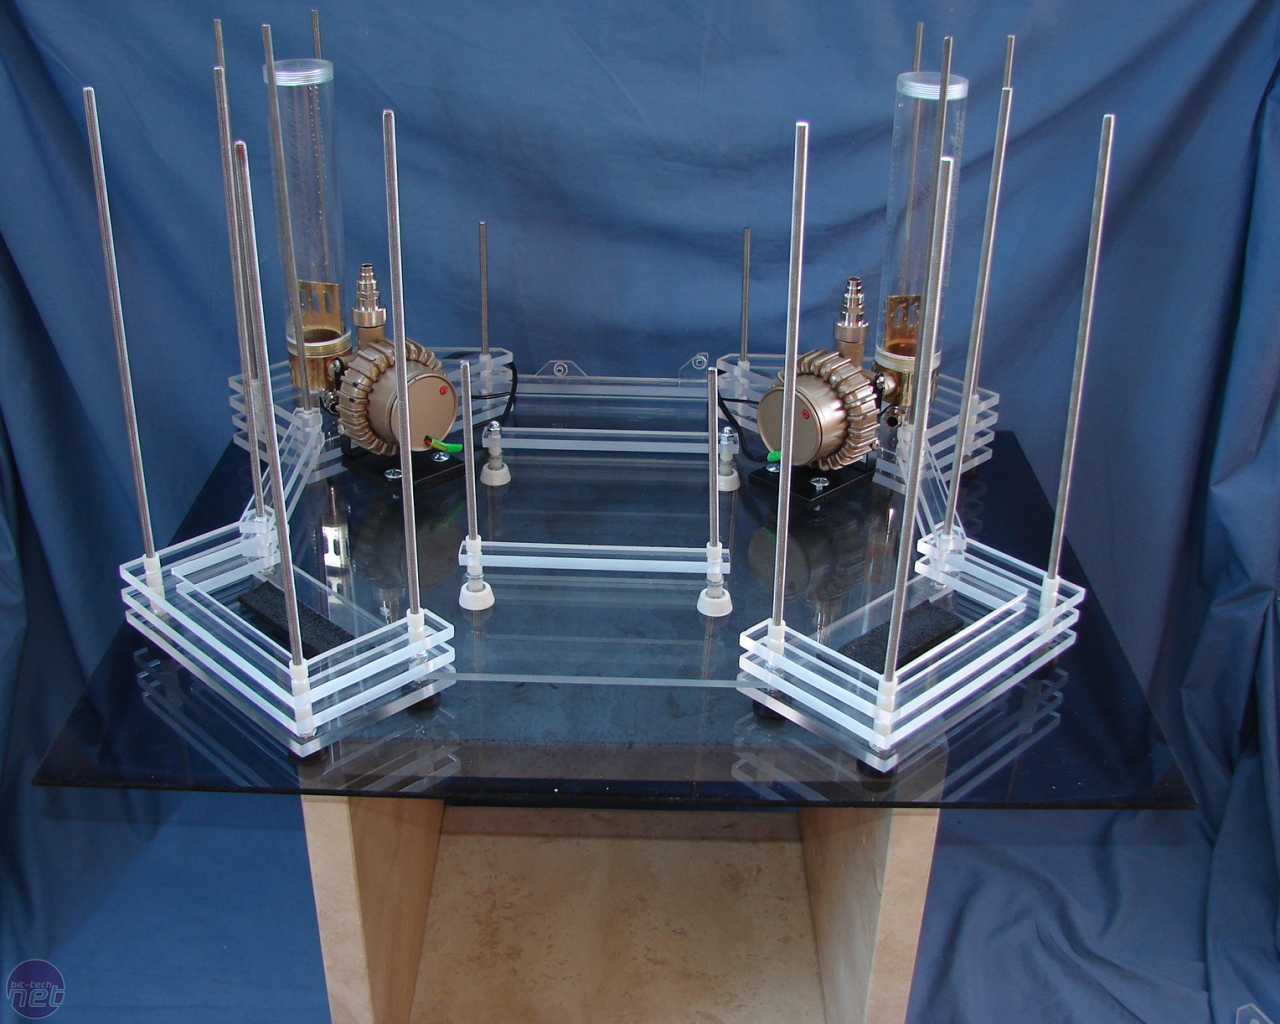
I didn’t give the details any thought whatsoever (true) when looking at the initial design of the case. It was the project name that inspired them. I’d also made up a simple table, I had a marble cube not being used, and cut a piece of tinted acrylic for the top, and placed a sign that I’d bought on eBay.
Click to enlarge
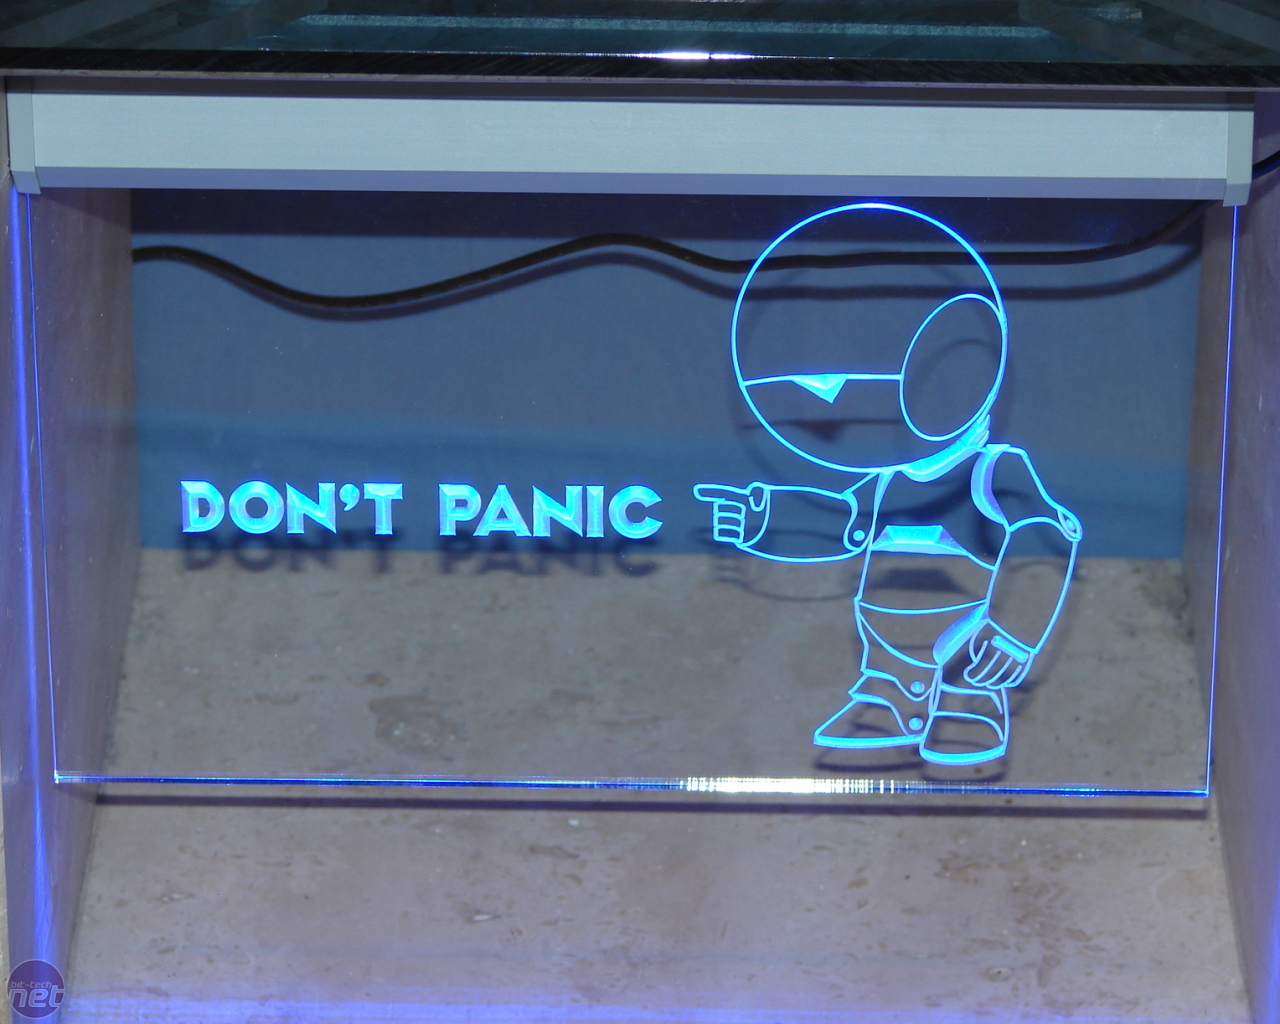
The first detail was the cooling system. This was a no brainer, it had to be the Pan Galactic Gargle Blaster, I posted a link to a YouTube video, the guide explains all about this drink so people who weren’t familiar with the books or TV show could understand where the idea came from.
RELATED ARTICLES


MSI MPG Velox 100R Chassis Review
October 14 2021 | 15:04

Want to comment? Please log in.