Future Schlock by Alex Ftoulis
December 13, 2010 | 12:17
Companies: #bit-tech #dremel #lian-li #silverstone

Assembly
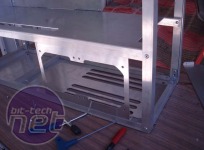
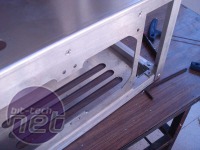
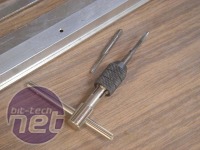
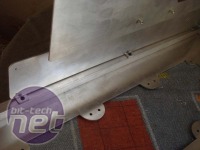
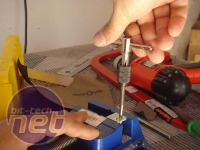
Continuing with the assembly, I designed the remaining parts to be removable except for the 5.25in bay. So my trusty screw tap and die set and drill saw plenty of action as I tapped screw holes in various places. Firstly, I attached two radiator stands on the bottom part of the case.Click to enlarge
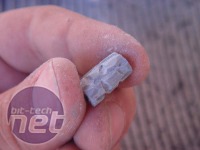
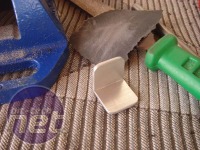
I also created some spacers for the second radiator holder from aluminium putty and I gave them a Gothic look by sculpting them with a Dremel.
Click to enlarge
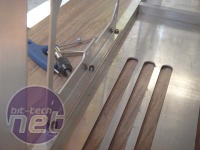
The assembly seemed to become more of an adventure at this point - it felt endless. Here you can see the motherboard standoffs. By using an old motherboard, I found the right position and I drilled the holes. I also used nuts to hold the standoffs along with the threads for maximum durability.
Click to enlarge
Click to enlarge
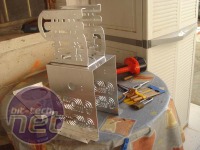
Next was the installation of the hard disk and 5.25in bay cages along with the front intake section. I used anti-vibration rubber mounts for the intake mount to absorb any vibrations coming from the fans. These worked very well.
Click to enlarge
I also created a mechanism for the front intake to hold it in place, but also to be movable in order to install fans.
Click to englarge
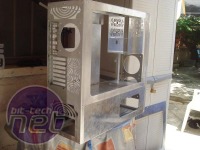
The assembly and testing wasn’t finished yet though. Many more little additions were left to do in addition to the installation of the side panels.
Click to enlarge
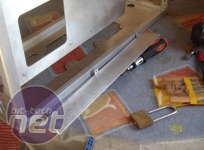
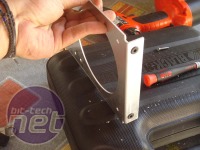
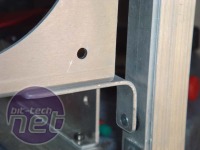
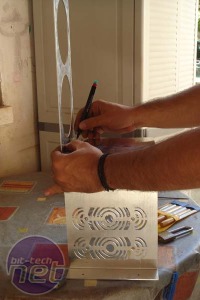
First I created stands for the right side panel, using aluminium angle bar which I filed and drilled to accept screws, threaded in afterwards.
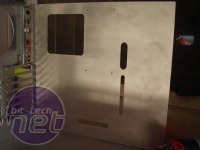
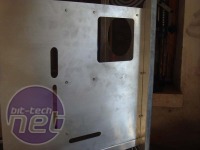
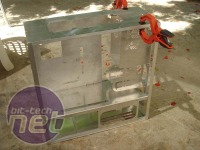
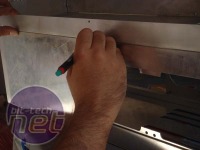
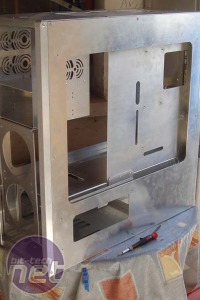
Here is the right side panel. A big part of it was removed as it was going to be covered by an acrylic section and there needed to be adequate ventilation for a radiator mounted behind it too.

MSI MPG Velox 100R Chassis Review
October 14 2021 | 15:04




Want to comment? Please log in.