Future Schlock by Alex Ftoulis
December 13, 2010 | 12:17
Companies: #bit-tech #dremel #lian-li #silverstone

Acrylic sections
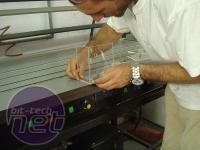
I guess there are almost no mods out there with no acrylic at all. It's a flexible and easy material to work with. I enlisted the help of my friend Chris Kozis, though, (I call him the acrylic master) and we started working on the designs for the acrylic creations that I was going to use with the project.Click to enlarge
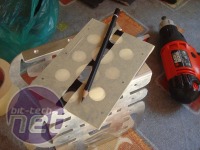
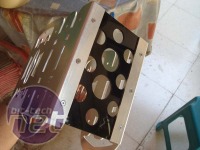
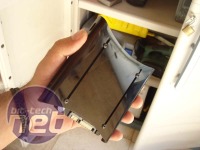
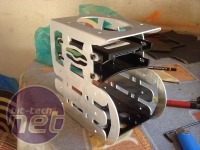
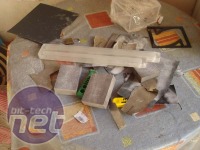
Here are the acrylic parts of the HDD cage. One piece was created to hold the cage together and two pieces were made to hold the SSDs.
Click to enlarge
Click to enlarge
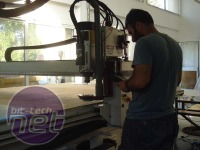
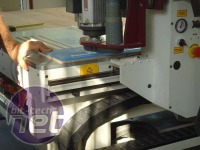
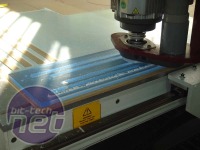
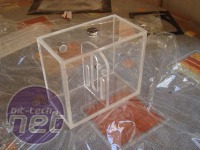
In my original plans I designed a custom reservoir which I wanted to be simple and elegant. After we cut the pieces I let another friend, called Arman, glue it together as he has plenty of experience with this. I also created an anti-cyclone plate for the reservoir which we glued in the middle of the to prevent any unwanted turbulence inside it.
Click to enlarge
Click to enlarge
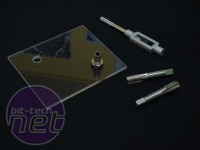
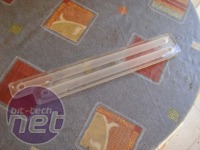
For the creation of the tube-reducer we used a 0.5cm clear acrylic piece which consisted of two separate engraved pieces. Dimitris Katselis was the expert I called upon for this crucial role - my plans called for plenty of engraving.
Click to enlarge
Click to enlarge
After the pieces were cut, I used a slow epoxy glue and clamps to attach the two pieces together. A lot of sanding followed and also a set of four different painting techniques to create the final look.
Click to enlarge
Click to enlarge
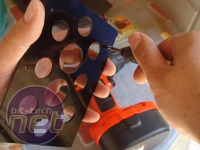
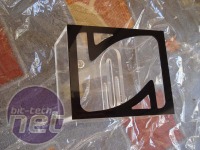
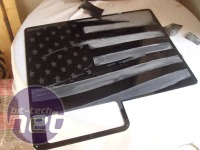
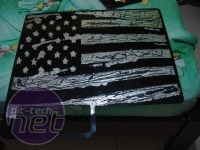
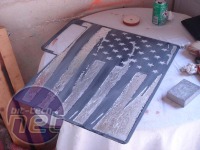
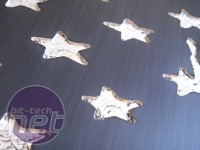
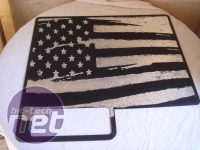
Next was the creation of the right side panel cover. I took the picture from the front page of the book and I vectorized it in order to be accepted by the CNC machine. The flag was engraved on 5mm black glossy acrylic.
Click to enlarge
Click to enlarge
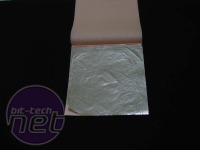
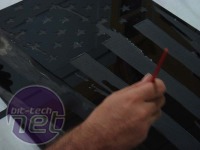
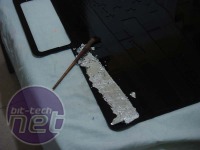
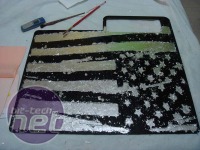
The technique I used on the flag was a time consuming process which required a lot of patience. For this particular technique, I used three layers of silver leaves! Between these layers I used sculpting and also I added a special liner to give a 3D effect. The whole process took me three days working between six and nine hours a day. I also used a technique I created with acrylic which involved removing the high gloss look and making the surface look like brushed matte.
Click to enlarge
Click to enlarge
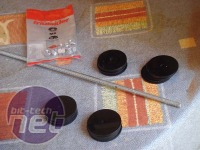
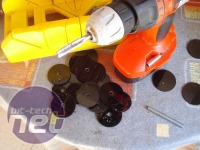
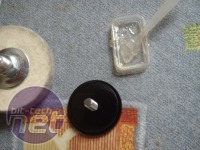
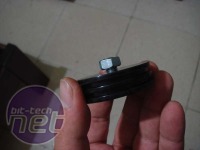
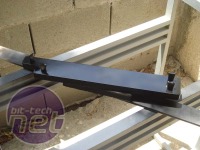
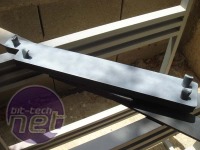
Other important parts I had to make were the case feet. Nothing complicated - just a simple, elegant design. Three big circles and two smaller ones were installed one after the other. I used a 8mm steel thread to hold the pieces together and slow epoxy glue to make one solid piece. Each piece had to be polished individually beforehand.

MSI MPG Velox 100R Chassis Review
October 14 2021 | 15:04





Want to comment? Please log in.