Future Schlock by Alex Ftoulis
December 13, 2010 | 12:17
Companies: #bit-tech #dremel #lian-li #silverstone

Final details and cable tidying
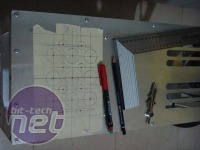
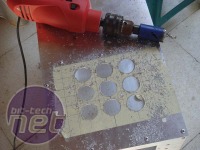
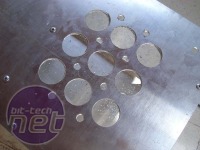
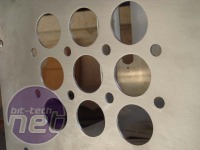
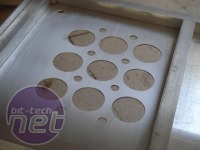
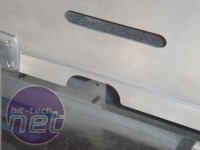
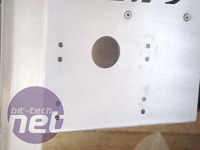
Scratch builds certainly aren't the easiest way to make a great-looking PC. Even while the larger parts were made by machines like laser cutters and CNCs, I still had to add a lot of details which required considerable extra work and effort. Simple mistakes can mean even more time is spent working. For example, because I forgot to add the PSU's ventilation on the original designs I had to create the design and do it myself.Click to enlarge
Click to enlarge
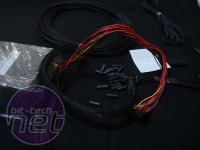
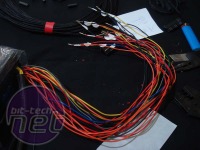
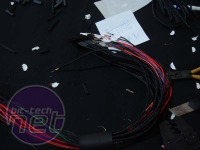
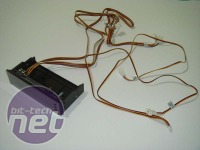
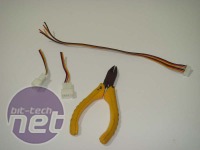
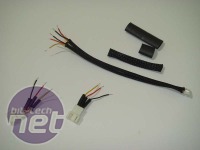
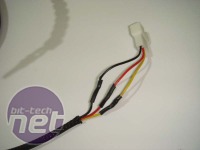
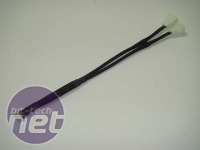
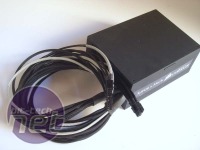
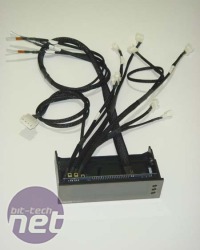
I modified each and every cable to be the right length, limiting clutter. I used black and silver sleeving and my friend Masbuskado from NMC designed stickers for me for the RAM, PSU and airflow direction. Additional designs were made by me for the fans and the Blu-ray drive door.
Click to enlarge
Click to enlarge
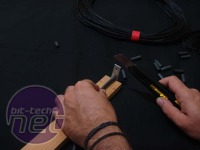
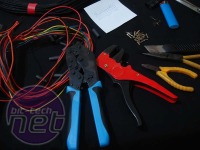
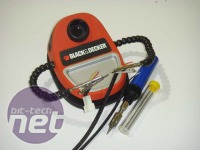
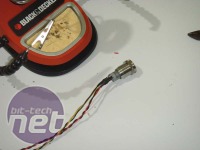
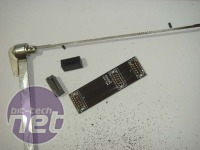
Each cable was cut and soldered in cases where I couldn’t find connectors or crimp contacts. As you might well understand, it's impossible to put all the cables in an article as they seem endless, so if you are curious as to how I dealt with anything specific, refer to my project log.
Click to enlarge
Click to enlarge
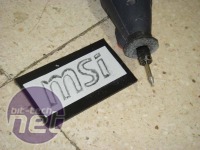
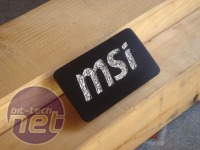
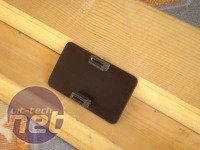
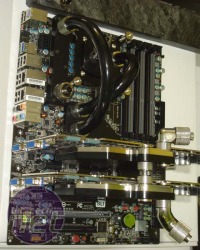
I installed waterblocks on the motherboard and graphic cards and I also created an MSI logo that I attached on the SLI ports so that I could hide the SLI bridge. I finished the design by engraving it and adding silver leaves with a crackling effect on the top.
Click to enlarge
Click to enlarge
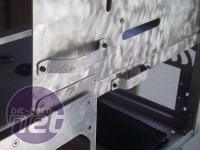
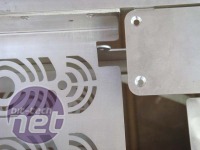
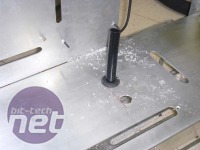
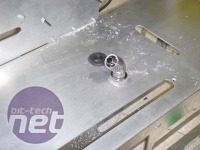
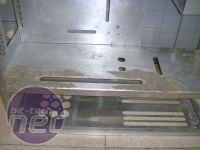
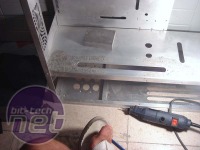
Some extra work was done on the chassis by creating holders for cable management , drilled holes for the tubing and cables to pass through. I also filled some spare holes with titanium putty which could be powder-coated afterwards as it can handle temperatures of 300°C which are required for powder coating.
Click to enlarge
Click to enlarge
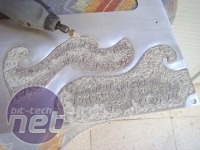
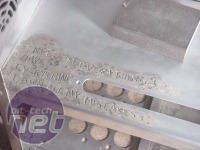
My final touch in this project was the addition of engraved quotes from the book. For this I used titanium which I embedded on the aluminium surface by heavily scratching the aluminium. Then I used various Dremel engraving bits in order to engrave the quotes and as you will see after the powder-coating, I added silver to make it clearer.
Click to enlarge
Click to enlarge
After powder coating there wasn’t much left to be done, the only thing I added were the silver leaves on the quotes, polished the stainless steel grills and screws. Everything was ready for the final assembly.

MSI MPG Velox 100R Chassis Review
October 14 2021 | 15:04




Want to comment? Please log in.