GTC - Building the chassis continued...
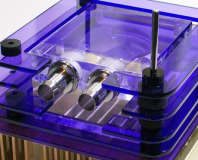
The top section is partly made of clear acrylic, so it needed more attention when bonding, as it can leak and stain the surface. If you apply too little then the pieces won't be sturdy enough; the trick is to apply the adhesive using the syringe until the liquid runs through the connecting edges, then stop and let it dry thoroughly.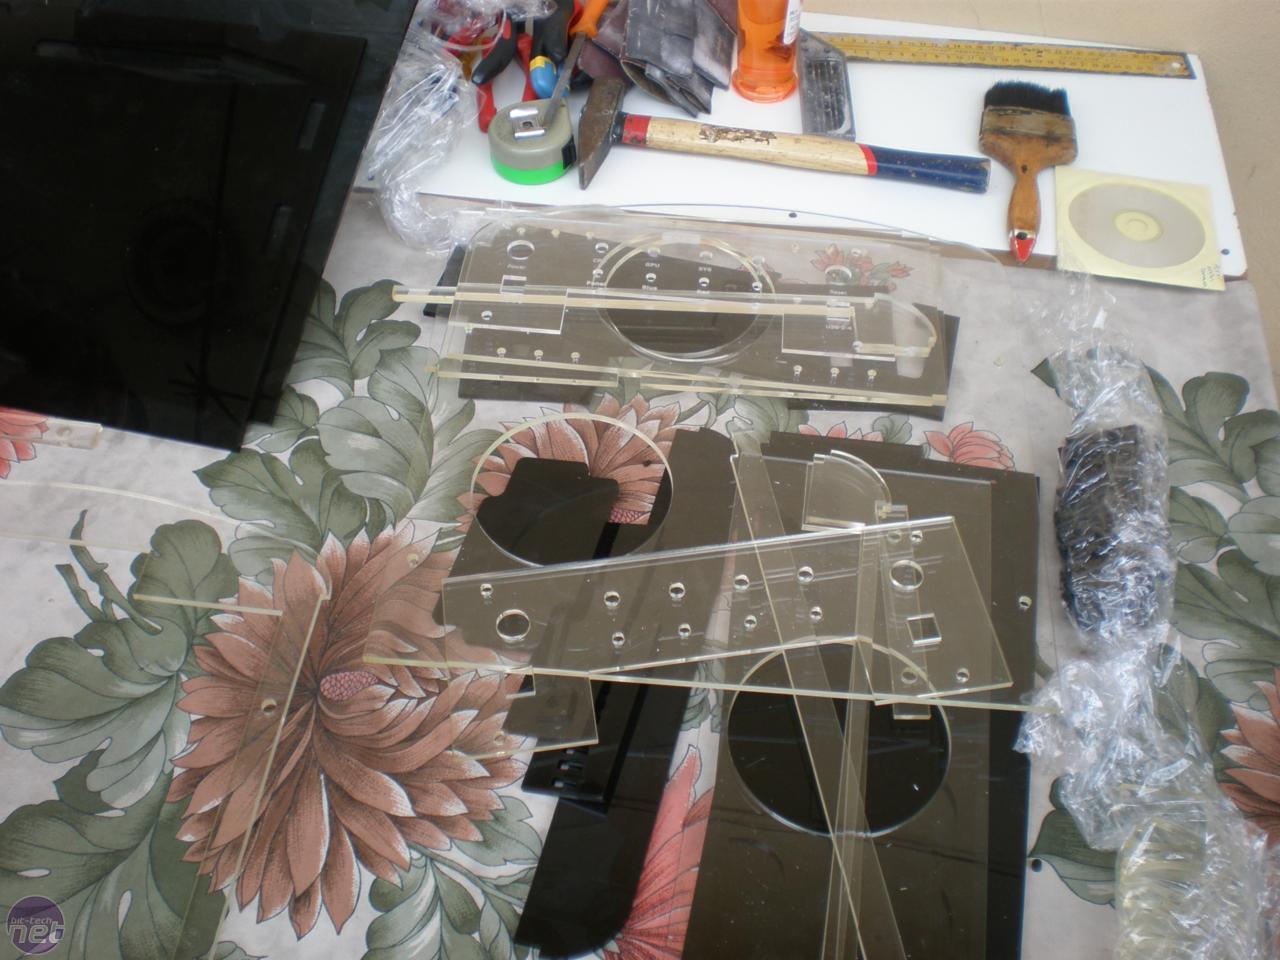
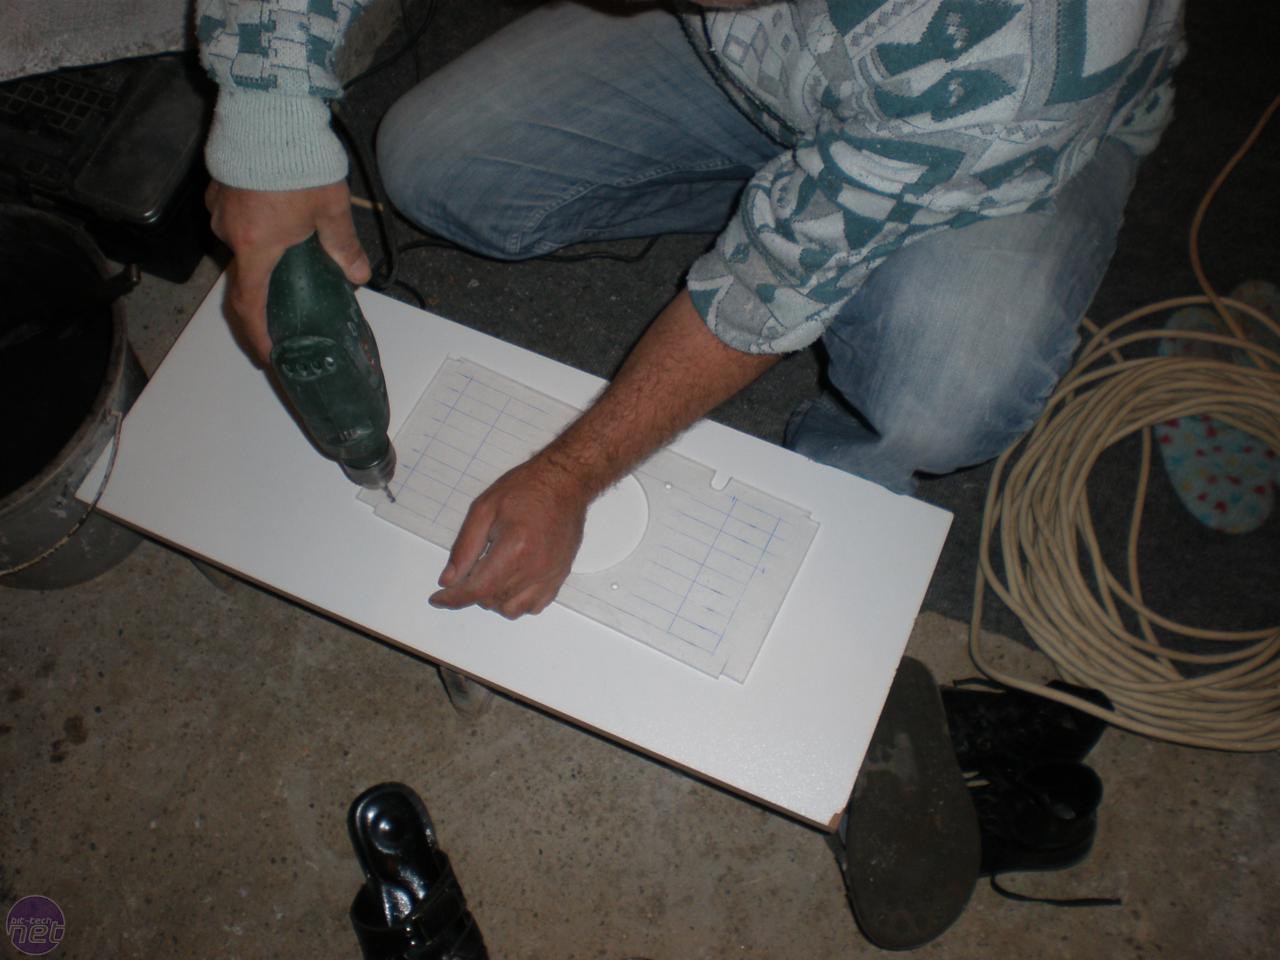
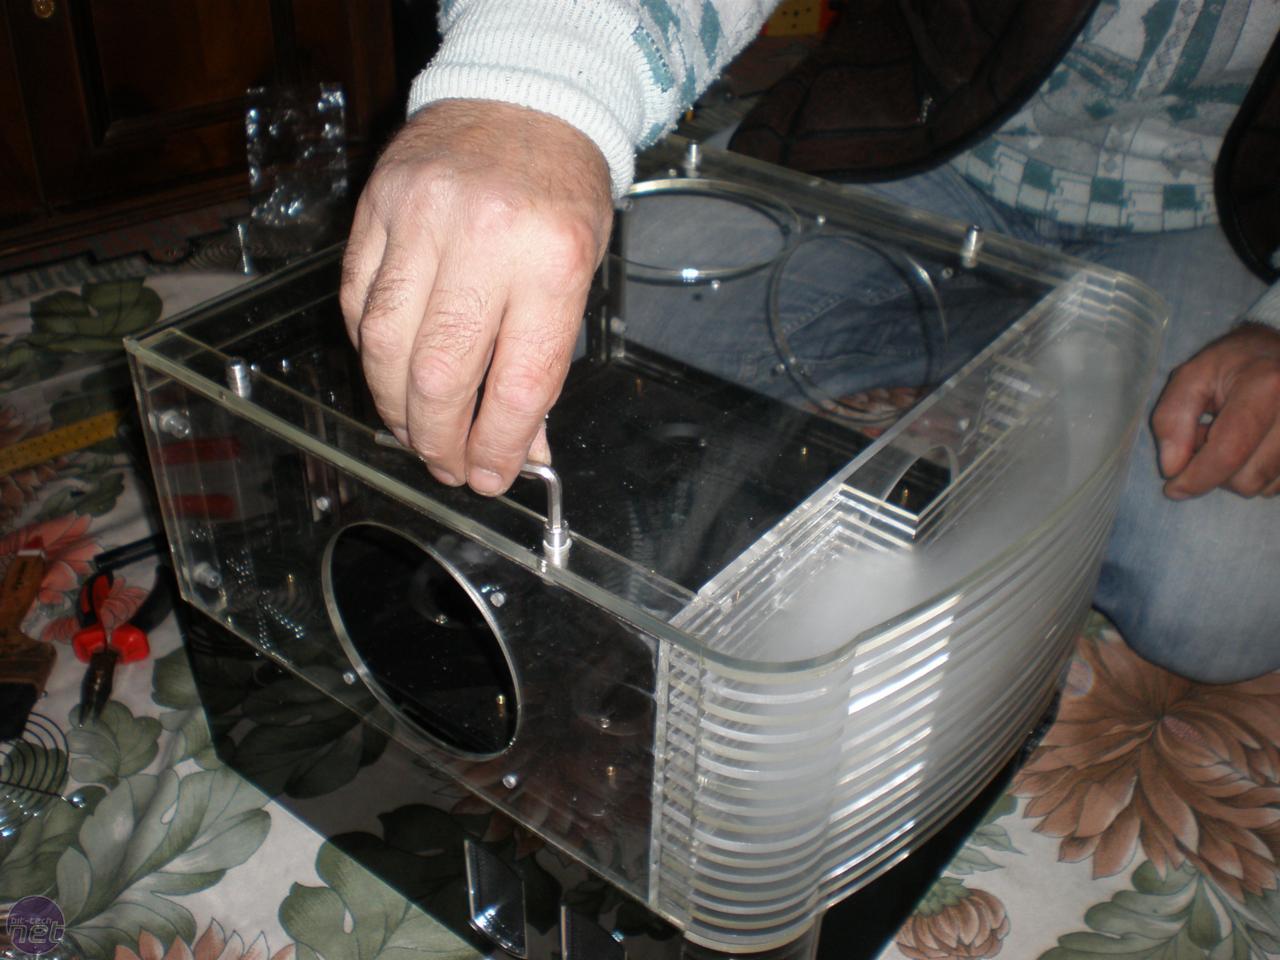
Using thread inserts for fixing the motherboard tray, front panel and top lid of the case worked well. The inserts I used were 8.75mm in diameter, so I cut the necessary holes to 8mm. I then heated and inserted them into the acrylic.
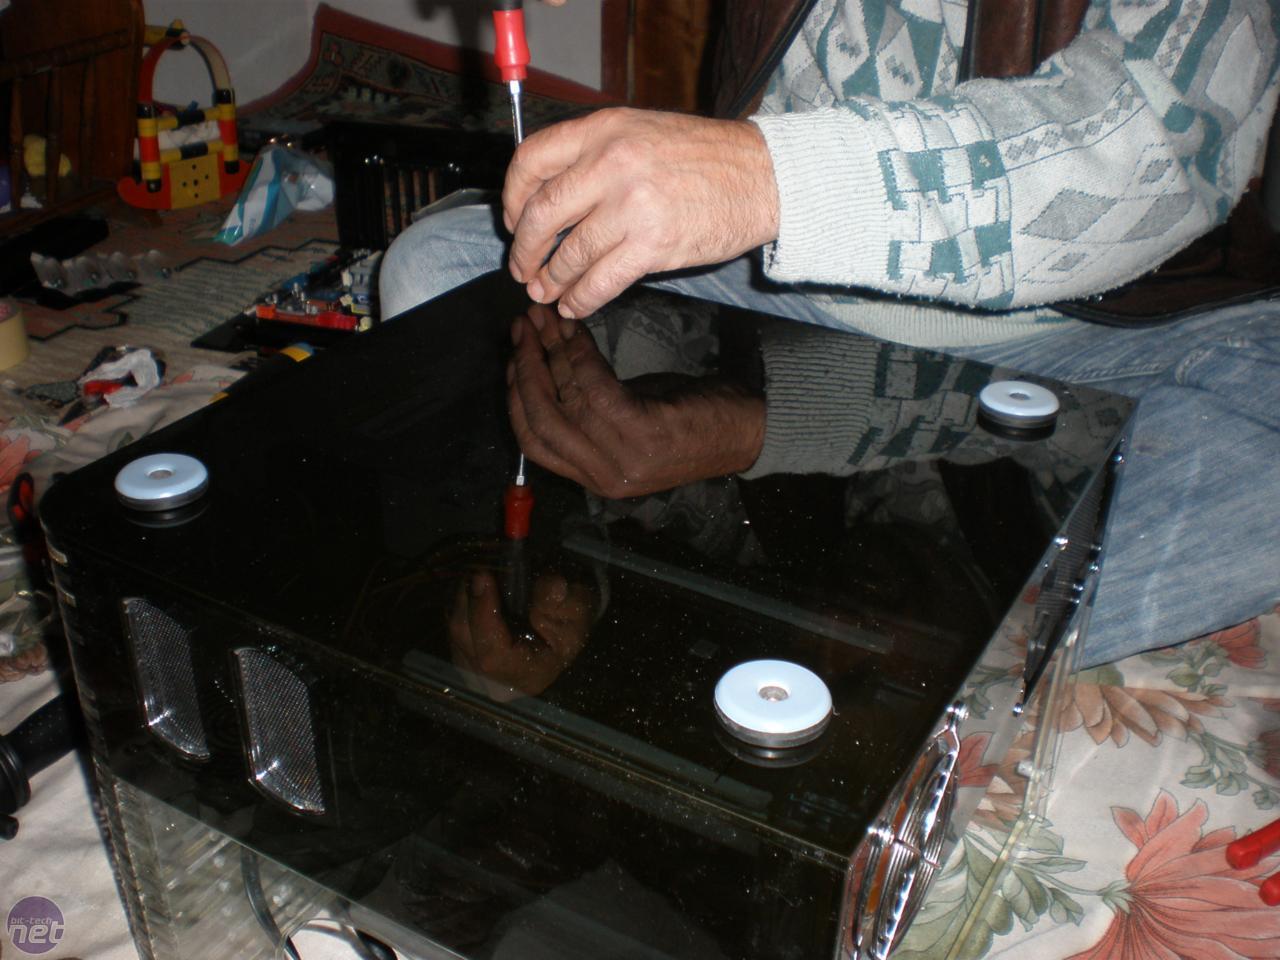
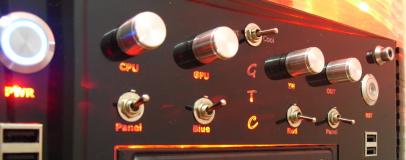
This worked fine; after heating the inserts, they weren't shiny but were at least very sturdy. The final task was to make the front panel, which was to be the focus of the case. I wanted to use toggle switches to control the lighting and fans, and I also wanted the panel to be black to match the rest of the lower section; this would also emphasise the etched labels for the dials and switches.
RELATED ARTICLES


MSI MPG Velox 100R Chassis Review
October 14 2021 | 15:04

Want to comment? Please log in.