GTC - More chassis work and front panel
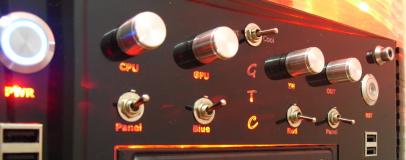
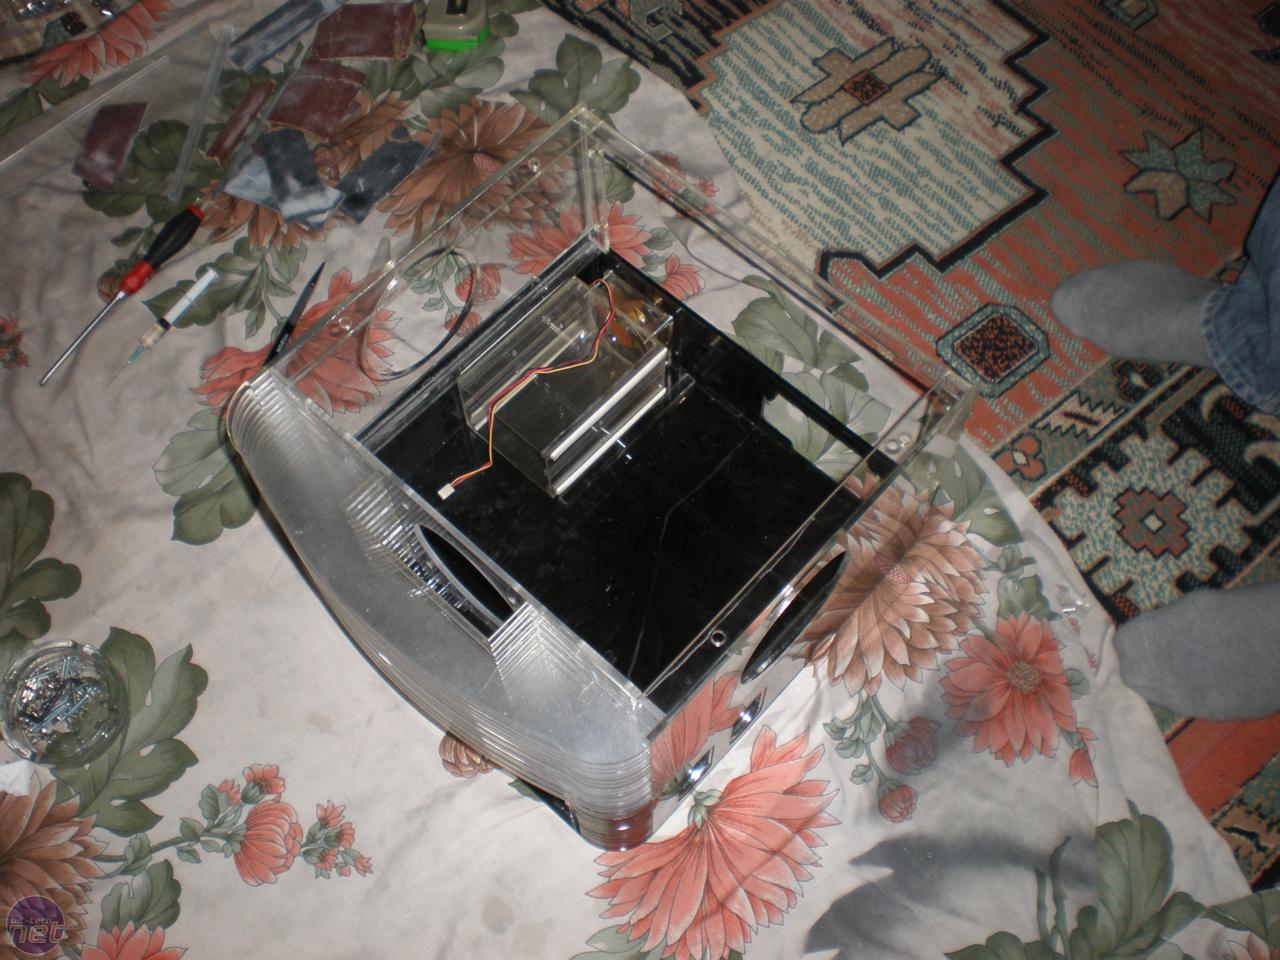
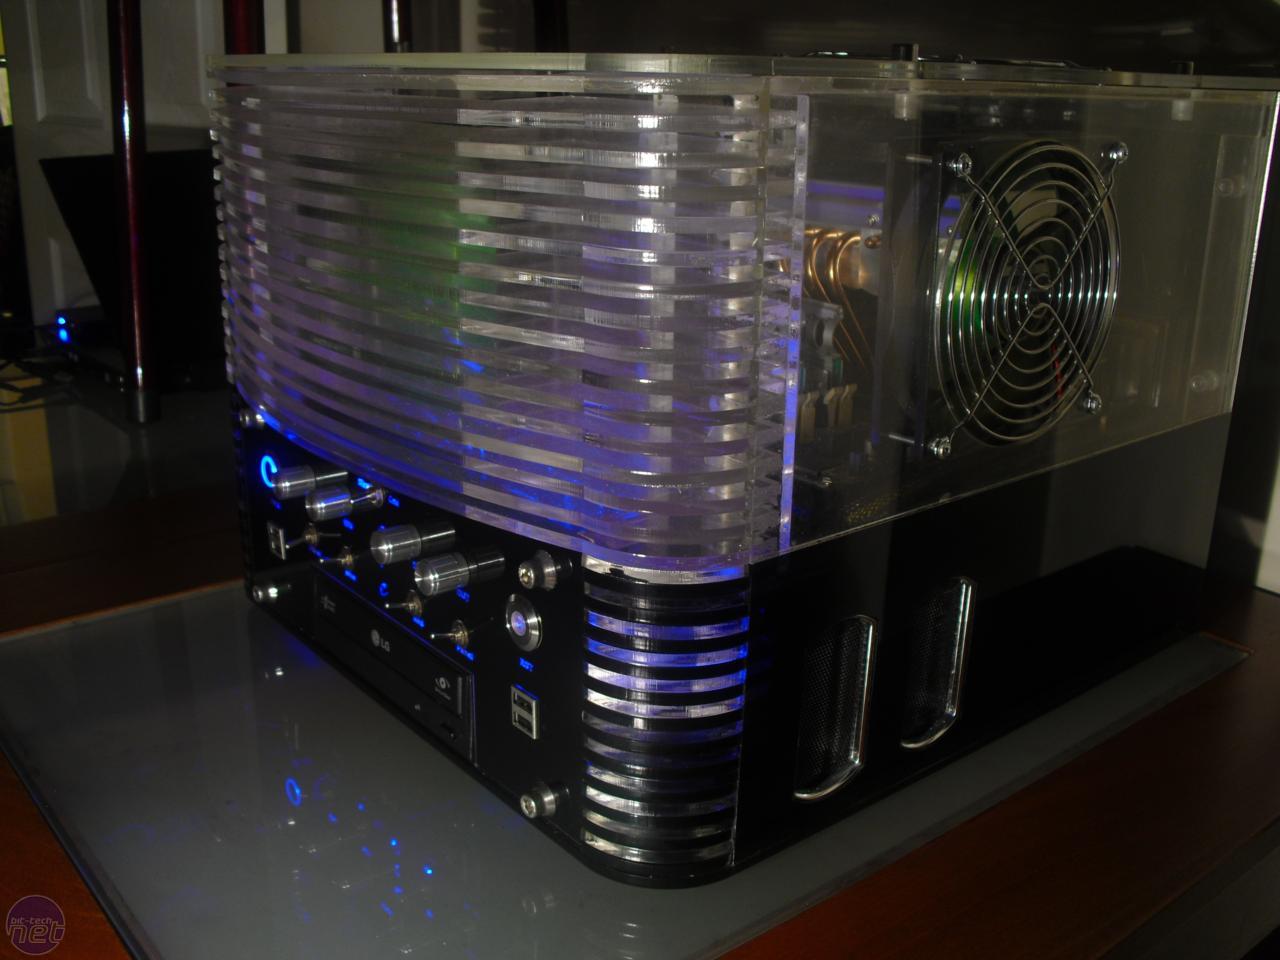
I decided to visit the laser-cutting shop to explain exactly what I wanted. We used 3mm clear acrylic for the front panel simply because 5mm is too thick for the knobs and switches. After making the holes and cutting the rest with the laser machine, we prepared a matt-black folio with laser-etched lettering.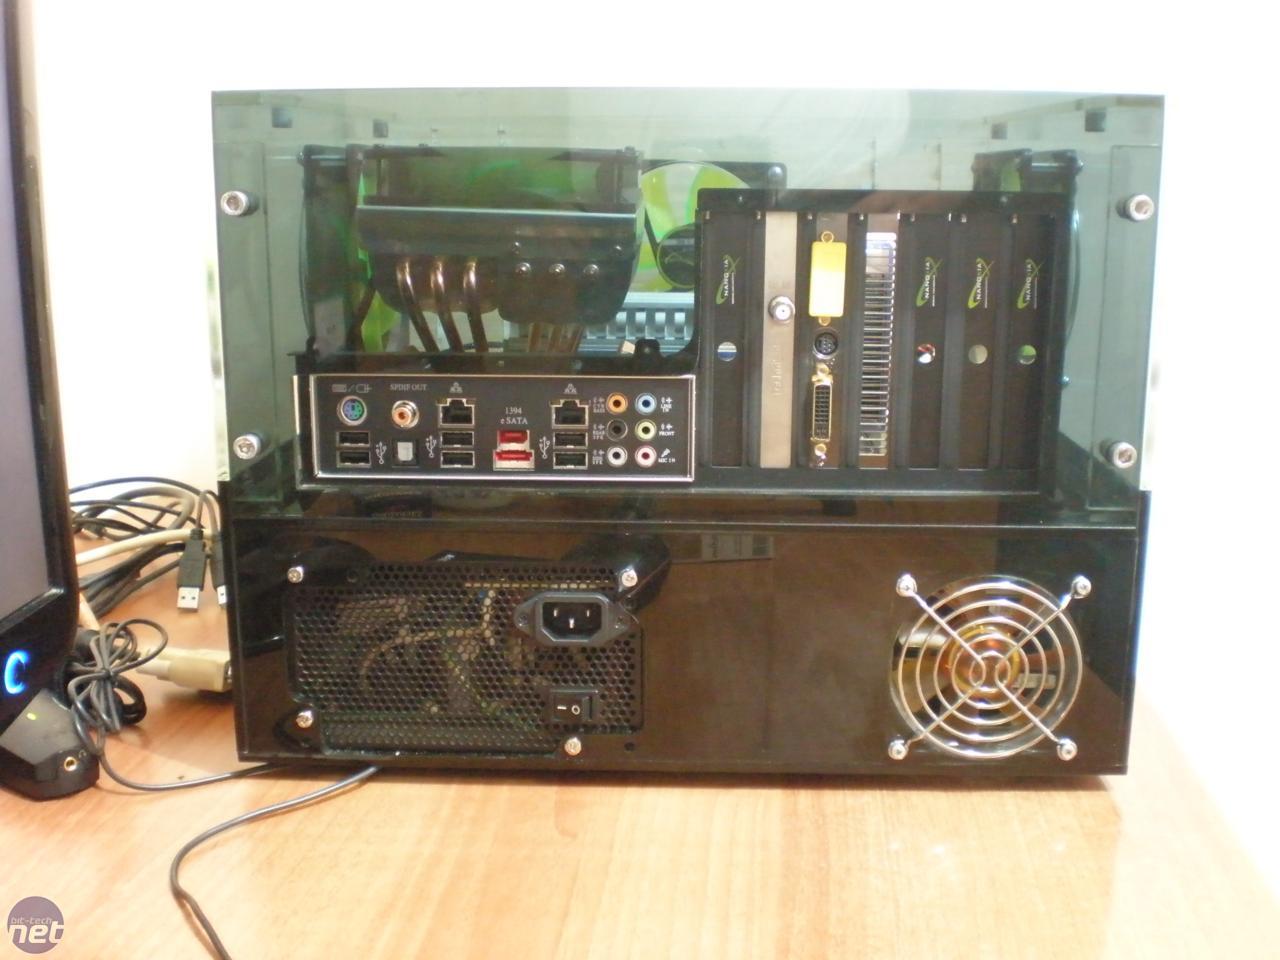

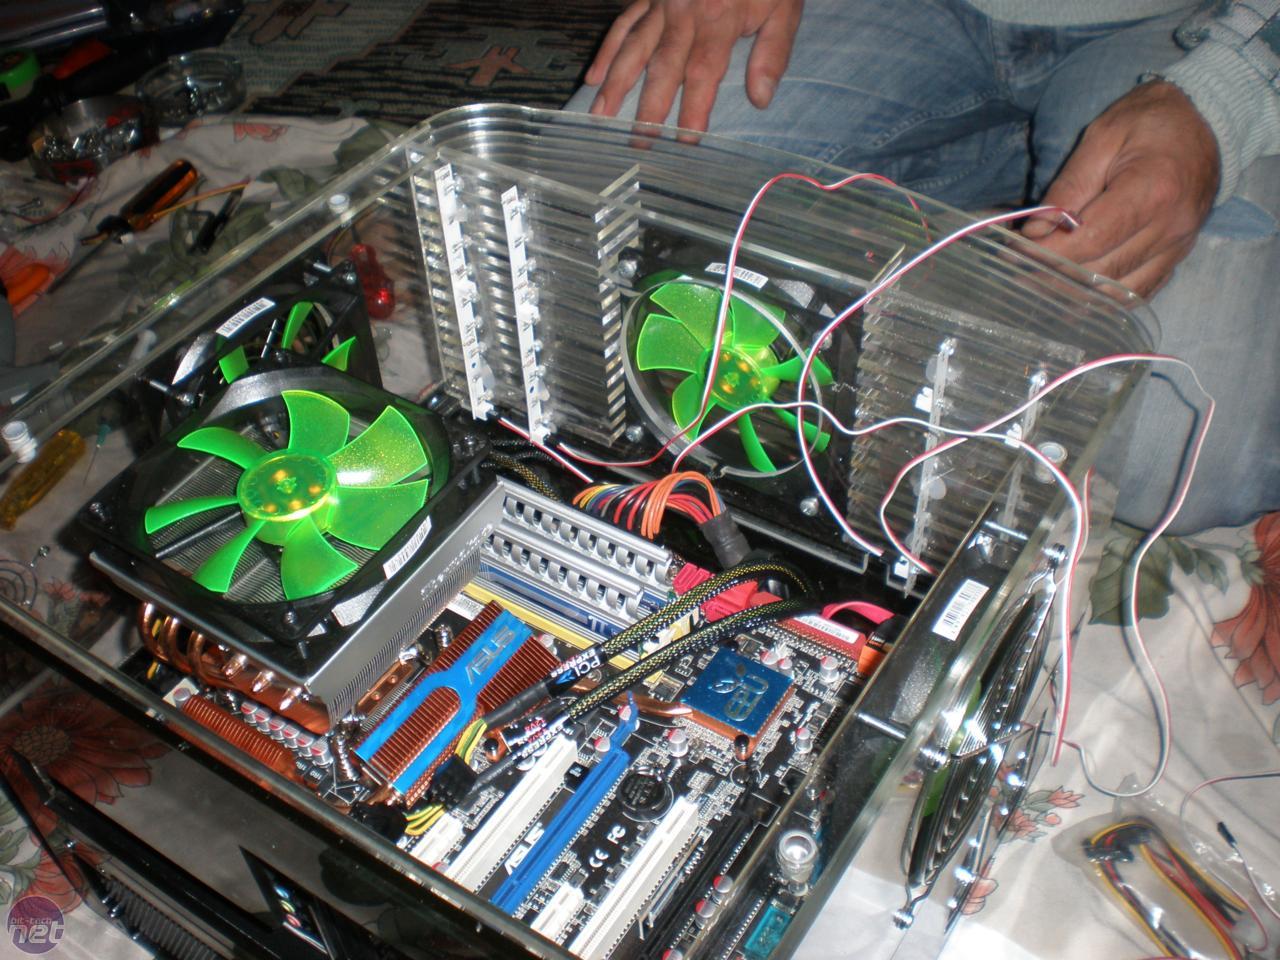
I was really amazed with the result, as the outcome was exactly what I had in my mind. After six hours of sleeving, tidying up and adding custom-made USB sockets, the panel was finally complete. I installed the fans and fan grilles so that it was possible to remove the lid for easy access. Everything powered up first time; I was like a child on Christmas morning, turning the lights on and off, and controlling the cooling.
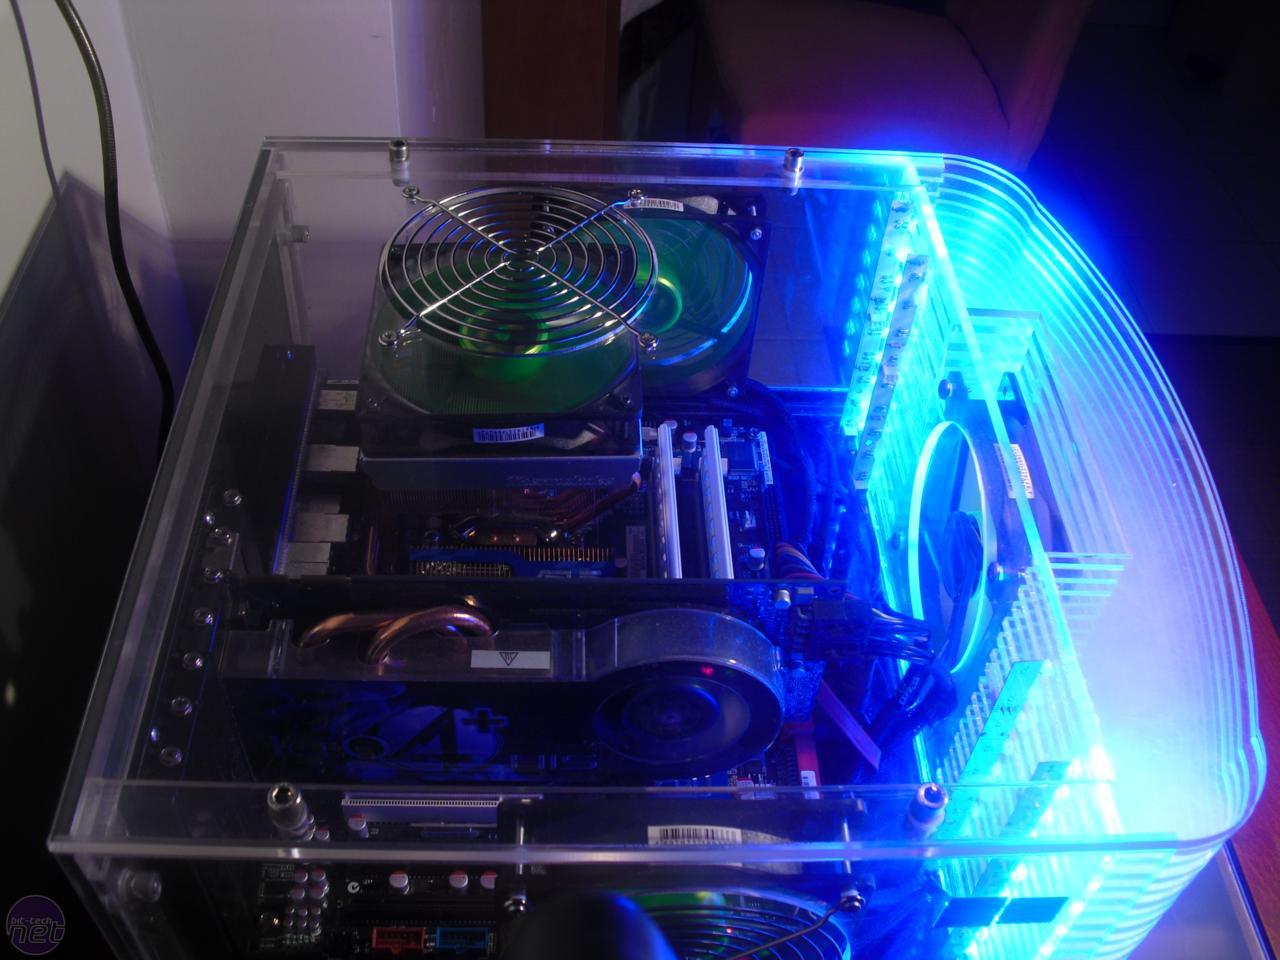
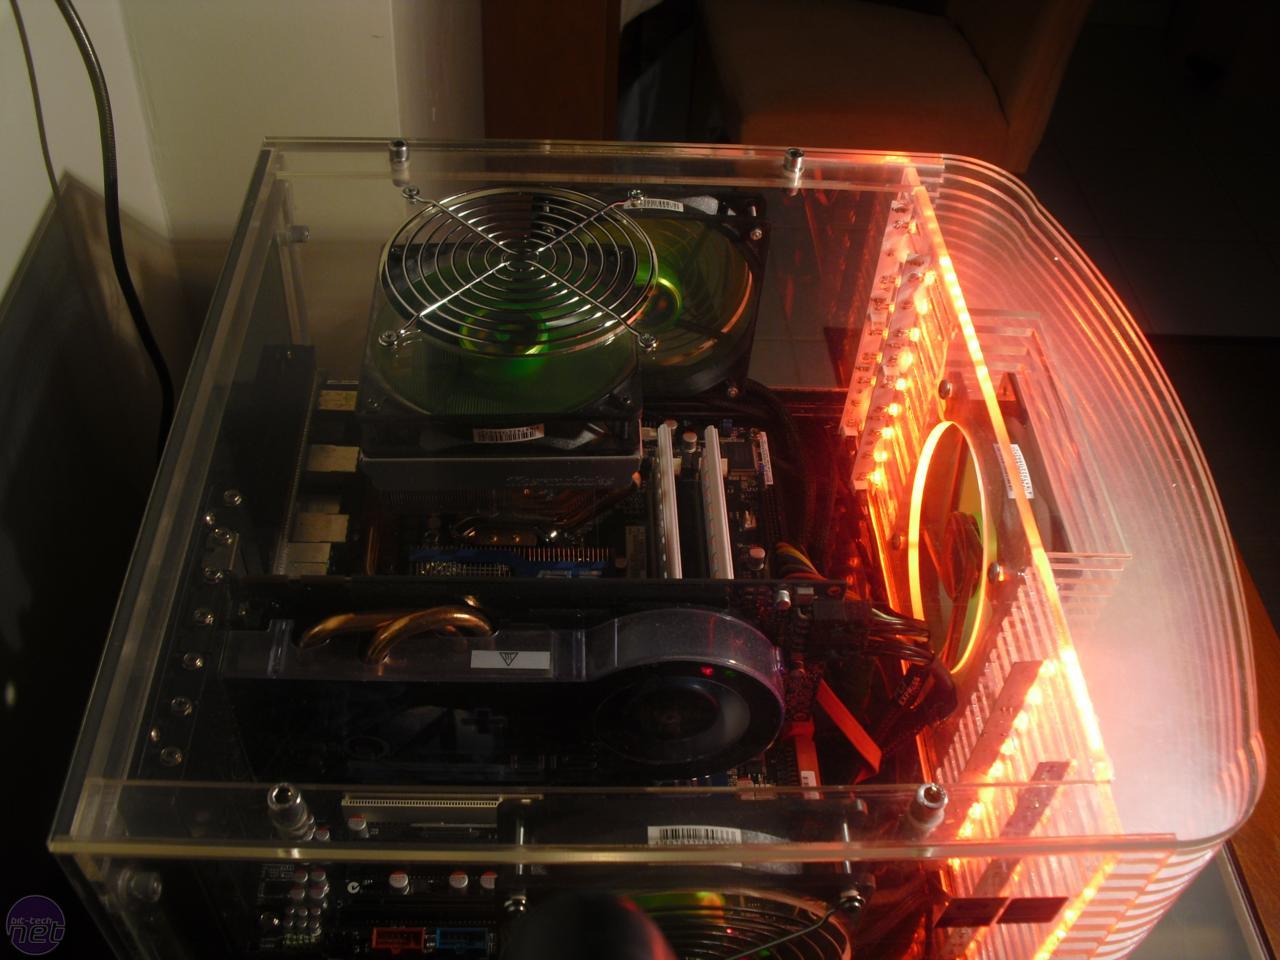

I'm really happy with the finished article, not only because I designed and built the case from scratch, but also as the cooling works really well. I can run every fan at full speed when rendering for example, or simply turn off most of them when performing easy tasks or when I'm still up and everyone has gone to bed. Hope you enjoyed this insight into my project.
RELATED ARTICLES


MSI MPG Velox 100R Chassis Review
October 14 2021 | 15:04

Want to comment? Please log in.