
GwassGween by Cheapskate
Project log: HereForeword by Antony Leather
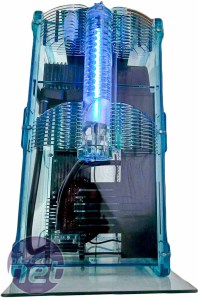 Someone said something on Facebook recently about PC modding that I found describes good modding projects rather well. The comment was along the lines of even though the project in question was made nearly seven years ago, it still looked fantastic - it was ahead of its time.
 It's something that's true for all manner of things, not just PC's, but nonetheless, many of the best projects we've seen still look great nearly ten years on. The same is true for long-time forum member Cheapskate's latest project.
Craig Kendrick, as he's otherwise known, has been involved with a number of other projects since the project began in 2009, and was a finalist in our 2013 Intel NUC case competion (see Craig's entry here). But despite the fact the project had its inception over five years ago, the end result was still one of the best PCs to come out of 2013.
Enough of our waffle, though, as Craig has kindly taken the time to put together a fascinating walk-through of his project, called GwassGween. It's over to Cheapskate to tell us how he did it...
Hello, Cheapskate here. I've been a member here for some time, and some people say I'm good at building stuff. They never say it's pretty stuff, just that I have some skill at modding.
I have a few builds here in the project logs, and I have attracted fans who love to watch a good train wreck. I was asked to tell you a little about my last project, Gwass Gween, also known as GG, or Gigi, (or 'Ween.)
Holey moley. After tinkering with this project on and off for over four years, it's hard to know how to start. I almost need someone to brief me on everything that happened. It's all a blur of sanding. Horrible amounts of sanding.
Click to enlarge
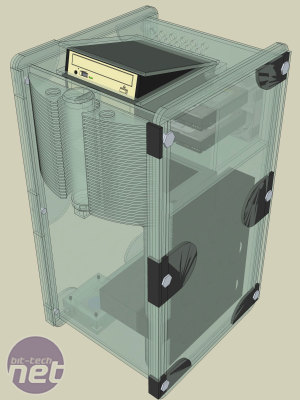
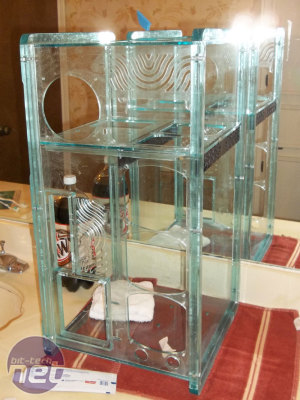
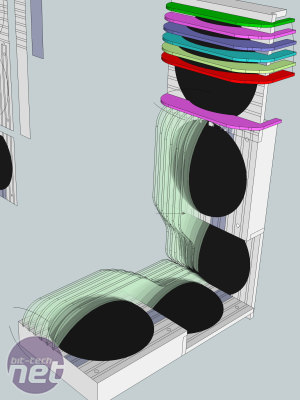
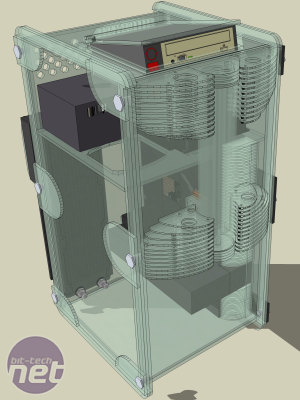
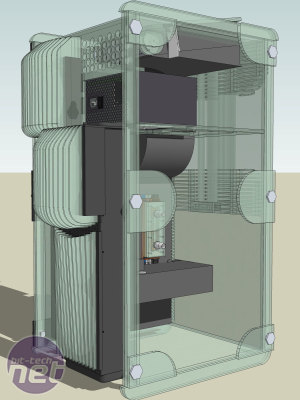
Initially, I wanted this design to be big and roomy to make maintenance simpler. (Ok, I failed at all of that but, big'.) To give me extra clearance inside, I put the frame support outside. A large part of the body is a single fused glob of glass green plexiglass made of 40 or so smaller parts fused together. Side panels are mounted with six Frankenstein-esque bolts with the stainless steel nuts sealed into the frame.
Click to enlarge
Ironically, one of the "ease of use" features I planned made the case insanely complicated:
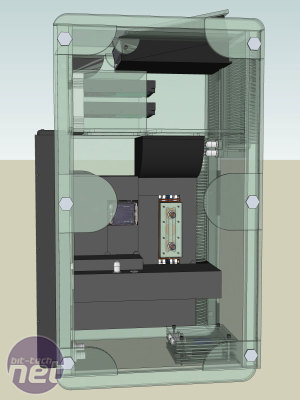
The covering of all electronics and wiring with black Plexiglas. Let's face it; My wiring work is awful. It's better to cover my shame. Everything was to be boxed and disguised. If possible, louvres were added- EVERYWHERE.
Click to enlarge
I liked the idea of hiding any front interface, so the optical drive, power switch and USB are stashed in a retractable lid hatch. A quick release hard drive latch that uses polycarbonate that I designed for an earlier build makes an appearance here again.

MSI MPG Velox 100R Chassis Review
October 14 2021 | 15:04



Want to comment? Please log in.