
Motherboard
I know a lot of people here are about hardware. I am the opposite. For this build I picked up a Gigabyte 990FXA-UD3. Is that powerful? I don't know. I bought it because it was black, and on sale. From the pictures of it online I determined that I might be able to completely water-cool it. That was important since I was going to stuff it in a box in another box.
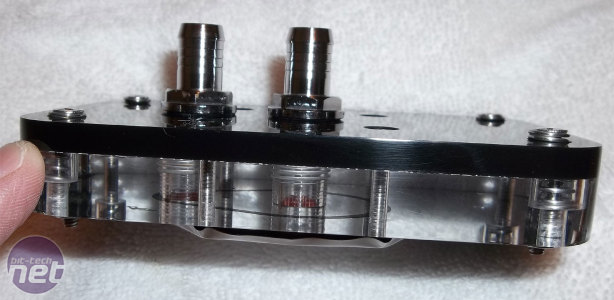
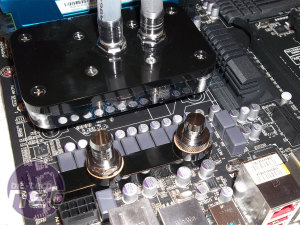
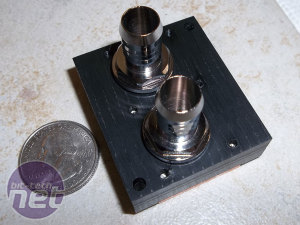
For the CPU block I modified a DangerDen TDX to suit my tastes. The large top hides the mounting springs and a decent chunk of the motherboard.
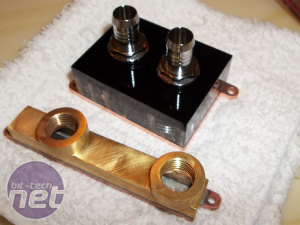
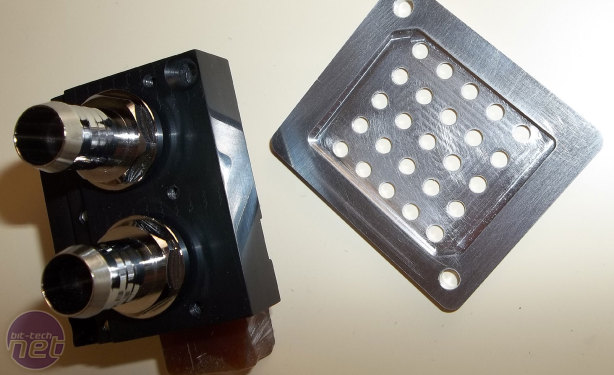
Next, I removed the stock heatsinks and measured the crap out of everything. Making the Northbridge block was fairly simple with a copper plate, O-ring, and plastic top. The Mosfet/V-reg...whatever they are called-thingy was a little trickier. The space was far too petite to seal with an O-ring and screws, so I milled a brass top that could be soldered to the copper base. I found out with the help of some of the machinists here that brass can warp if not annealed frequently. Getting the base sealed took several tries.
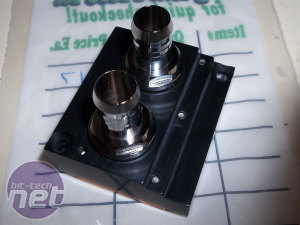
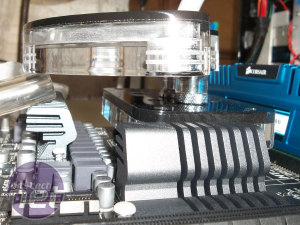
Since I added several pounds to the weight of the board, and plumbing was likely to add further stress, I made backplates for all of the new parts.
Long ago, motherboard manifolds were creatures of legend. Often they were spoken of with whispered voices around design threads when I was designing GG. By the time I had gotten around to working on my own, many a builder had finished their own motherboard manifolds far above my skill level. I plodded on with my own 'plastic brick' style despite several juicy and tempting innovations appearing.
My design centers around the fact that I couldn't make dead-on measurements of the ports. I needed to use tubing, but keep the manifold close to the board. My solution was to do away with the fittings and seat the tubing directly to the manifold.
I know a lot of people here are about hardware. I am the opposite. For this build I picked up a Gigabyte 990FXA-UD3. Is that powerful? I don't know. I bought it because it was black, and on sale. From the pictures of it online I determined that I might be able to completely water-cool it. That was important since I was going to stuff it in a box in another box.
Click to enlarge
For the CPU block I modified a DangerDen TDX to suit my tastes. The large top hides the mounting springs and a decent chunk of the motherboard.
Click to enlarge
Next, I removed the stock heatsinks and measured the crap out of everything. Making the Northbridge block was fairly simple with a copper plate, O-ring, and plastic top. The Mosfet/V-reg...whatever they are called-thingy was a little trickier. The space was far too petite to seal with an O-ring and screws, so I milled a brass top that could be soldered to the copper base. I found out with the help of some of the machinists here that brass can warp if not annealed frequently. Getting the base sealed took several tries.
Click to enlarge
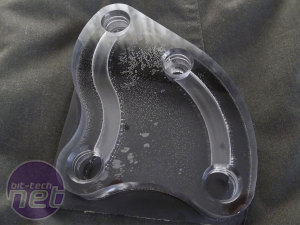
The southbridge was also a tight fit under the video card. I opted for a Delrin top since I had to carve down a lot of the top and needed the extra material strength.Click to enlarge
Since I added several pounds to the weight of the board, and plumbing was likely to add further stress, I made backplates for all of the new parts.
Click to enlarge
Long ago, motherboard manifolds were creatures of legend. Often they were spoken of with whispered voices around design threads when I was designing GG. By the time I had gotten around to working on my own, many a builder had finished their own motherboard manifolds far above my skill level. I plodded on with my own 'plastic brick' style despite several juicy and tempting innovations appearing.
My design centers around the fact that I couldn't make dead-on measurements of the ports. I needed to use tubing, but keep the manifold close to the board. My solution was to do away with the fittings and seat the tubing directly to the manifold.

MSI MPG Velox 100R Chassis Review
October 14 2021 | 15:04



Want to comment? Please log in.