Finishing Touches
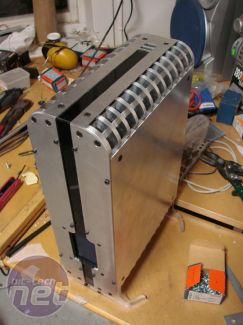
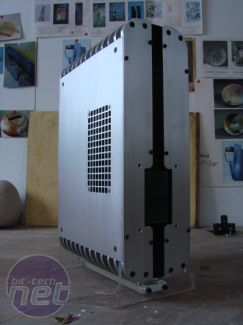
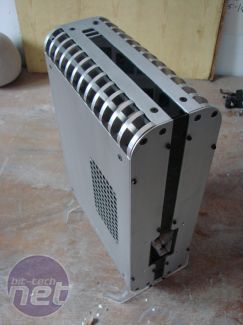
I'm afraid I didn't take any photos during of this part sorry, so I'll just talk you through it.As this is an HTPC, it wanted it to look really stylish, but since I'm not a big fan of painting: partly because I'm terrible at it and partly because I like the clean metallic finish. I decided to brush the outer aluminium panels instead to give is a stylish, uniform effect. This started with some 800 grit wet-sanding to remove the major scratches and such from the build process.
Next I took some 120 grit (rougher) sandpaper and sanded all the panels in one direction to get that brushed aluminium "Lian Li" look. Last time attempted this, I didn't wet-sand the panels prior to the actual brushing, but I found this method gave a much better result.
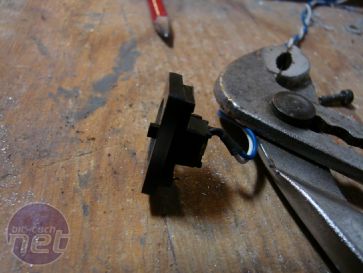
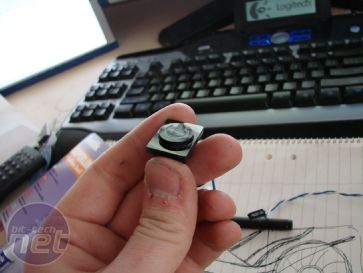
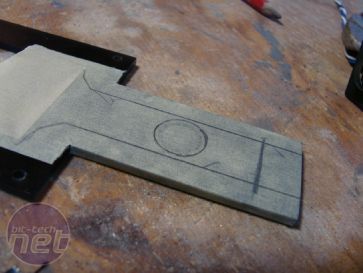
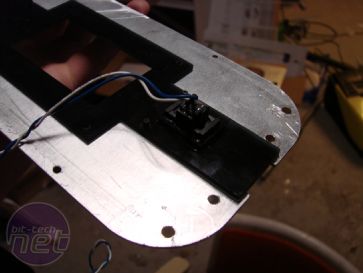
As the grand finale: the start button. I've got this strange hatred of shop-bought Bulgin switches so I decided to make my own that better suited my build. I started off by taking the momentary button off from an old scrapped case, and made a small plastic plate to hold it in place, before another round piece mounted on the top for the button itself.
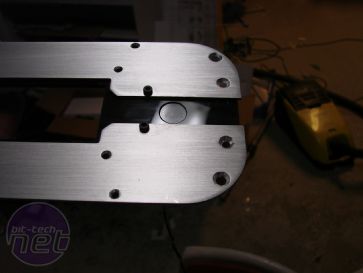
After that I cut a hole in the centre acrylic strip in the front, and glued the button to the back of it. Simple really, but the effect works well for what I wanted.
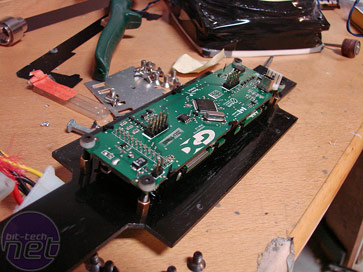
On the left in the gap, the LCD was mounted using some brass standoffs and plastic gromits.
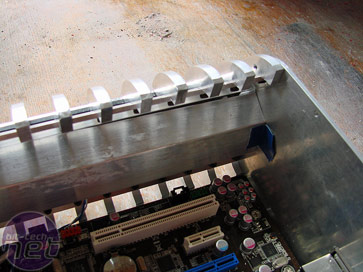
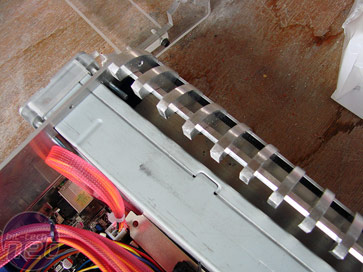
For the lighting, I used a "U" shaped piece of aluminium that was secured to the ends with a hole at the end for the wiring. This allowed a blue light to be inserted along it so it reflected outwards on both sides. It squeezed in nice and close behind the PSU as well.

MSI MPG Velox 100R Chassis Review
October 14 2021 | 15:04




Want to comment? Please log in.