Project N.V. by Hans Peder Sahl (p0Pe)
October 16, 2013 | 10:09
Companies: #aquacomputer #bit-tech #corsair

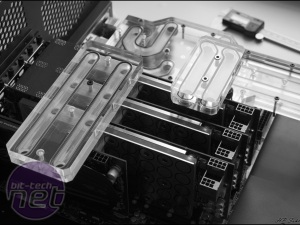
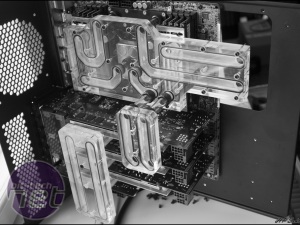
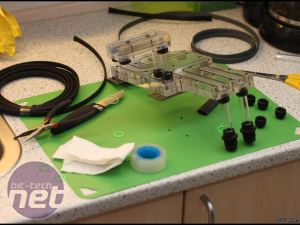
The finished result of the whole motherboard interconnect block looked like this. Many people has asked me about the o-rings in the blocks, and no, they are not strings that are glued together, but actually true o-rings in perfect size for the channels.
On the pictures you can also see the bridge that I talked about earlier that connects the motherboard block and the interconnect plate. I also thought that it would be a shame to use the original EK SLI bridge, so I made my own design that was like the rest, and also longer so that I could better hide the hard tubing.
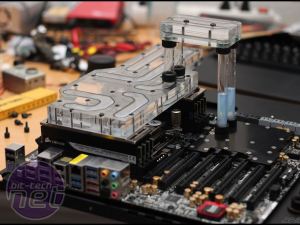
This gif shows the initial test filling and leak-testing of the interconnect block. I opted for non-transparent white fluid as that would give the most solid look in the channels.
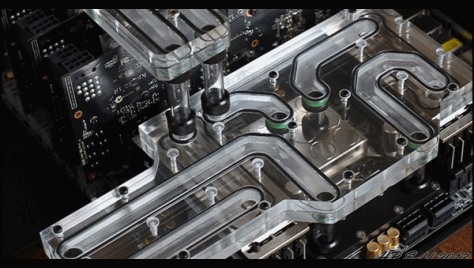
Another shot of the block. I made the mistake of not swapping out the O-rings on the Bitspower fittings when I first mounted the blocks, which resulted in the green o-rings looking totally strange when the rest of the color scheme was black/white/red. So off with the whole thing, and every o-ring was swapped out with black ones.
Click to enlarge
On the pictures you can also see the bridge that I talked about earlier that connects the motherboard block and the interconnect plate. I also thought that it would be a shame to use the original EK SLI bridge, so I made my own design that was like the rest, and also longer so that I could better hide the hard tubing.
Click to enlarge
This gif shows the initial test filling and leak-testing of the interconnect block. I opted for non-transparent white fluid as that would give the most solid look in the channels.
Click to enlarge
Another shot of the block. I made the mistake of not swapping out the O-rings on the Bitspower fittings when I first mounted the blocks, which resulted in the green o-rings looking totally strange when the rest of the color scheme was black/white/red. So off with the whole thing, and every o-ring was swapped out with black ones.

MSI MPG Velox 100R Chassis Review
October 14 2021 | 15:04



Want to comment? Please log in.