Supports and main section
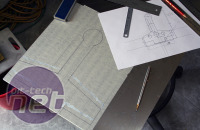
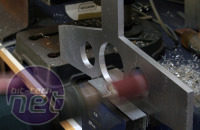
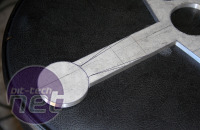
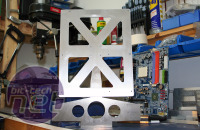
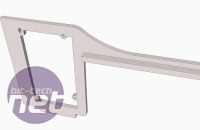
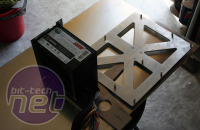
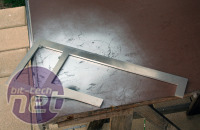
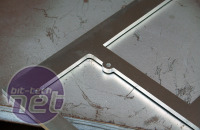
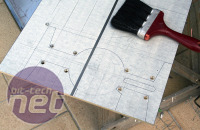
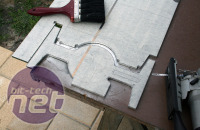
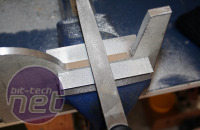
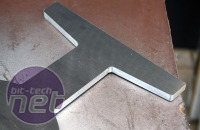
With the PSU/expansion slot support, things departed a fair bit from the original design. This was because the original design was focussed almost purely on aesthetics. However, I soon learnt that it's worth measuring the parts involved. As a result I made this part from 6mm-thick aluminium.Click to enlarge
Click to enlarge
Click to enlarge
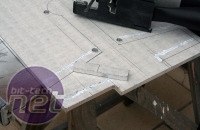
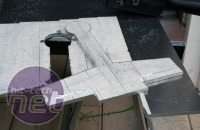
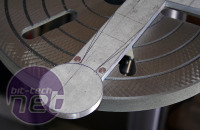
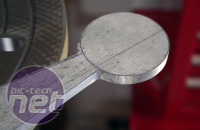
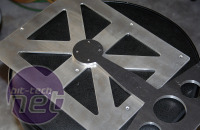
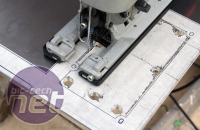
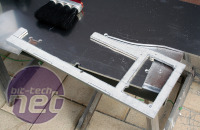
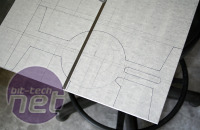
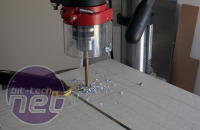
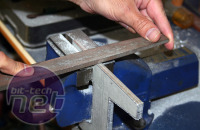
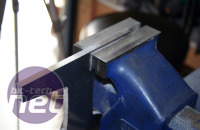
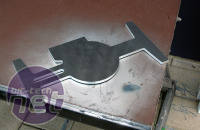
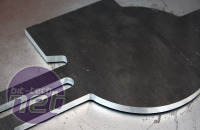
The main support section, (the part at the bottom that everything attaches to), also ended up considerably altered. This part was cut from 8mm aluminium. In the following pictures you can see pilot holes being drilled for the jigsaw blade and some evidence of filing work.
Click to enlarge
Click to enlarge
Click to enlarge
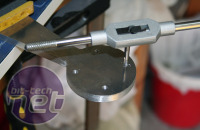
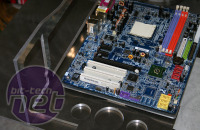
With the four main structural components made, it was time to start putting the pieces together. Although I had thought how and where various parts were going to connect together (and the screw sizes required), it was still necessary to test the screws that were going to be used.
Click to enlarge
Click to enlarge
Click to enlarge
Click to enlarge
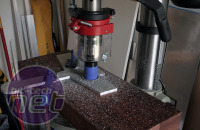
When everything looked okay, the parts were drilled and tapped. Some very strange jigs and clamping setups needed to be used here, but unfortunately, due to the difficulty and time-pressure involved in this procedure, I neglected to take many photos.

MSI MPG Velox 100R Chassis Review
October 14 2021 | 15:04





Want to comment? Please log in.