Struts and undercarriage
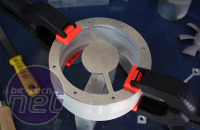
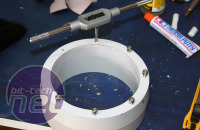
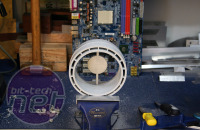
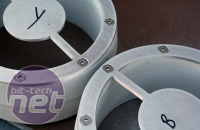
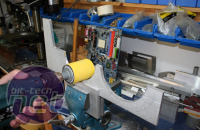
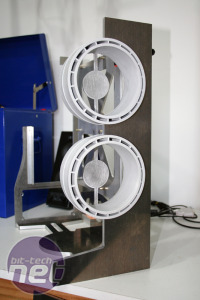
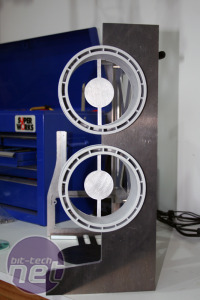
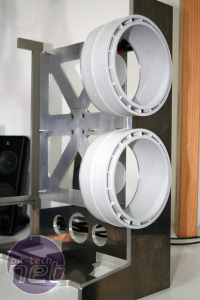
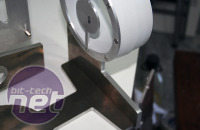
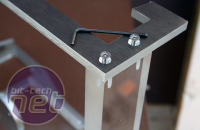
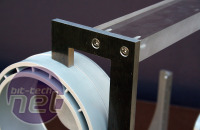
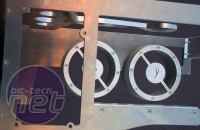
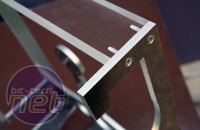
Having reached the point where the front, back and right side were all made and fitted together, a 20mm plexiglass link was made to connect the various parts together.Click to enlarge
Click to enlarge
Click to enlarge
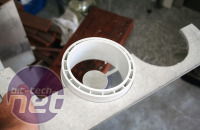
This is also provides a location for the right side panel to attach to as well. While I was at it, a section at the top of the front panel was removed because it looked too monolithic.
Click to enlarge
Click to enlarge
Click to enlarge
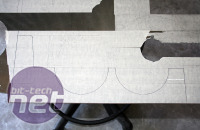
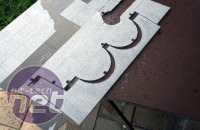
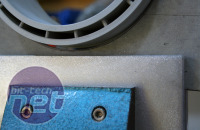
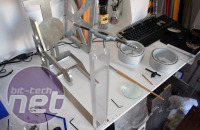
The chassis was flipped over to start work on the support struts and feet. All went pretty much as planned. A template was made from the original SketchUp model and four struts were cut from 12mm metal bar.
Click to enlarge
Click to enlarge
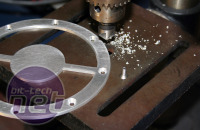
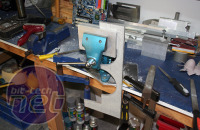
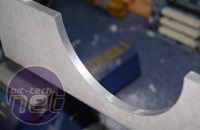
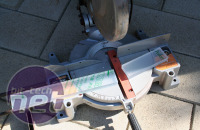
Cutting the 12mm metal bar tested my jigsaw to the limit, but it managed to cut through the thick bar, so I could then shape them using a small grinder followed by lots of filing.

MSI MPG Velox 100R Chassis Review
October 14 2021 | 15:04




Want to comment? Please log in.