
I remember thinking that the frame came together really quickly and had high hopes that the rest of the build would go as smoothly.. but the devil was in the details.
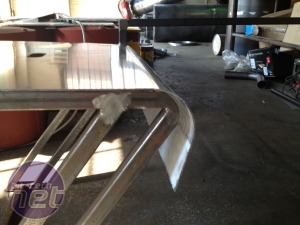
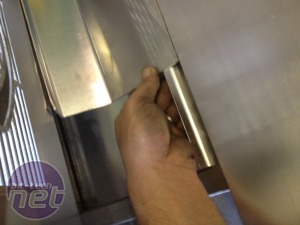
I used 2mm aluminium plates that I had laser cut and then rolled myself at the workshop, so in total around 32kg of aluminium was used. Heavy yes but since I was planning on mounting a rather monstrous 1080 radiator to the cladding I needed the strength.
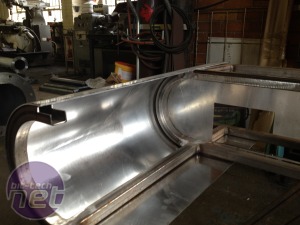
It was then time to start mounting the cladding to the frame, this must have been the most time consuming and labour intensive part of the build. In total there are 240 rivnuts and bolts holding the cladding to the frame.
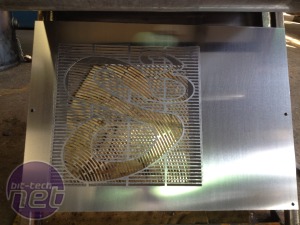
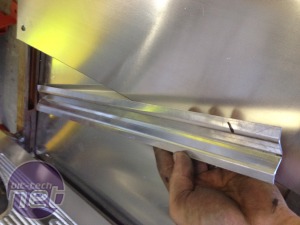
While the cladding was going on I started noticing some "lag" in some of the panels, specifically on the legs due to the angle. Luckily having some spare aluminium plate I made up some support struts that could be mounted on the inside of the desk that gave enough tension and aligned the joints very well. Based on the fact that this build was already starting to tip the scales I wasn't too concerned about additional weight.
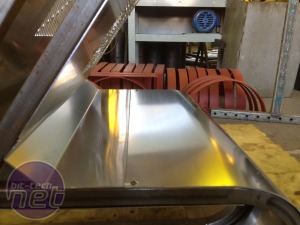
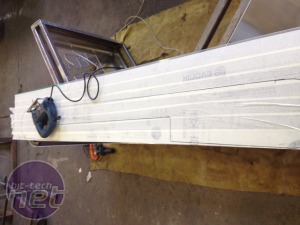
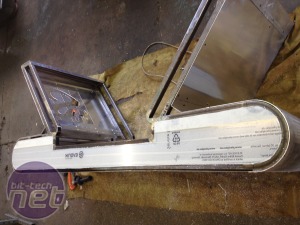
After completing the outside cladding it was time to get the front window mounted. I had originally intended to use glass, but designing in Sketchup and real world builds often do not align 100%. I had concerns the glass may not fit so well and well..
Click to enlarge
I used 2mm aluminium plates that I had laser cut and then rolled myself at the workshop, so in total around 32kg of aluminium was used. Heavy yes but since I was planning on mounting a rather monstrous 1080 radiator to the cladding I needed the strength.
Click to enlarge
It was then time to start mounting the cladding to the frame, this must have been the most time consuming and labour intensive part of the build. In total there are 240 rivnuts and bolts holding the cladding to the frame.
Click to enlarge
While the cladding was going on I started noticing some "lag" in some of the panels, specifically on the legs due to the angle. Luckily having some spare aluminium plate I made up some support struts that could be mounted on the inside of the desk that gave enough tension and aligned the joints very well. Based on the fact that this build was already starting to tip the scales I wasn't too concerned about additional weight.
Click to enlarge
After completing the outside cladding it was time to get the front window mounted. I had originally intended to use glass, but designing in Sketchup and real world builds often do not align 100%. I had concerns the glass may not fit so well and well..

MSI MPG Velox 100R Chassis Review
October 14 2021 | 15:04



Want to comment? Please log in.