
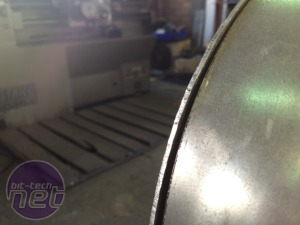
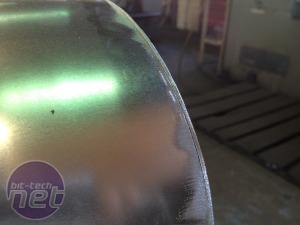
There is no real easy way to grind down the glass once toughened so I decided to use 10mm plexi. The shape was traced off the frame and then roughly cut with a jigsaw. Add one belt sander and it was fitting great!
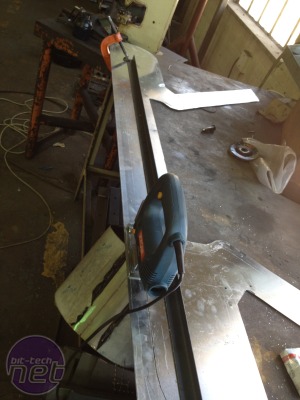
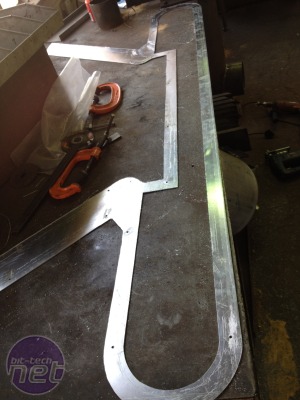
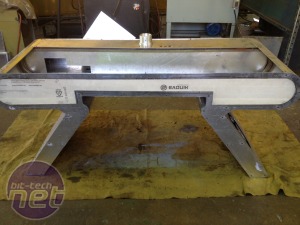
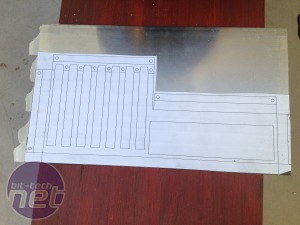
With the plexi in place the front and back panels could be completed. The parts were not laser cut this time to achieve a better fit, so the desk was placed on its side and the front and back panels traced onto a sheet of aluminium. I cut both the outsides as well as the window inserts out with a jigsaw, slowly... very slowly.
The slow cutting gave nice clean lines that only required a little sanding for final clean-off.
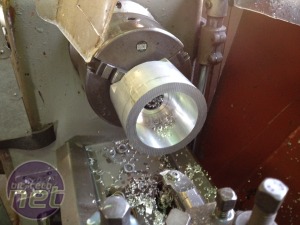
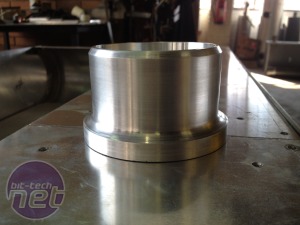
Now that the main construction was done I could start working on some of the finer details. First up was the screen stand base. This was machined from an aluminium billet that could be securely mounted to the frame, but allow me to remove the screens by means of three grub screws. There was also a channel I machined out the centre to allow for cable management.
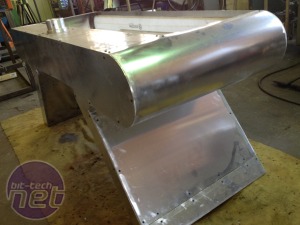
Up until this point I had never mounted every panel at once as I generally needed to get into the frame to either drill or rivet something in place, no small task.. remember the 240 bolts.. trust me, I do!
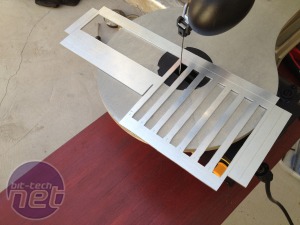
It was at this point after being inspired by Waynio's godlike scroll saw skills, as can be seen in many of his impressive projects, I decided to venture out and get a scroll saw for myself. A decision I will never look back on, I find any excuse to use it these days.
Click to enlarge
With the plexi in place the front and back panels could be completed. The parts were not laser cut this time to achieve a better fit, so the desk was placed on its side and the front and back panels traced onto a sheet of aluminium. I cut both the outsides as well as the window inserts out with a jigsaw, slowly... very slowly.
Click to enlarge
The slow cutting gave nice clean lines that only required a little sanding for final clean-off.
Click to enlarge
Now that the main construction was done I could start working on some of the finer details. First up was the screen stand base. This was machined from an aluminium billet that could be securely mounted to the frame, but allow me to remove the screens by means of three grub screws. There was also a channel I machined out the centre to allow for cable management.
Click to enlarge
Up until this point I had never mounted every panel at once as I generally needed to get into the frame to either drill or rivet something in place, no small task.. remember the 240 bolts.. trust me, I do!
Click to enlarge
It was at this point after being inspired by Waynio's godlike scroll saw skills, as can be seen in many of his impressive projects, I decided to venture out and get a scroll saw for myself. A decision I will never look back on, I find any excuse to use it these days.

MSI MPG Velox 100R Chassis Review
October 14 2021 | 15:04



Want to comment? Please log in.