
Kidding aside it was a great help for the next few steps, I again used inspiration from other builds by creating a multi level IO plate, with aluminium for the front and back and 10mm plexi for the centre. The intention was to have some lighting that could show through.
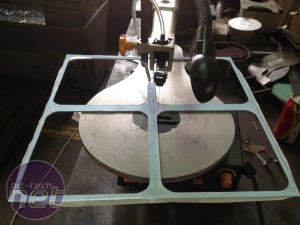
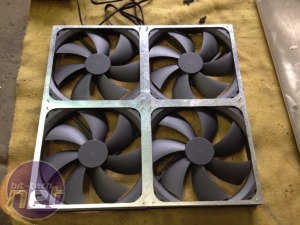
Again the scroll saw came in handy for the fan mounting plates for the 1080 radiator (did I say how much I lurve this thing??)
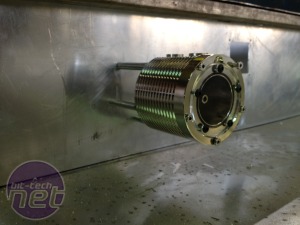
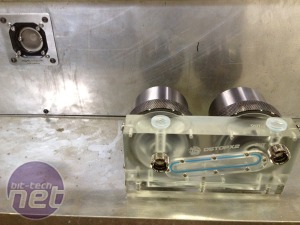
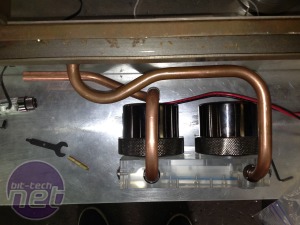
Finally onto the internals. I was fortunate enough to get a bit of sponsorship from Aquacomputer for some of the liquid cooling components, and they truly went above and beyond to find me this reservoir. It was out of production but was the one I really wanted as it fit so well with the theme. Along with some other parts I ordered I got all the components into their final positions and mounted ready for the tubing
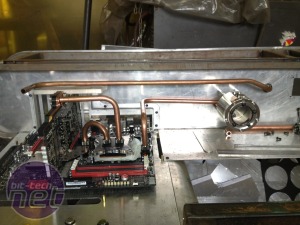
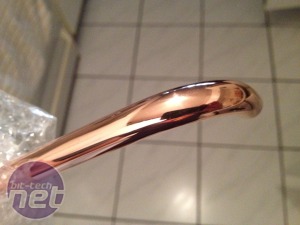
Now for the tubing. I had decided to go with copper that would eventually be nickel plated. This part of the build also proved to be challenging as the pipes needed to have perfect placement of both ends, I ended up doing the pipes twice as I was not happy with the layout of some of the tubes. Bnegative having done a few builds using hard piping proved an invaluable resource to call on for guidance here. A big thank you goes out to you too!
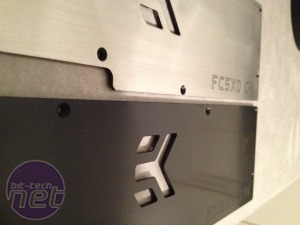
The build being near completion at this point allowed me to focus on some of the other aesthetic items, such as changing the GPU back plates from the standard black to a brushed aluminium finish. This was a task I completely underestimated as I had assumed the plates were painted. They were in fact anodized so required a fair bit of elbow grease to get it back down to the aluminium.
Click to enlarge
Again the scroll saw came in handy for the fan mounting plates for the 1080 radiator (did I say how much I lurve this thing??)
Click to enlarge
Finally onto the internals. I was fortunate enough to get a bit of sponsorship from Aquacomputer for some of the liquid cooling components, and they truly went above and beyond to find me this reservoir. It was out of production but was the one I really wanted as it fit so well with the theme. Along with some other parts I ordered I got all the components into their final positions and mounted ready for the tubing
Click to enlarge
Now for the tubing. I had decided to go with copper that would eventually be nickel plated. This part of the build also proved to be challenging as the pipes needed to have perfect placement of both ends, I ended up doing the pipes twice as I was not happy with the layout of some of the tubes. Bnegative having done a few builds using hard piping proved an invaluable resource to call on for guidance here. A big thank you goes out to you too!
Click to enlarge
The build being near completion at this point allowed me to focus on some of the other aesthetic items, such as changing the GPU back plates from the standard black to a brushed aluminium finish. This was a task I completely underestimated as I had assumed the plates were painted. They were in fact anodized so required a fair bit of elbow grease to get it back down to the aluminium.

MSI MPG Velox 100R Chassis Review
October 14 2021 | 15:04



Want to comment? Please log in.