
Light rings, fan control and cutting out the name
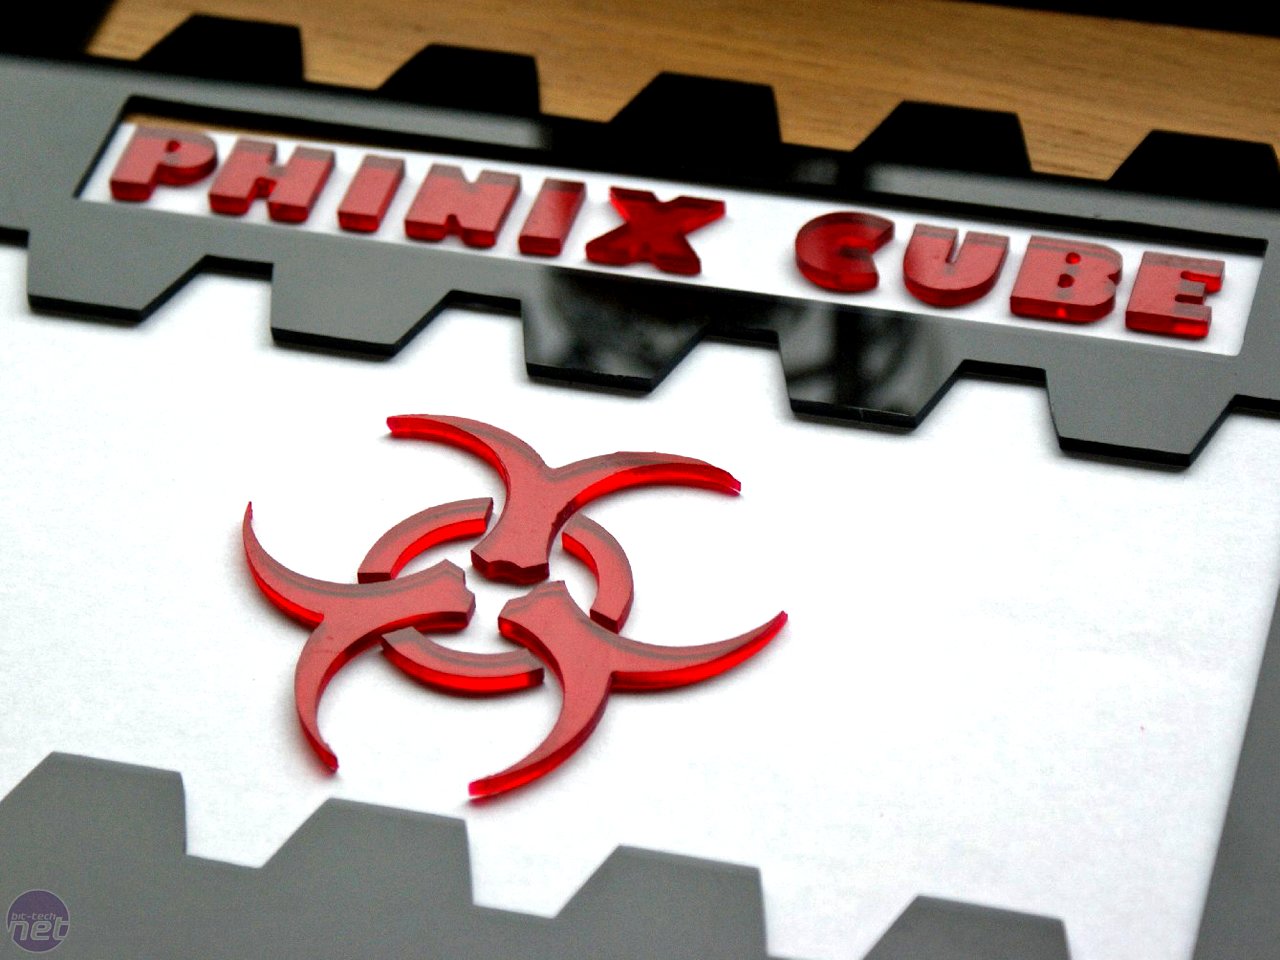
From the beginning, the Cube was planned to have “second layer” over its inner clear acrylic shell. 3mm acrylic cover panels would go over the top of the clear ones. At first the idea was to use red acrylic similar to the other internal parts, but at the end I decided to go for black tinted instead to add contrast.
Click to enlarge
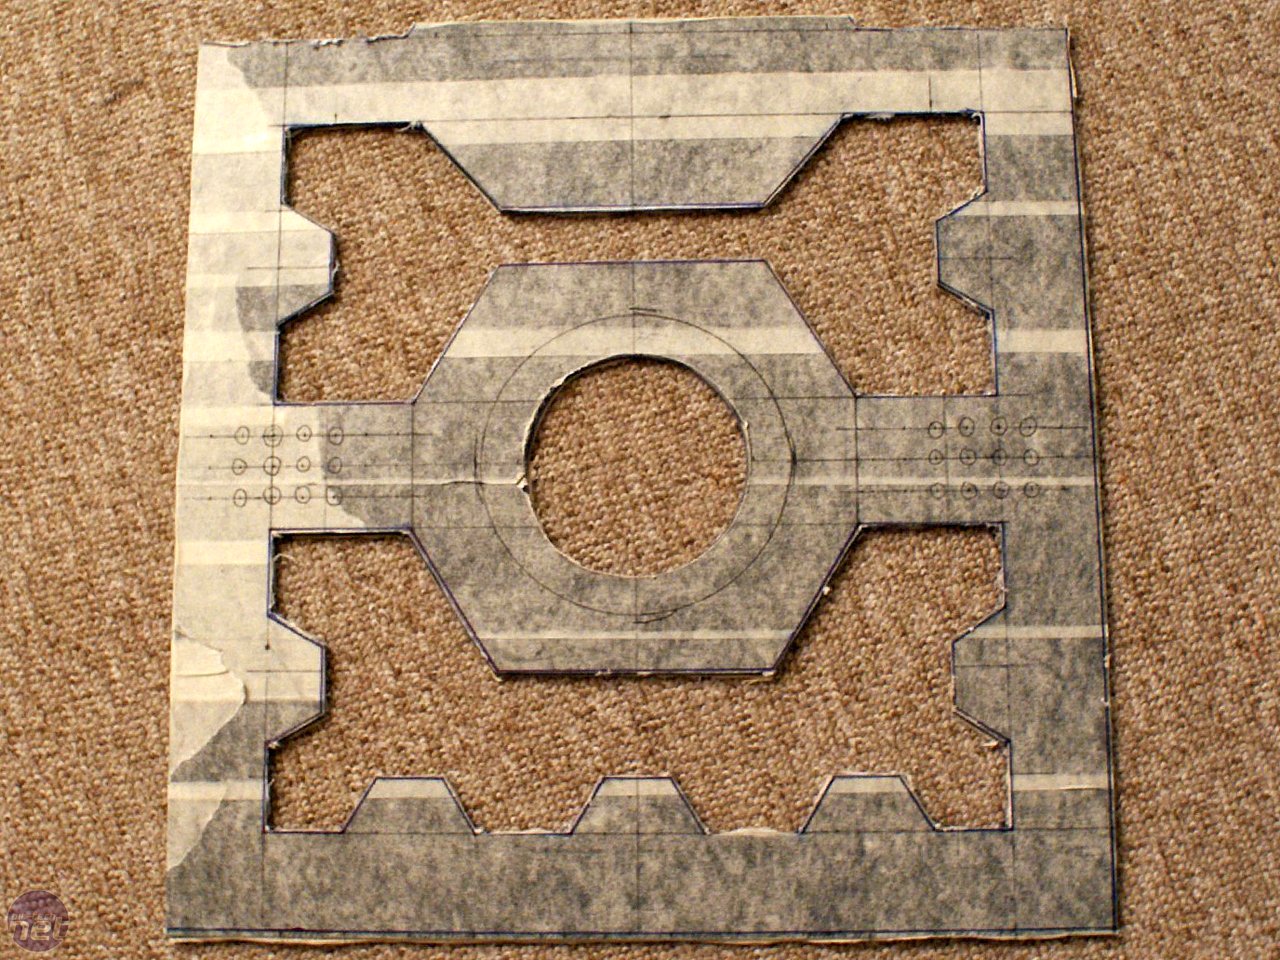
All the tinted acrylic sheets were ordered from Red Ltd Company. I bounced around lots of ideas for shapes of those second panels and couldn’t decide which pattern I should pick until the end of 2007, when Crysis came out. The game was great and I loved the Nanosuit and the idea of its capabilities. With this inspiration in mind, that is when I came up with entirely new panel design. I designed “sketchups” of frames based on hexagonal shapes, similar to those cells on the Nanosuit.


Click to enlarge
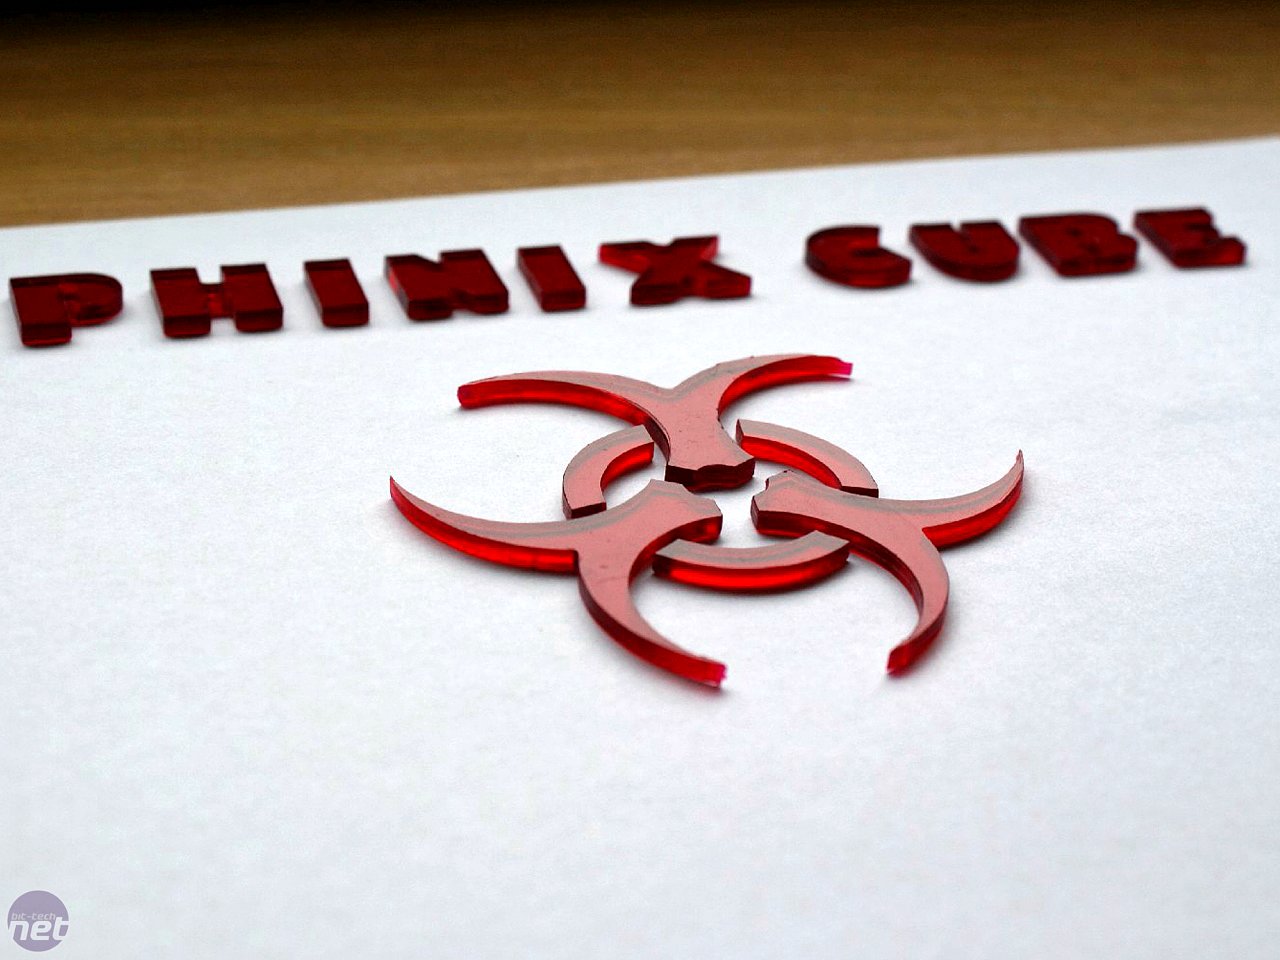
The two side panels were the same, although the top one was a bit different and front one was designed to be particularly special. I wanted to add some really cool element in the front that would define the mod exactly. Everyone who played Crysis has seen the logo when the game loads: a nice chromed ring with six lights and red/black internal centre with hexagonal net.
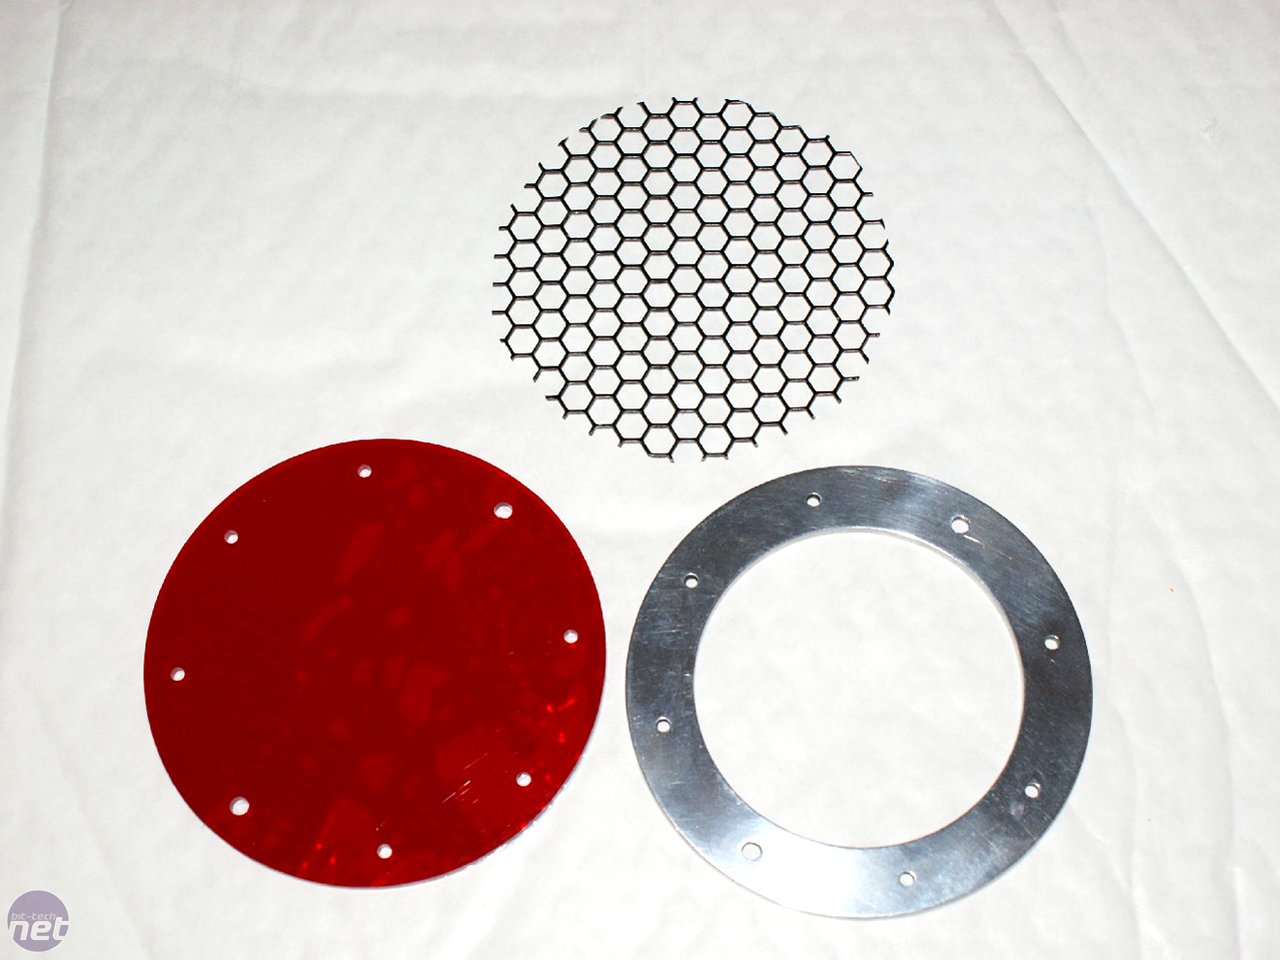
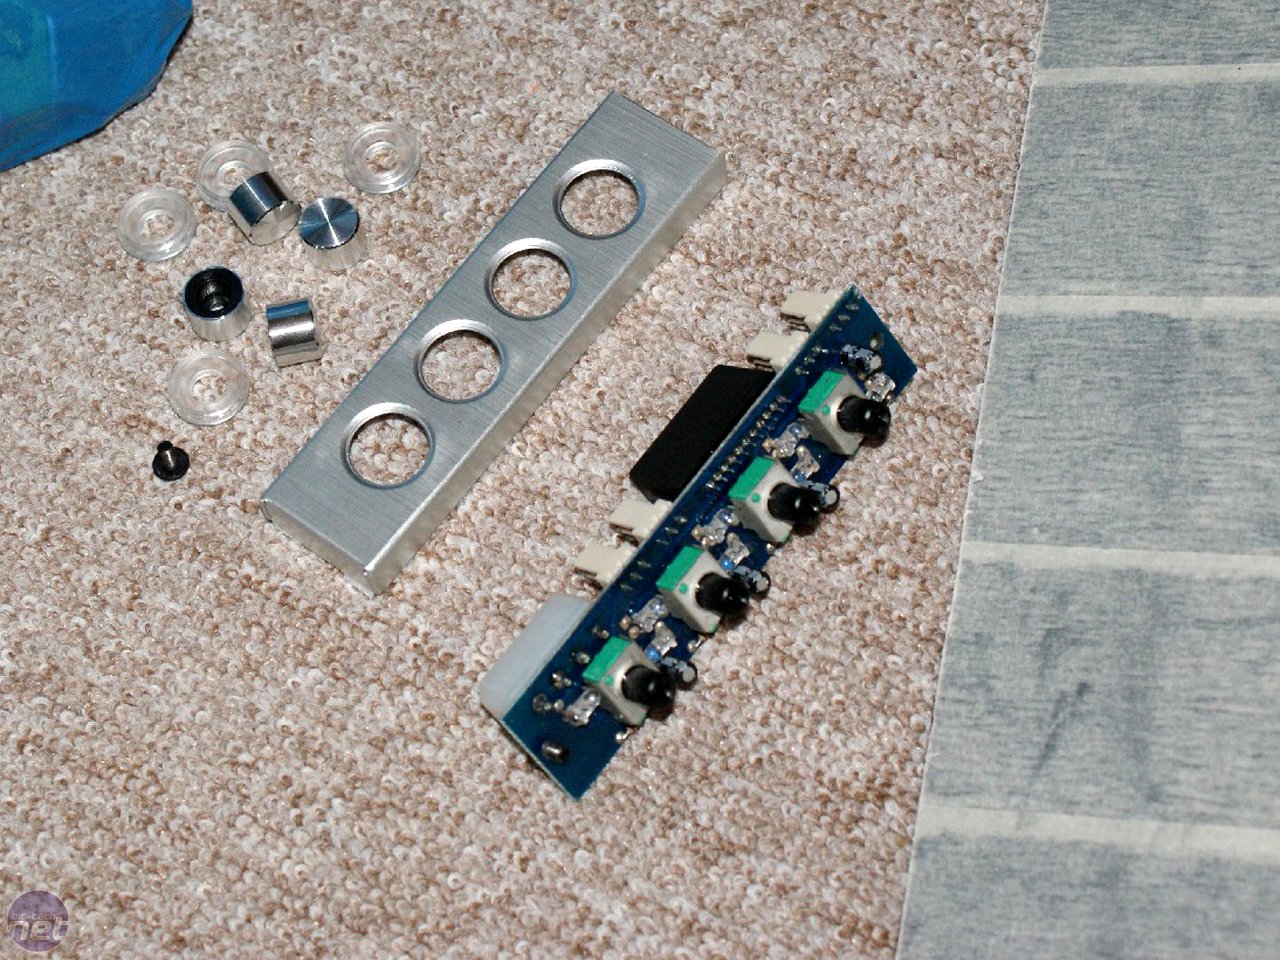
That was it – that was an element that I wanted to fabricate and incorporate into my Cube design. I eventually decided I could add this ring in the centre. I procured all the parts from Tom at Chilled PC, who was kind enough to even cut them for me: the main polished aluminium ring, red acrylic transparent circle and hexagonal mesh.

Click to enlarge
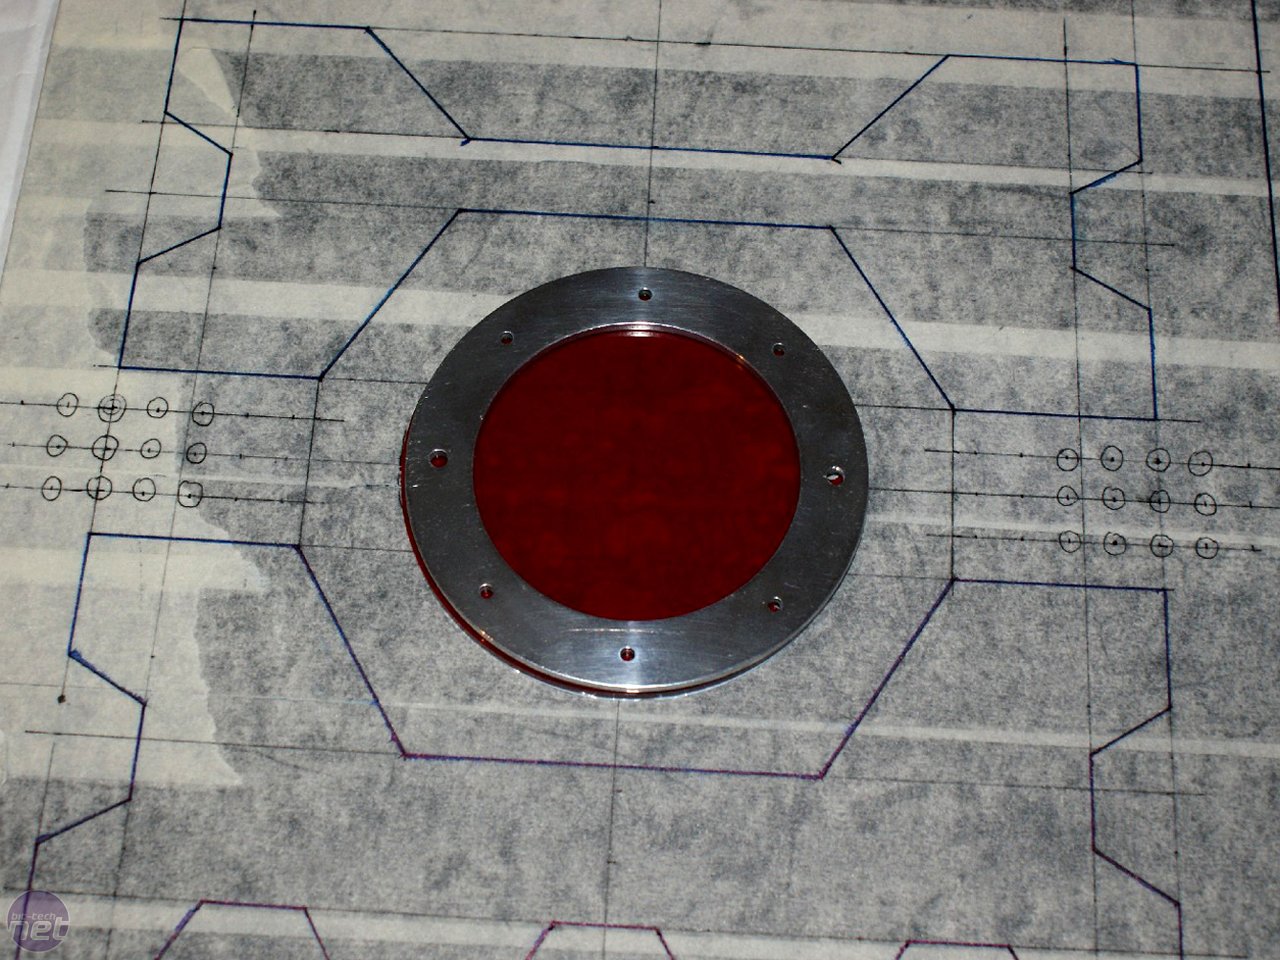
I used the aluminium ring on top, then put red circle behind with the hexagonal mesh in between. After that came black acrylic panel. I drilled holes in all of them install 3mm LEDs in same configuration that Crysis logo had, plus two for screws that would keep all parts together. I soldered six LEDs with the appropriate resistors to run them from the PSU and pushed them into those holes. To close this “sandwich” I fabricated a red acrylic ring to press all LEDs in and to keep all parts in place.


Click to enlarge
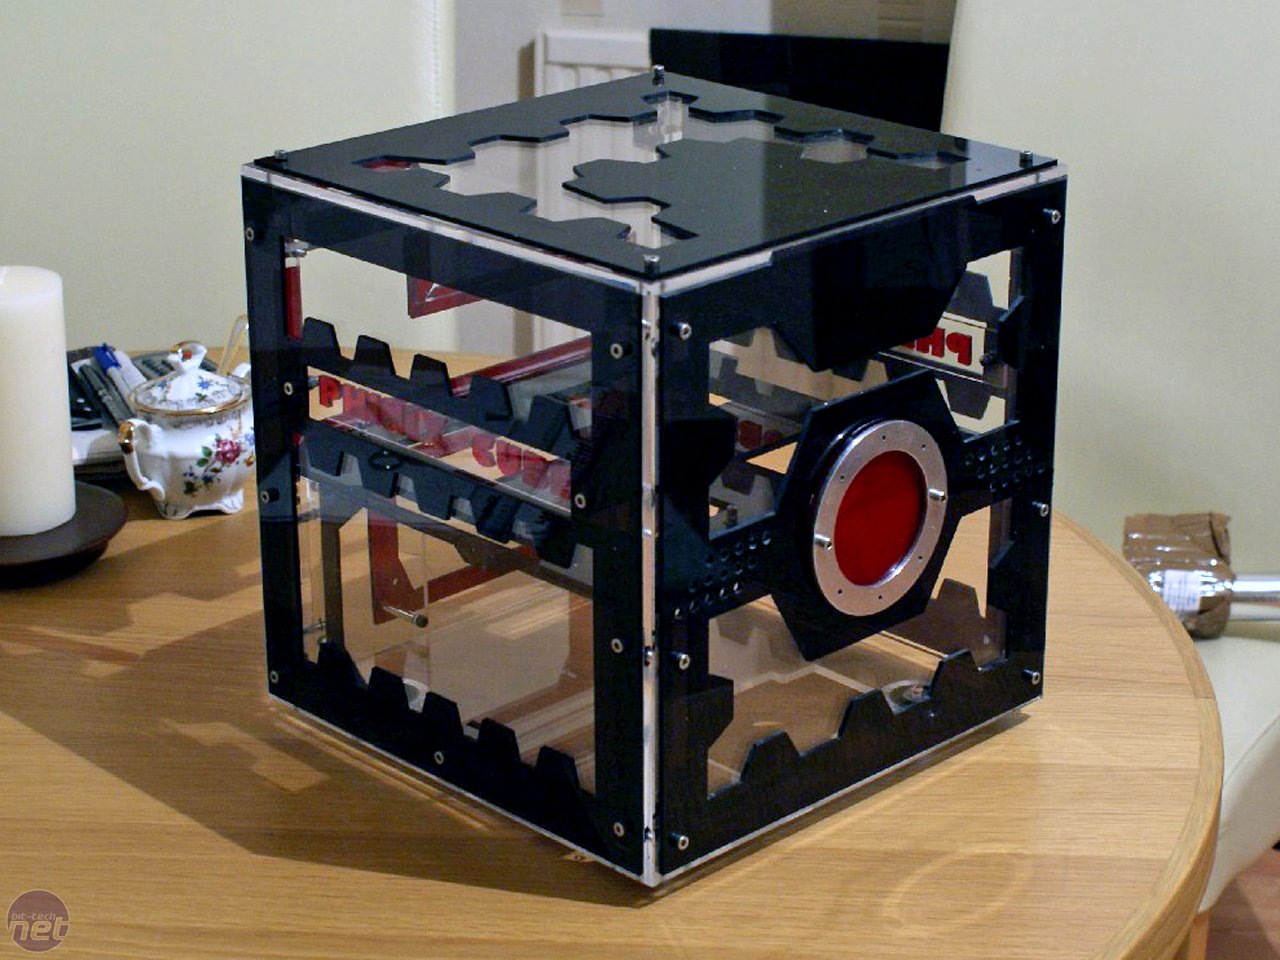
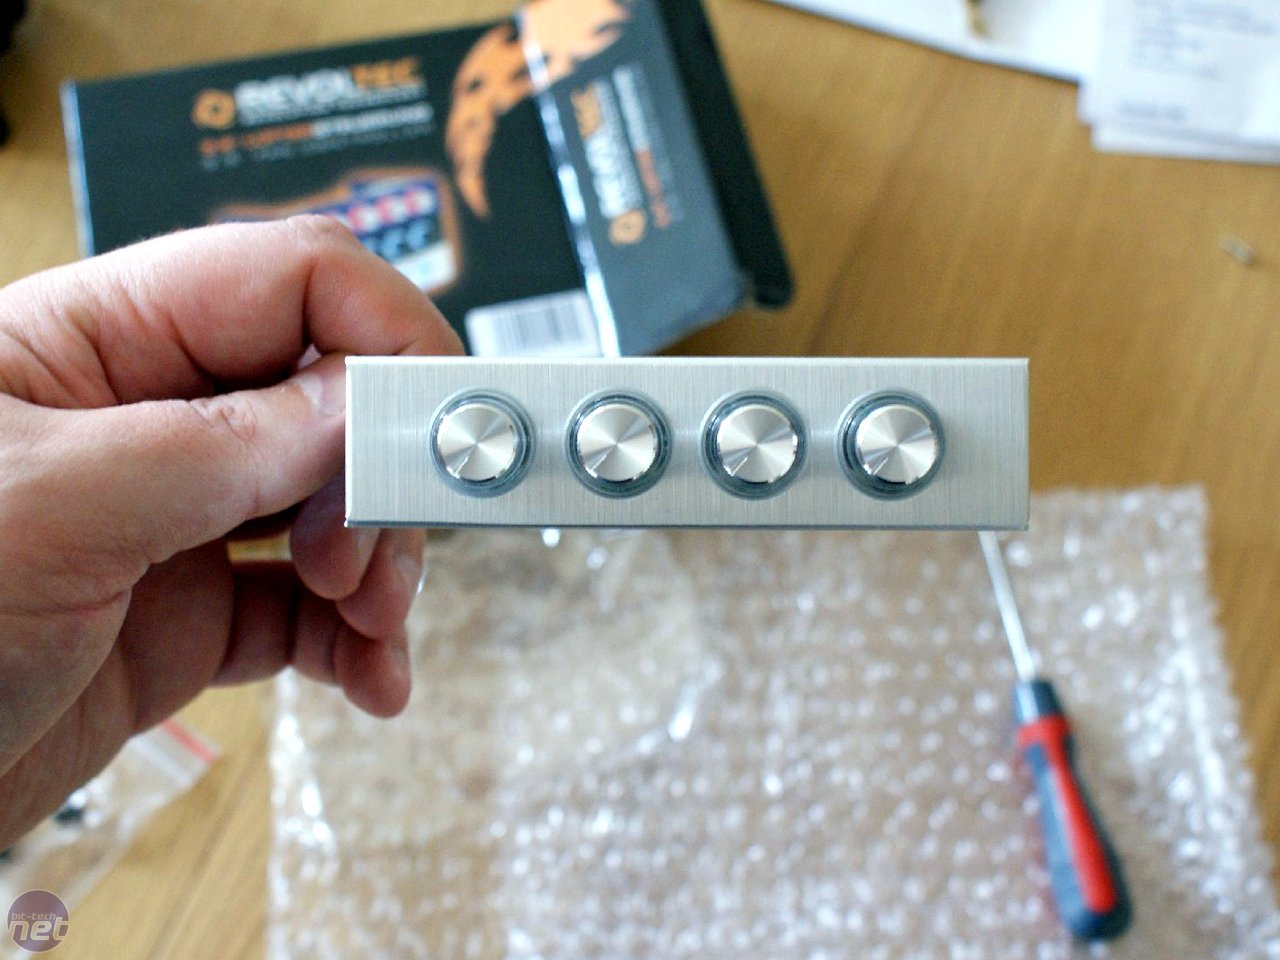
It all worked perfectly and I loved the final look of it: it completed the front panel for me, right next to red ring vandal switch and fan controller installed on top of the panel.


Click to enlarge
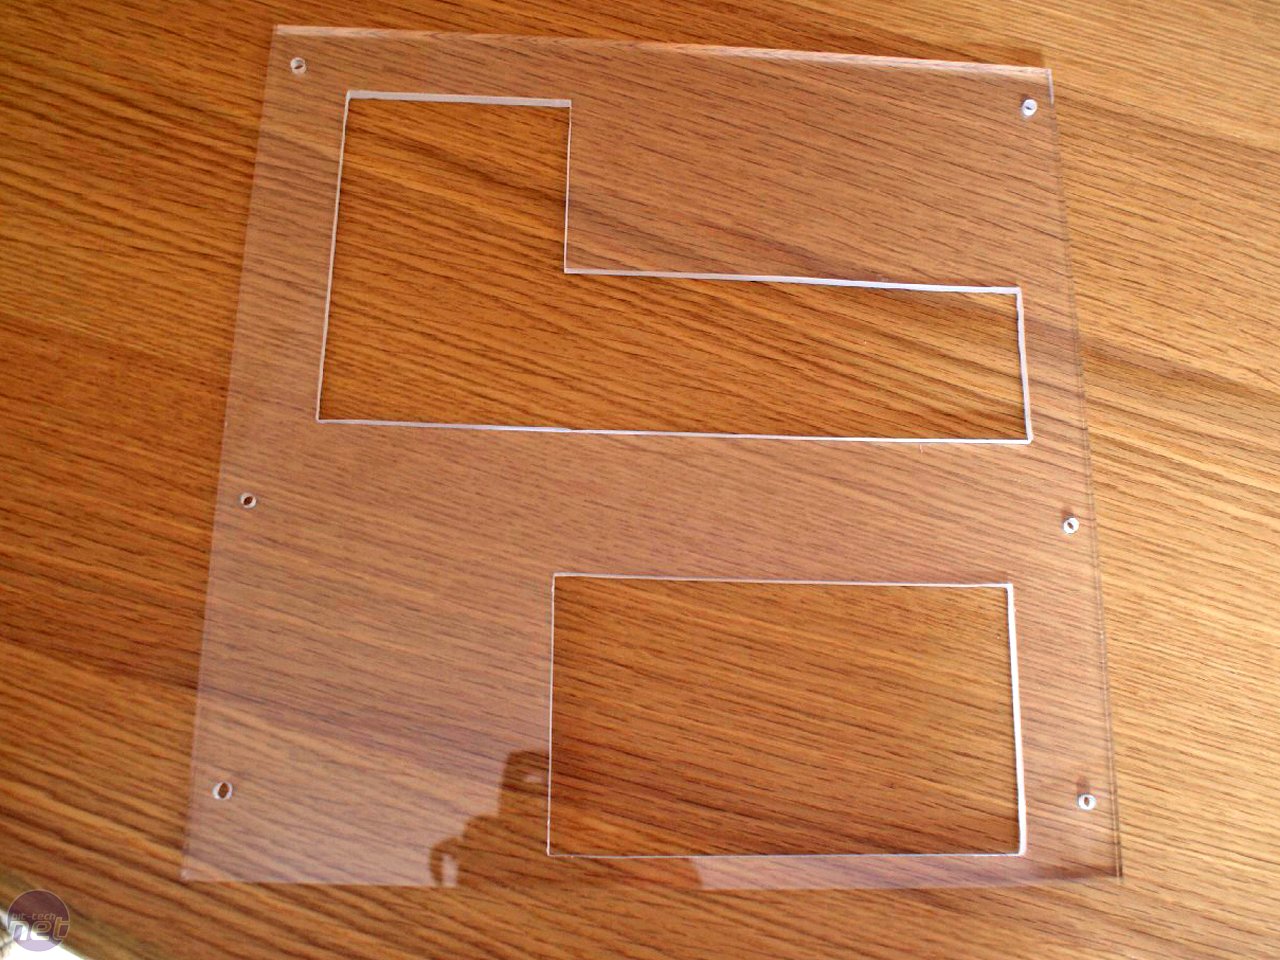
To close the front of the case fully the black front panel had to be permanently installed on top of the clear one, that is why I had to cut a huge 10cm round hole in the middle of clear panel too. I tried to do it by drilling smaller 10mm holes in a circle where I wanted the main hole, but during this difficult and long process I accidentally broke the panel when I was pulling the drill out. That was another moment when Tom came to help me out, cutting me a new panel with nice round hole in the middle with his better tools. Many thanks again, Tom!
RELATED ARTICLES


MSI MPG Velox 100R Chassis Review
October 14 2021 | 15:04

Want to comment? Please log in.