
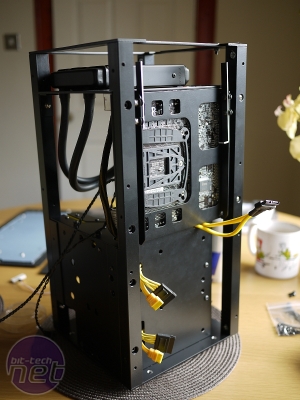
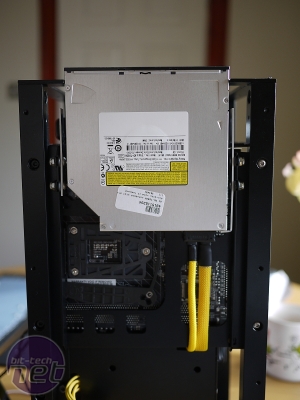
I installed the CPU water cooler, and the DVD using long aluminium strips hanging on rubber spacers. That way, it won’t vibrate when reading DVDs.
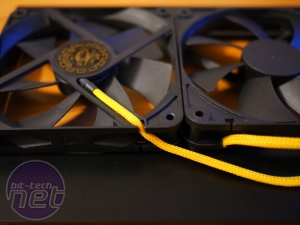
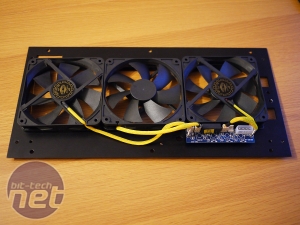
Then I cut to size and braided all three fans on the rear panel that will cool the triple radiator.
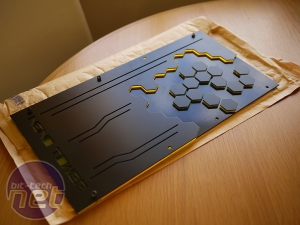
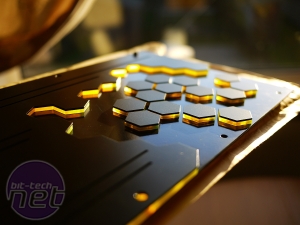
After I got all the panels powder coated, it was time to install all the front panel hex shapes in a pattern I designed. I painted them black and glued aluminium hex shapes on top of acrylic ones. I used double sided tape to glue the ready hex shapes to the panel.
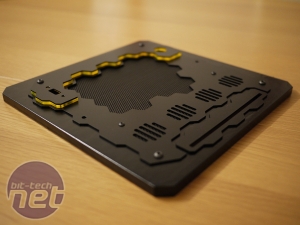
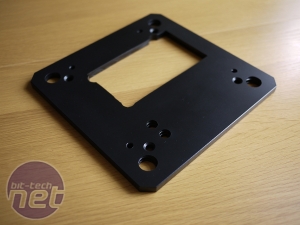
I used black paint and a brush to paint the top and bottom 10mm acrylic panels. A bit of a messy job, but all ended up well. I made a nice acrylic and aluminium cover for the rear part of top panel, where the power button and USB socket were installed.
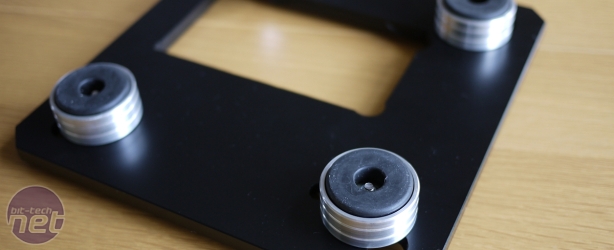
Another item I received from MNPCTECH was its fantastic aluminium case feet. I installed them to the bottom painted panel.
At the end, the last thing to do was to close the loop and run a leak test. After a 24 hour test I was happy to say that the Nano Tower has been finished. It looked amazing and for the first time my PC didn’t take all that space on my desk. It was all I wanted it to be: small, powerful and beautiful:)
Click to enlarge
Then I cut to size and braided all three fans on the rear panel that will cool the triple radiator.
Click to enlarge
After I got all the panels powder coated, it was time to install all the front panel hex shapes in a pattern I designed. I painted them black and glued aluminium hex shapes on top of acrylic ones. I used double sided tape to glue the ready hex shapes to the panel.
Click to enlarge
I used black paint and a brush to paint the top and bottom 10mm acrylic panels. A bit of a messy job, but all ended up well. I made a nice acrylic and aluminium cover for the rear part of top panel, where the power button and USB socket were installed.
Click to enlarge
Another item I received from MNPCTECH was its fantastic aluminium case feet. I installed them to the bottom painted panel.
Click to enlarge
At the end, the last thing to do was to close the loop and run a leak test. After a 24 hour test I was happy to say that the Nano Tower has been finished. It looked amazing and for the first time my PC didn’t take all that space on my desk. It was all I wanted it to be: small, powerful and beautiful:)

MSI MPG Velox 100R Chassis Review
October 14 2021 | 15:04



Want to comment? Please log in.