
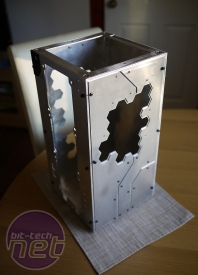
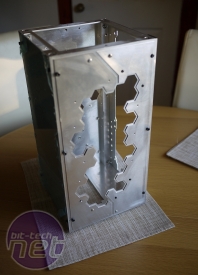
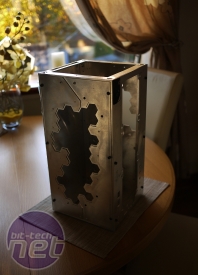
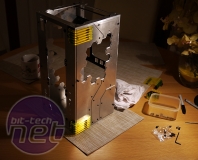
For side panels I have designed second layer of nice hex shapes. First, covering whole side with main window hole, then second layer of hex-shaped pieces, aligned and screwed to them first layer.
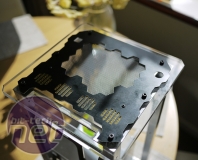
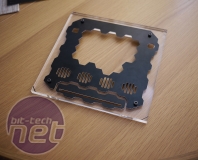
After this I spent some time on top acrylic panel. I had top aluminium bit ready, so I had to cut all the holes in acrylic panel. DVD hole was cut out too. Mounting aluminium bit to acrylic panel I used my old technique I used in Phinix Cube project – using soldering iron I melted in threaded inserts into 10mm thick acrylic. Easy an perfect solution.
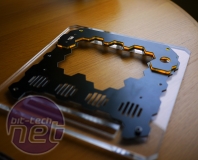
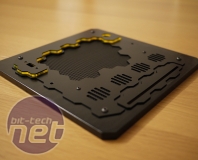
Top panel was going to be lit up by yellow leds, so I cut out some nice piece of yellow acrylic to put it under those 4 section long holes to make a nice background for the light. Main hole in the middle of the top panel – for CPU loop radiator fan - was covered with small hole black mesh.
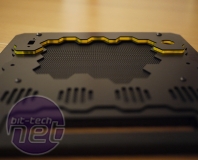
I also designed exact same size acrylic and aluminium pieces for rear of top panel – small support frame for power button and USB socket, but also lit up by yellow leds from the bottom. After this I painted black all the pieces and put it all together.
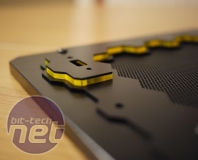
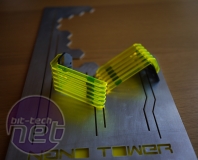
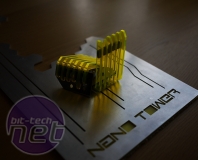
In the meanwhile, I designed 4 acrylic “combs”, 2 for each side panels. There were made of yellow acrylic L-shape pieces, glued together with black acrylic 5mm long spacers.
Next was the front panel – I designed similar structure here to side panels – main panel, then second layer of aluminium with hex shapes. Only this time I stuck in yellow acrylic panel between thoe two layers of aluminium to light up its edges.
Click to enlarge
After this I spent some time on top acrylic panel. I had top aluminium bit ready, so I had to cut all the holes in acrylic panel. DVD hole was cut out too. Mounting aluminium bit to acrylic panel I used my old technique I used in Phinix Cube project – using soldering iron I melted in threaded inserts into 10mm thick acrylic. Easy an perfect solution.
Click to enlarge
Top panel was going to be lit up by yellow leds, so I cut out some nice piece of yellow acrylic to put it under those 4 section long holes to make a nice background for the light. Main hole in the middle of the top panel – for CPU loop radiator fan - was covered with small hole black mesh.
I also designed exact same size acrylic and aluminium pieces for rear of top panel – small support frame for power button and USB socket, but also lit up by yellow leds from the bottom. After this I painted black all the pieces and put it all together.
Click to enlarge
In the meanwhile, I designed 4 acrylic “combs”, 2 for each side panels. There were made of yellow acrylic L-shape pieces, glued together with black acrylic 5mm long spacers.
Click to enlarge
Next was the front panel – I designed similar structure here to side panels – main panel, then second layer of aluminium with hex shapes. Only this time I stuck in yellow acrylic panel between thoe two layers of aluminium to light up its edges.

MSI MPG Velox 100R Chassis Review
October 14 2021 | 15:04



Want to comment? Please log in.