
Front Panel
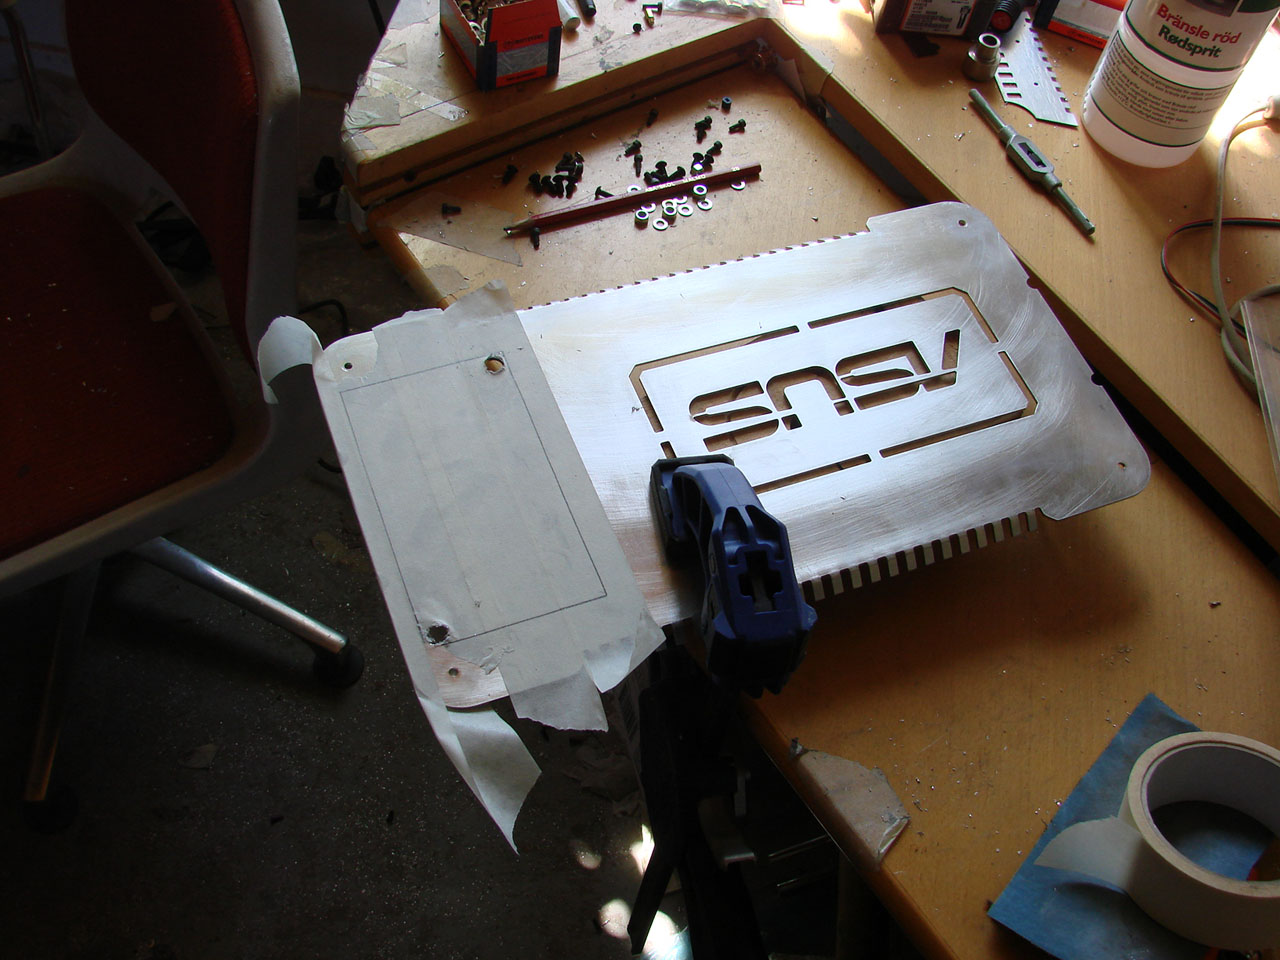
To make the case a bit more interesting, I milled a front panel from a sheet of 2mm aluminium and I also bent in the edges to give it a "3D" look. I'm pretty pleased with the end result and at the bottom you can see where I cut the hole for the OC station.
As you might have noticed, my worklog was a bit... inconsistent. I've paused some things and finished others which explains why things is a bit disorganized on the images. I thought that would be better for you, than just cutting out large portions of the log just because it 'doesn't fit'.
Click to enlarge
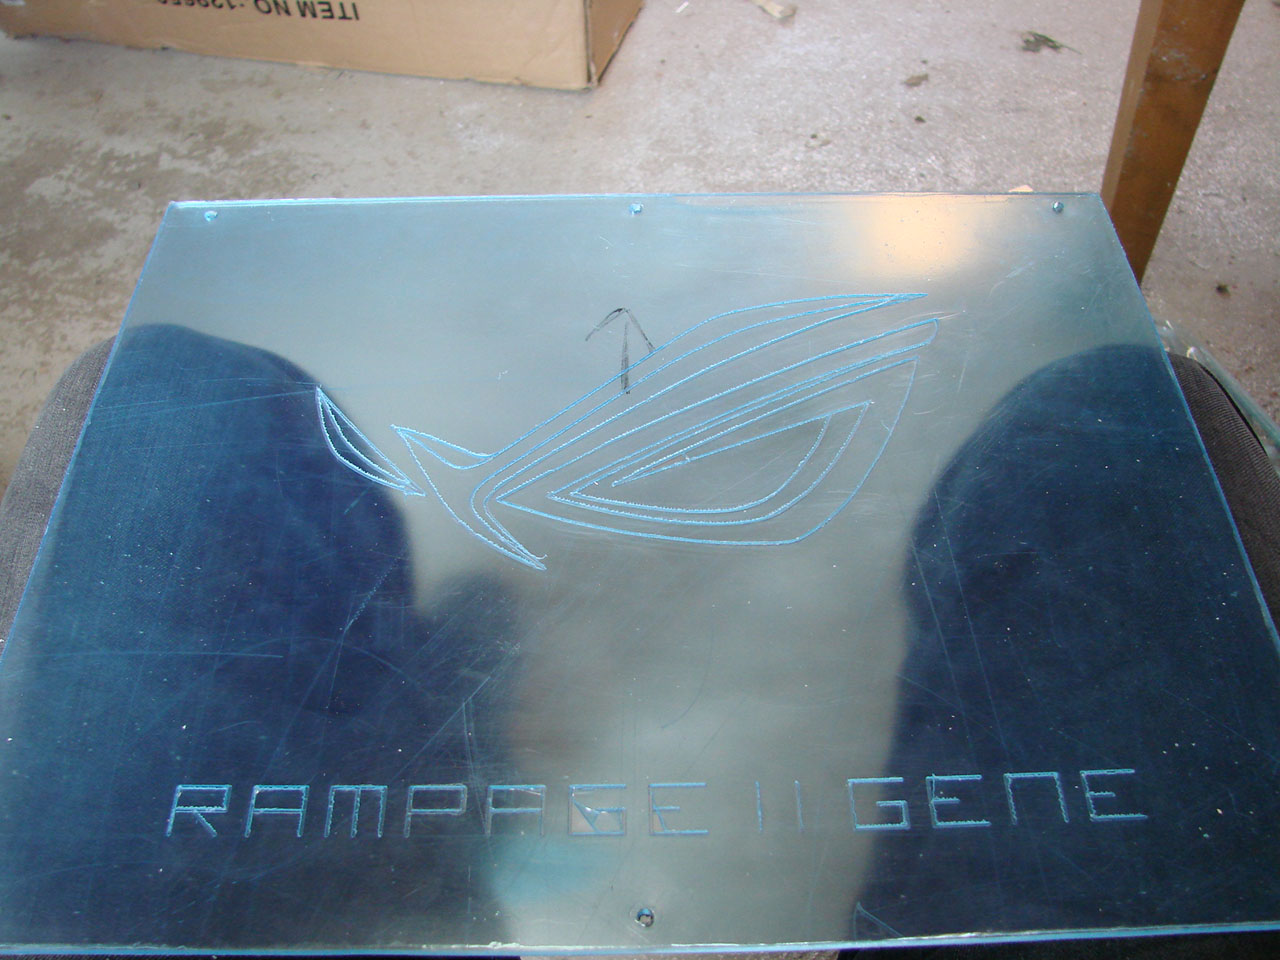
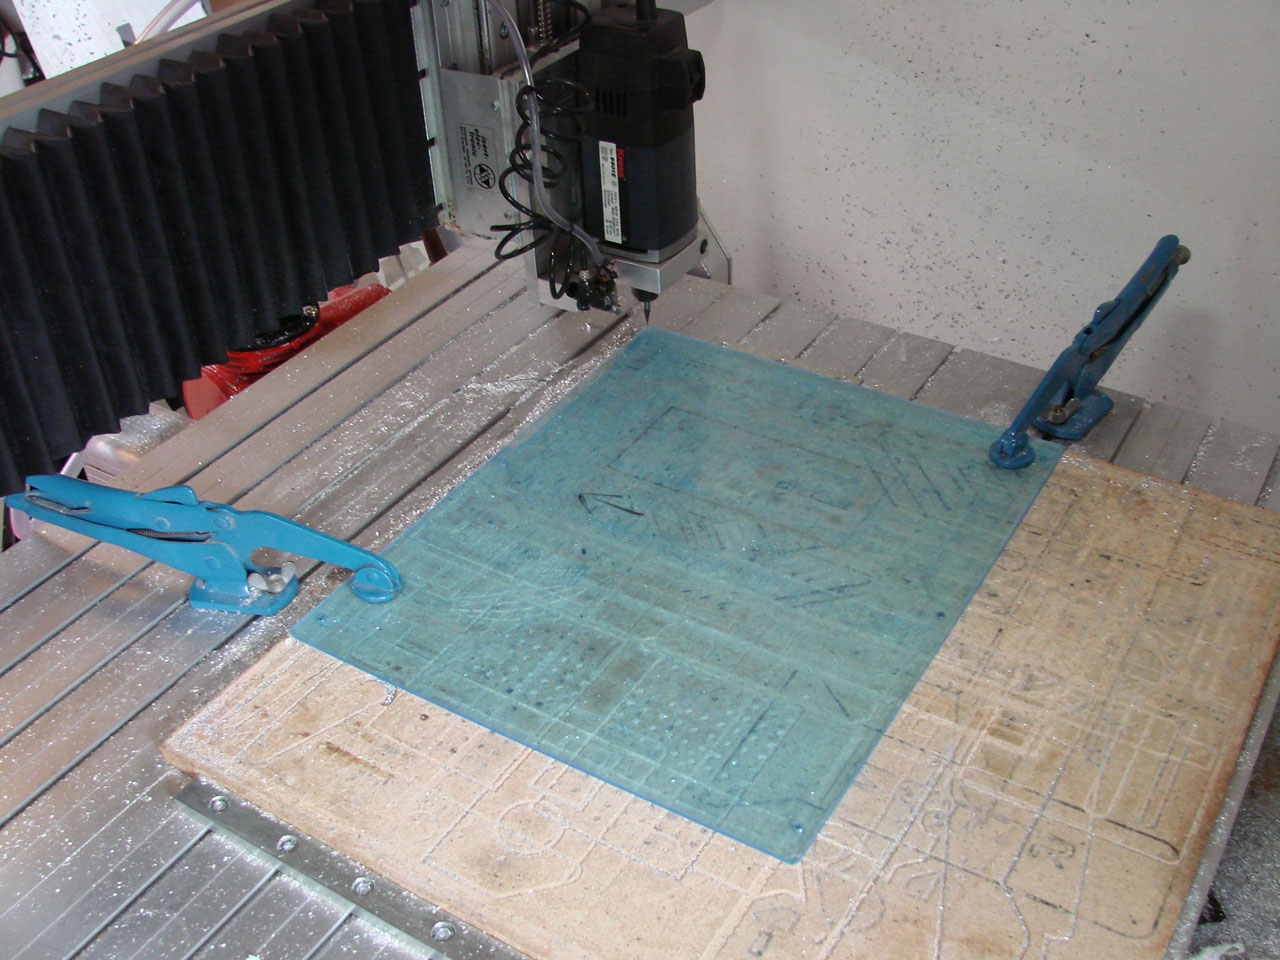
ASUS wanted the ROG logo and the product name somewhere on the case, so I decided that etching it on the acrylic side panels would be pretty slick. I cut a piece of acrylic and sanded it down some to make it fit snugly on the side. After that it's milling time.
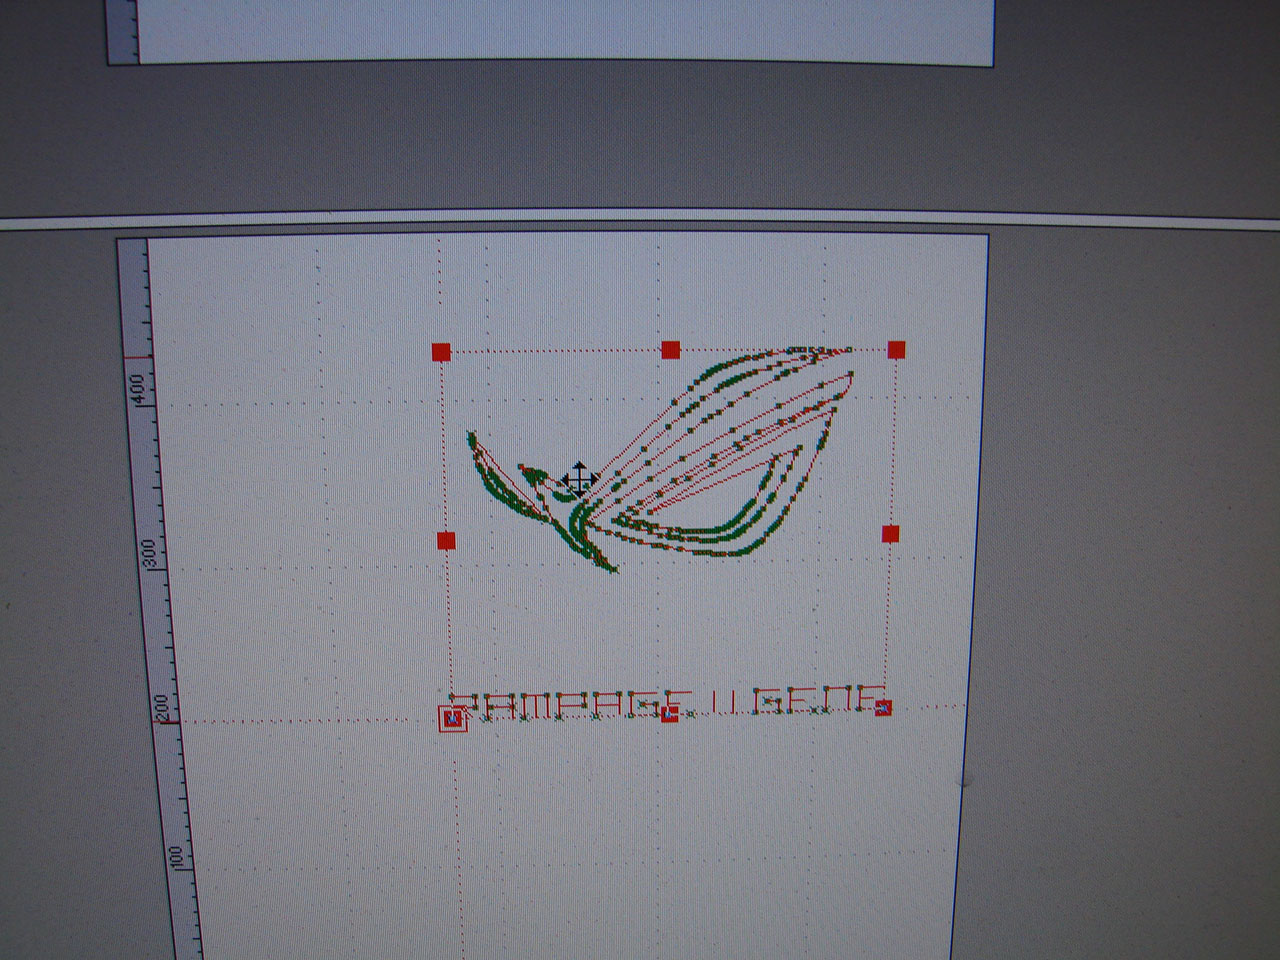
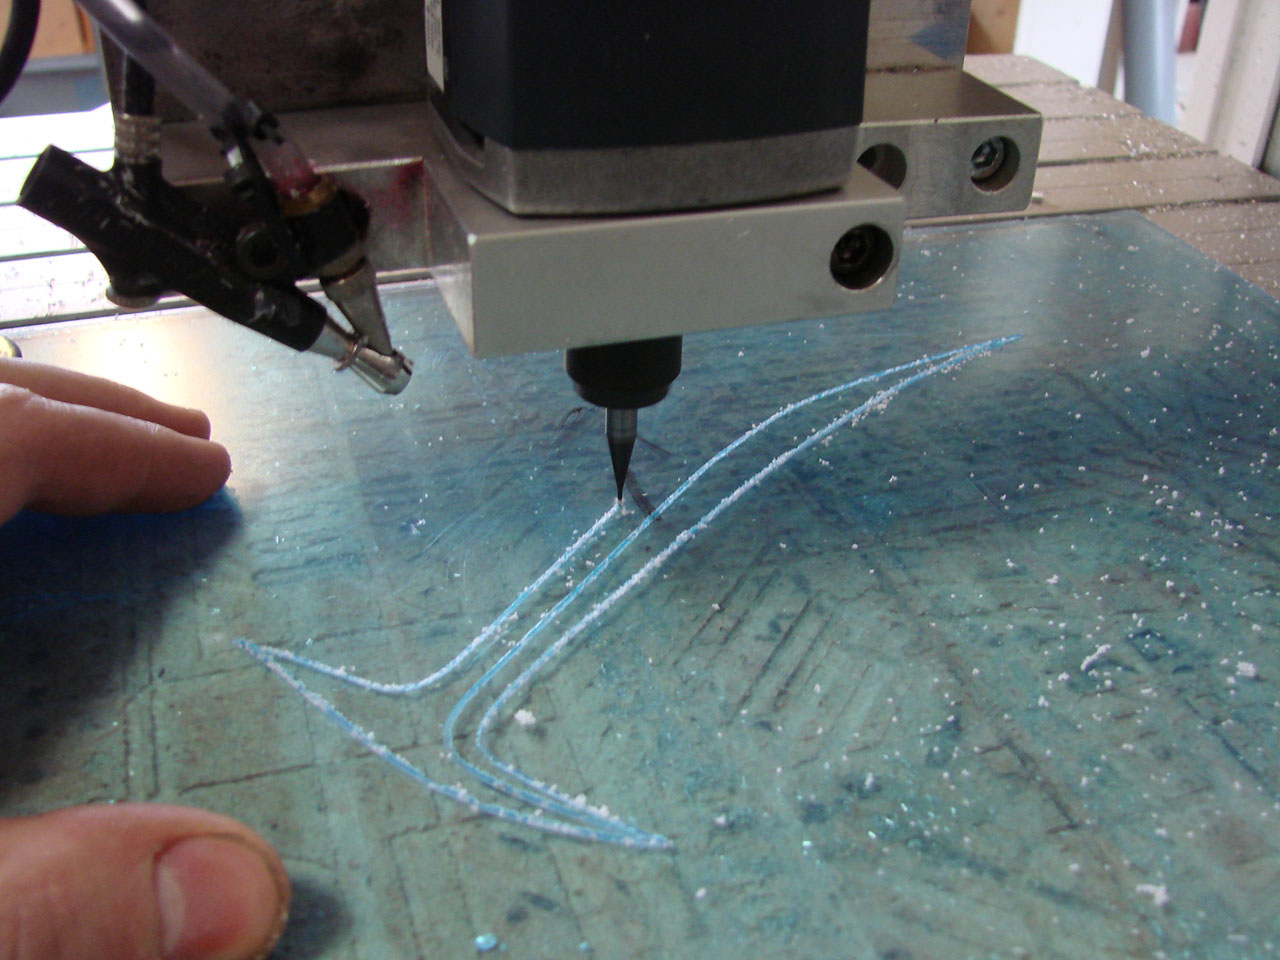
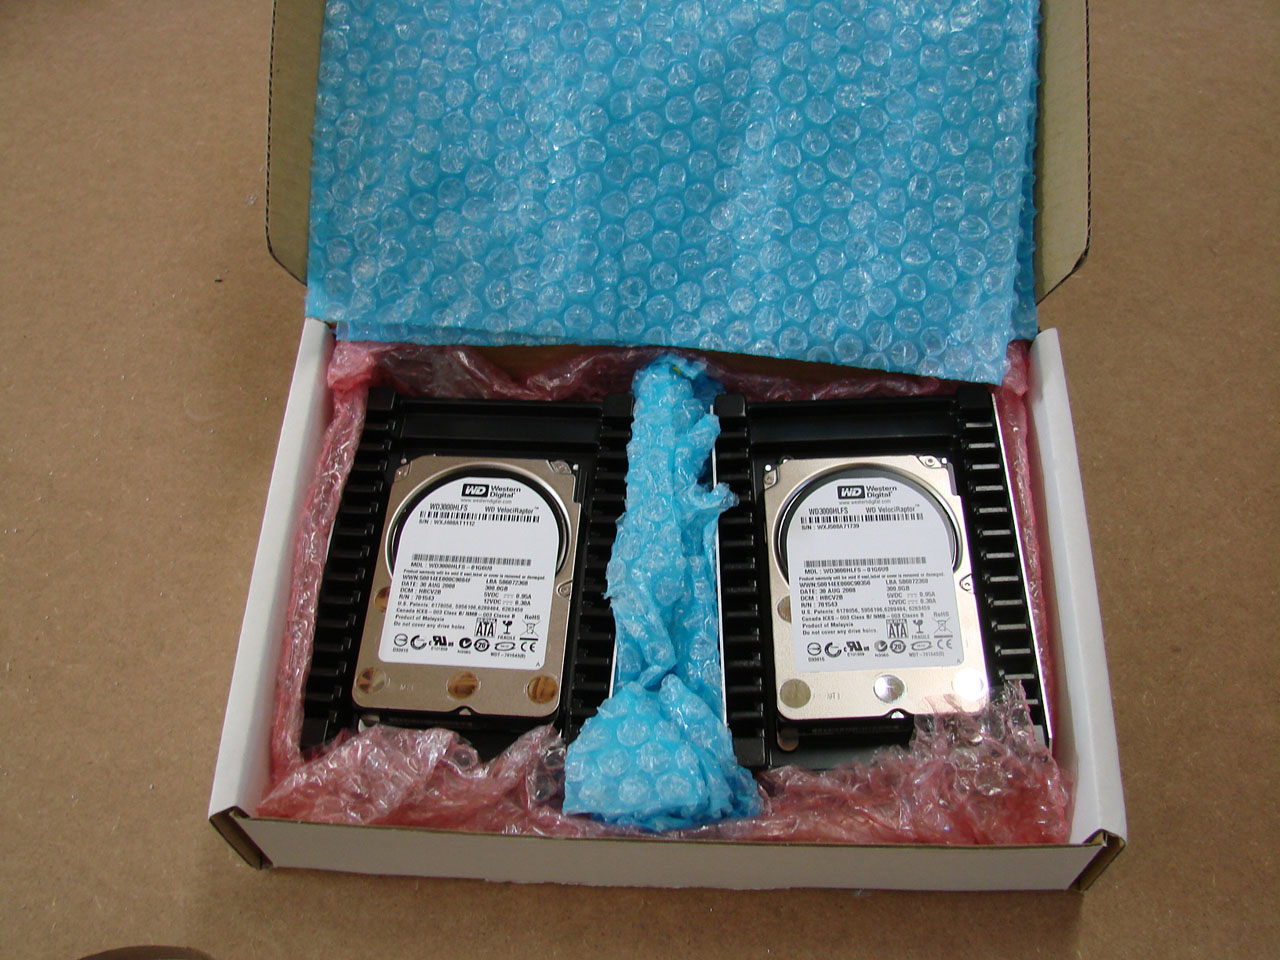
I drew this up in Rhinoceros 3D earlier this day, just save as .dxf and enter the settings into the machine. Time to put the final screws into place, starting with the two 300GB Veliciraptor-drives to be mounted on the back.
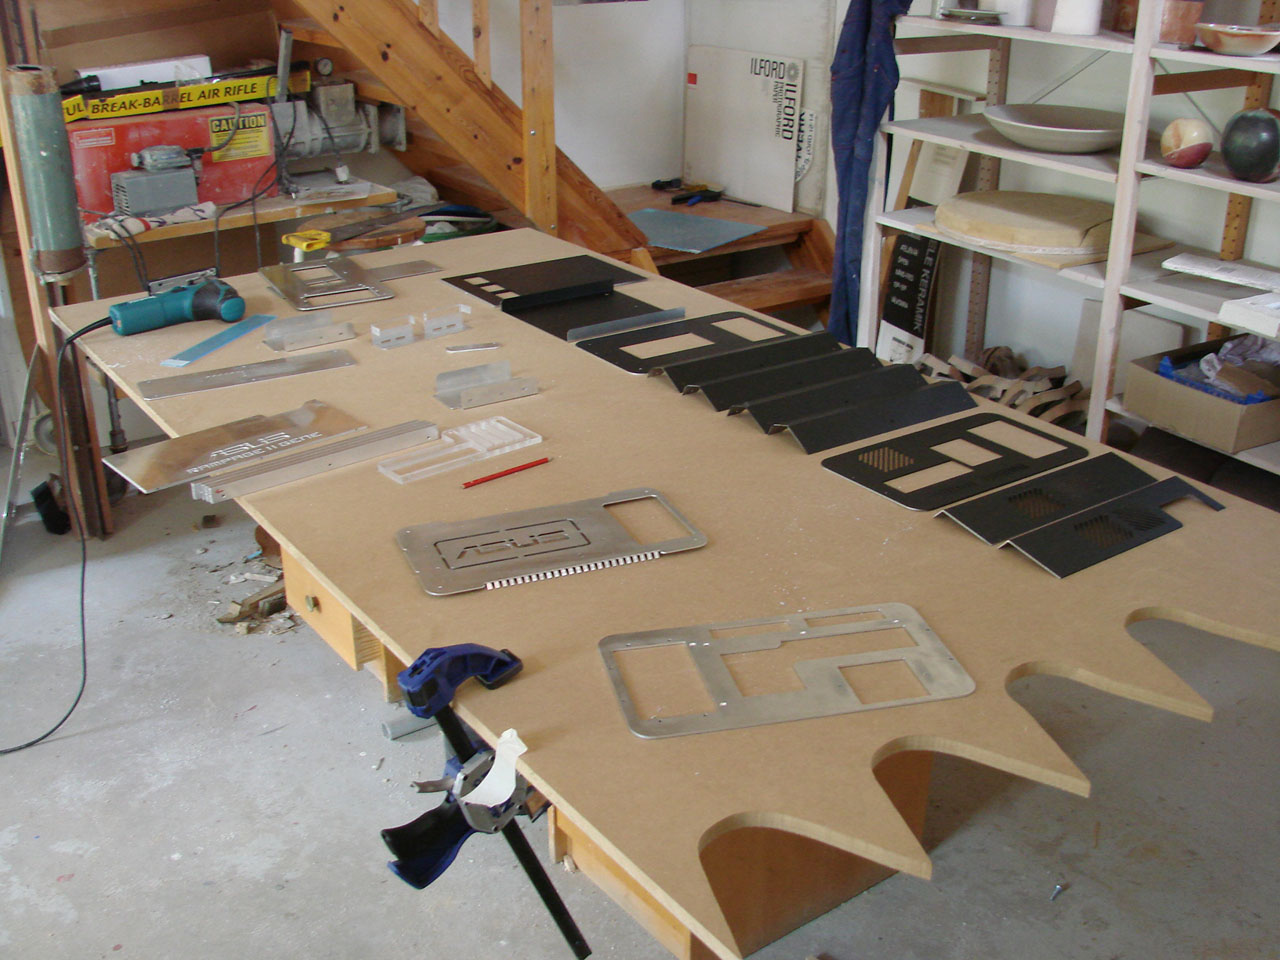
I've already painted the internal structural parts of the case, and as you can see - it's a tasty satin black!
RELATED ARTICLES


MSI MPG Velox 100R Chassis Review
October 14 2021 | 15:04

Want to comment? Please log in.