I-Mon display and finishing off
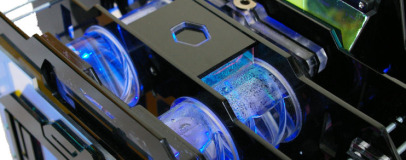
We also decided that we would integrate a small multimedia display (I-Mon) that would be placed behind the front panel. For that, we had to build a mounting bracket, which allowed us to mount the display safely without damaging it at the front.


After a little thought, we decided the best way would be to integrate a few Perspex spacers on the rear side of the front section (with glue) and then screw the display to the spacers.
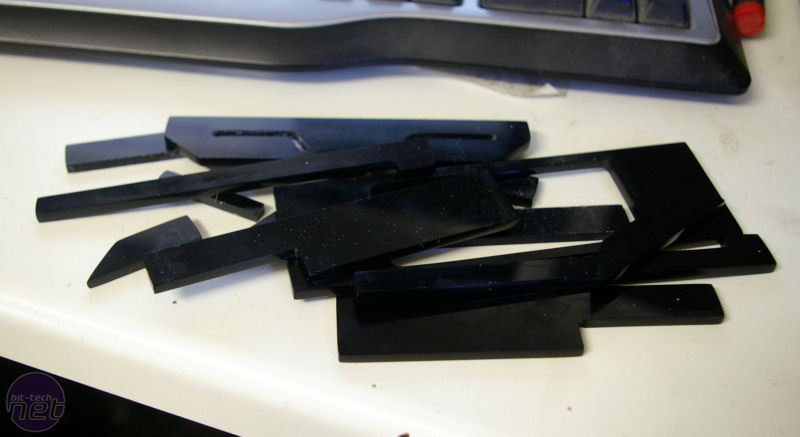
We cut out some small Perspex spacers, drilled and tapped them, and glued them to the front. After everything dried out, we turned the front around and began to fit the small black parts to it.
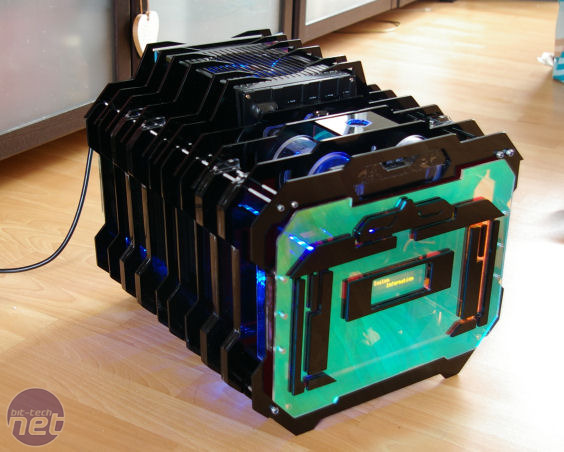

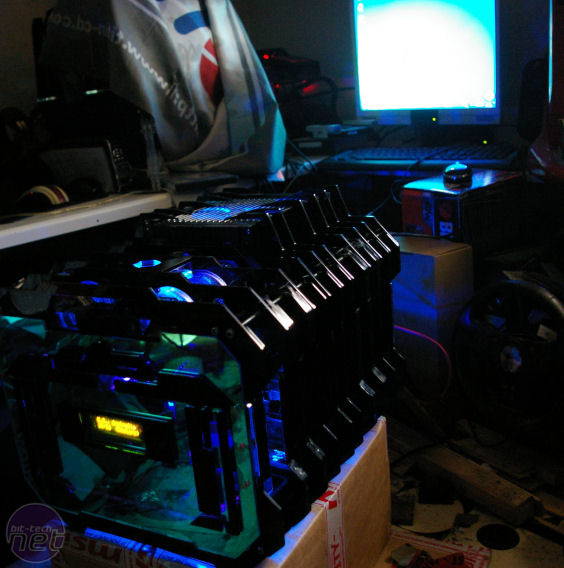
Finally, as one of the last steps, we installed the core hardware, the water-cooling loop and the PSU. If you'd like to see the competition, head over to PC-Max (Google translation) or see fully the gallery here. In the end, we came third but it was a lot of fun and we're pleased with the result.


MSI MPG Velox 100R Chassis Review
October 14 2021 | 15:04

Want to comment? Please log in.