
Case, Fixtures and Fittings
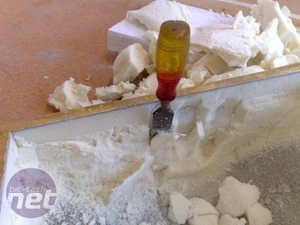
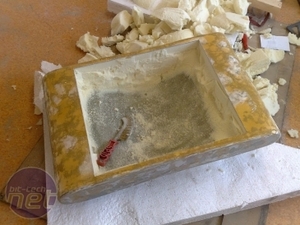
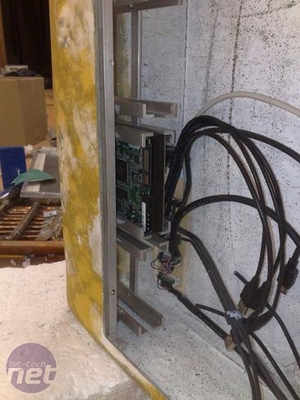
Once the fillers had set I used a spray putty to fill the fine scratches from all the sanding of the fillers. Now that the outside was perfect I started working on the inside. To gain access to the inside of the case I used the tools shown below to remove the side panel and scoop out all that foam.
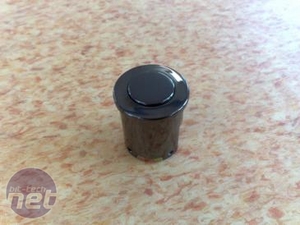
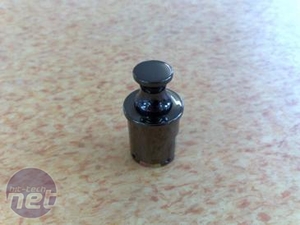
The special push-button latch used on my case was very hard find - after many hours of browsing the web I finally came across a store called Sugatsune which sells pretty much every sort of cool latch you can think of.
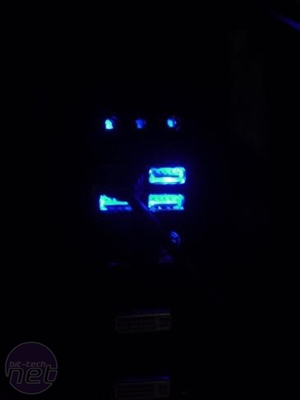
The electronics used in the LED controller board and the touch button were bought from www.rev-ed.co.uk. The construction of the LED controller is based on a PIC-AXE chip which is basically a computer on a chip, and it can be programmed to do whatever function required without any other components except a voltage regulator.
Most of the ideas of how to make the case were mine; however the kind users on bit-tech did offer a few pointers and suggestions.
The main in particular was from La carotte d l'o who suggested that I use magnets to help keep the removable side panel in place, which I then immediately started to work on. They can be seen above on the right.

MSI MPG Velox 100R Chassis Review
October 14 2021 | 15:04




Want to comment? Please log in.