
SSR-X by Dave Biro
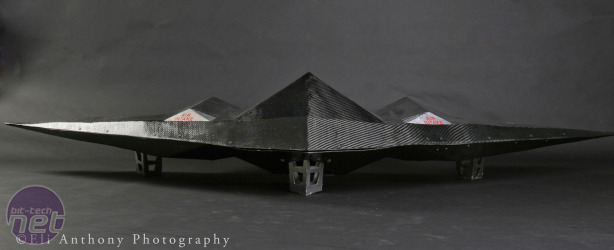
Project log: HereWe've already seen some snippets of Dave Biro, aka Cleveland216's carbon fibre project SSR-X in a recent chat we had with him about using this wonder material in case modding. It's a fascinating material and one that we've seen employed in case modding only a handful of times over the years. However, SSR-X has used it more extensively than anything we've seen and the end result is one of the most amazing aviation-inspired projects to grace our forums.
Thankfully, Dave is back today, talking to us extensively about the project and trials and tribulations he encountered while building SSR-X so take a look at the follow pages to see how the project was made. It's over to Dave.
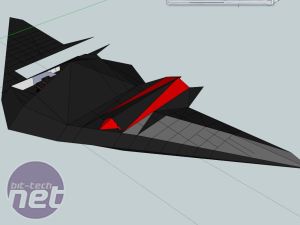
Hello. I'm Dave Biro, aka Cleveland216. For the past ten years I have been modding out computers cases. It has been only since 2007 that I have been posting my worklogs online. Let's get right to shall we! My latest build, SSR-X, was born in December of 2010. I wanted to see what a mockup of a delta wing airframe would look like for a computer case. I found the mockup to be huge and complex! I abandoned the idea of the build from this experience. But in the spring of 2011, I got renewed vigour to build, and with the learning of Google Sketchup I was able to design a 3D render of SSR-X.
Click to enlarge
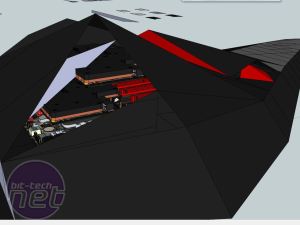
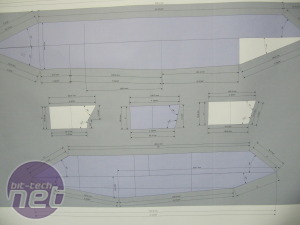
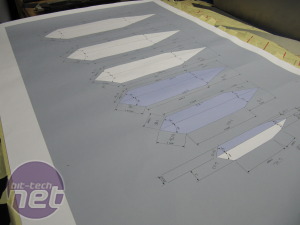
The 3D render let me make blueprints and get a inside perspective of the complexity that the build entailed. The design of SSR-X was going to pay tribute to the Northrop Grumman B-2a and Lockheed Martin SR-71 Blackbird by merging them together in one airframe. The 3D render let me get a grasp of how most of the fabrication was going to have to take place. Keep in mind with every inch in length added to the wingspan it would add like a overall foot or two to the whole case! Keeping geometry in check was imperative! Once I did some more hard thought in my head, I decided it was a project worth building. I went and had the blueprints printed out and ordered sheets of 6061 aluminium.
Click to enlarge
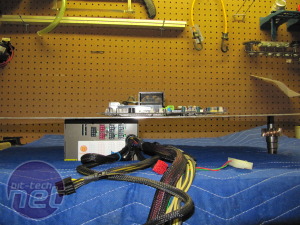
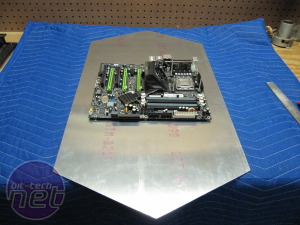
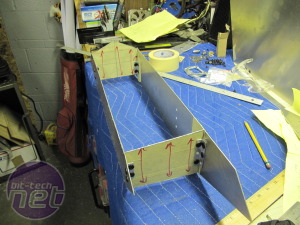
With the aid of blueprints, I started at the core of the case in cutting out the internal frame piece where the motherboard and power supply would sit.
Click to enlarge
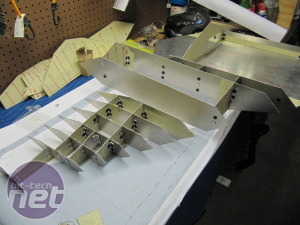
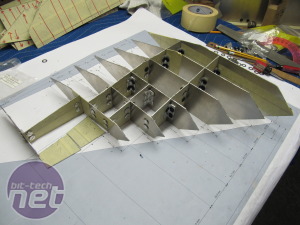
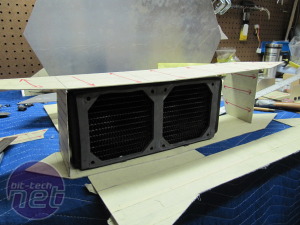
I worked my way outward from the core to the radiator compartments and than the wing structures.
Click to enlarge
Click to enlarge
Once the entire internal frame was cut-out, drilled, and bolted together I could begin cutting out the pieces for the top and bottom covers of the case.

MSI MPG Velox 100R Chassis Review
October 14 2021 | 15:04



Want to comment? Please log in.