Side panels and hardware mounts
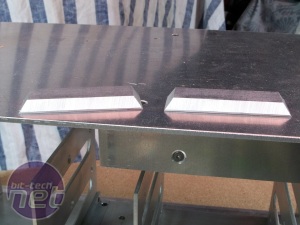
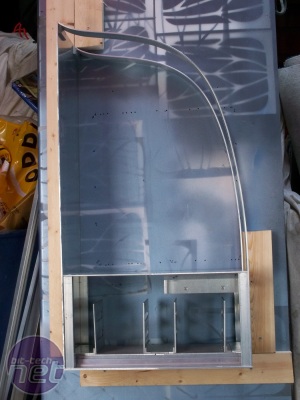
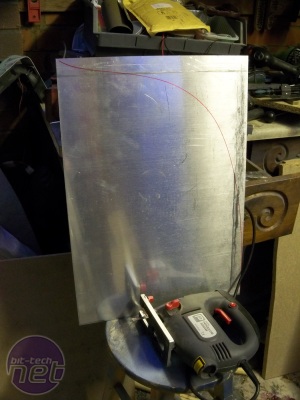
I used the same method for the side panels. This required some maths to work out the exact measurements - but my calculations turned out out to be spot on. For brushing I used satinising mops on my power drill. This creates a brushed finish which I used along the lines of the case, rather than just at random.I had spares enough to make the various sections for the PCI expansion slots and I/O panel but wanted to make my own after seeing a solid billet example made by another modder. I have no milling machine, so a layered stack was the only option to create what I needed. I put the parts together then hid the bolt heads with body filler and painted the pieces with Plasticote copper paint.
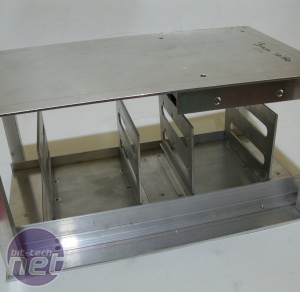
The case feet, which you can see better in the final gallery, were sponsored by Mnpctech - thank you Bill! I love the possibilities for mounting SSDs - they're small, light and don't need much cooling. I used two pieces of aluminium flat bar fixed together with SSD mounting holes. The 5mm acrylic windows are stepped out by 2mm away from the 3mm aluminium panels themselves. These clipped onto the panels and were secured quite well - thank you MonkeyPuzzle for this idea.
Then began some sleeving fun with black MDPC-x sleaving and custom wire work. Unfortunately, there appeared to be an issue with electrical insulation and I got some nice temporary nerve damage in my hand which lasted a few days.
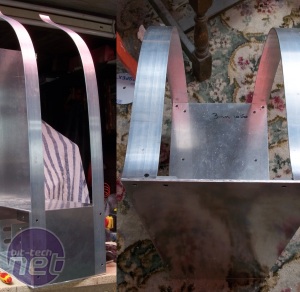
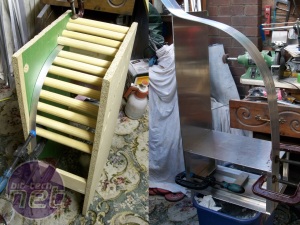
The double-opposing window curve was definitely the hardest part to crack in the project and really tested me.

MSI MPG Velox 100R Chassis Review
October 14 2021 | 15:04




Want to comment? Please log in.