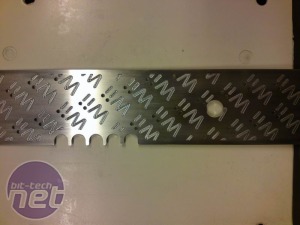
The sides are probably the parts that took the longest to get right in the CAD program. As with the waterblock, I imported an image file of the Wii logo that I found online and put that on top of the part on which I wanted to draw the logo, before tracing the lines. I then had to copy this logo all over the part to get the pattern I wanted. The logos were then milled with a 1mm carbide bit that only goes 0.2mm into the aluminium.
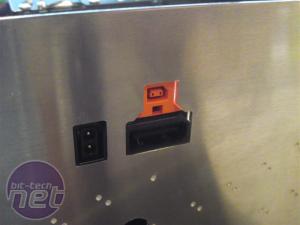
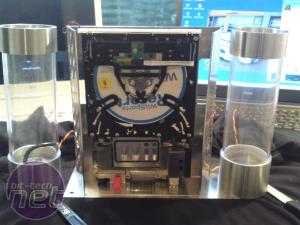
Fortunately, I was able to throw this into a batch of aluminium parts that had to go out to the anodiser, so that was a freebee. When I got it back, though, it just looked too black, and didn't really fit in with the rest of the case. As a result, I taped it to the machine and milled 0.1mm off of the surface, which gave me the look I originally wanted.
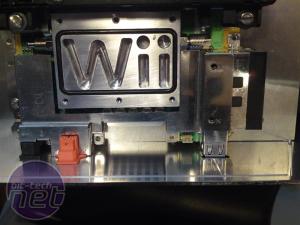
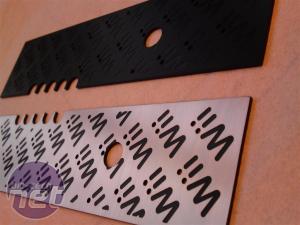
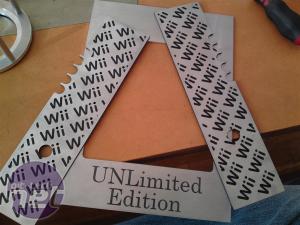
The front part was milled in the same way, but I had to add a layer of black paint since it’s too expensive to get just one piece anodised. I then sanded it down with 1,000-grit wet and dry paper.


Fortunately, I was able to throw this into a batch of aluminium parts that had to go out to the anodiser, so that was a freebee. When I got it back, though, it just looked too black, and didn't really fit in with the rest of the case. As a result, I taped it to the machine and milled 0.1mm off of the surface, which gave me the look I originally wanted.


The front part was milled in the same way, but I had to add a layer of black paint since it’s too expensive to get just one piece anodised. I then sanded it down with 1,000-grit wet and dry paper.

MSI MPG Velox 100R Chassis Review
October 14 2021 | 15:04


Want to comment? Please log in.