
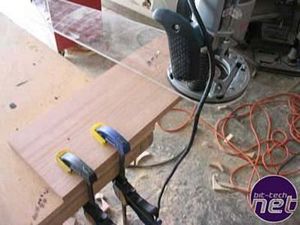
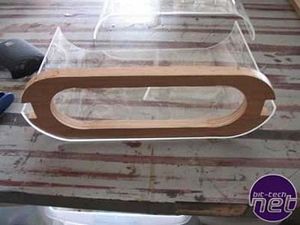
Now I needed to make the real pieces and this time it's hard wood. Solid oak planks. I used my router and circle cutting jig I made to make perfect rounded ends. I just needed to measure the center line and drill some holes.
After a couple shallow passes on each side the end result was nice.
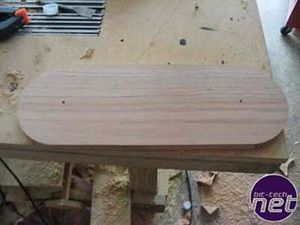
I ran through the same process again to produce the back panel and then check for a good fit.
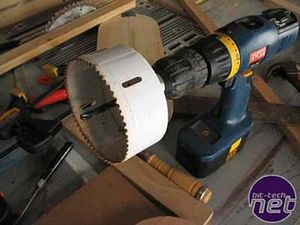
Oh mama, thatsa bigga hole saw.
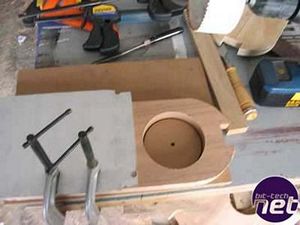
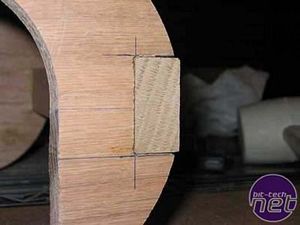
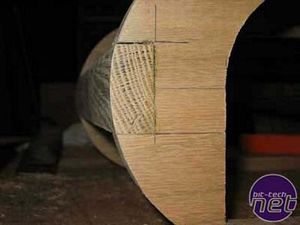
I cut notches in the ends for the oak "slats" that will tie the front and back together and then cut holes in the front to create inside rounded shapes.
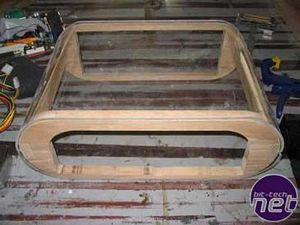
Once I had the two holes cut, I just used my jig saw to connect them and remove the inside.
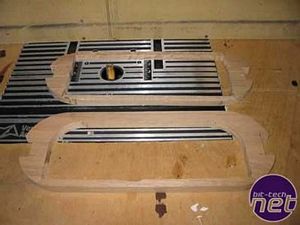
The back panel was easier, since I will be making an acrylic motherboard tray with a square back panel, I just cut it out with my jigsaw. I then squared off the bottom edge of the front panel for the motherboard tray to rest in.
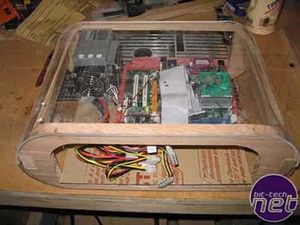
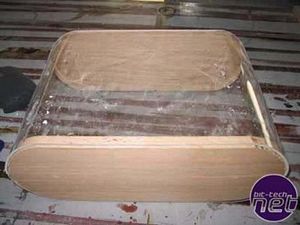
Then I got out the solid black acrylic and cut a deck for the components to be mounted on. Seen in this picture, I'm testing to make sure it all fits. The mobo in this picture is the now deceased Matsonic motherboard... a moment of silence please. You will also notice in the above picture that the oak side rails have been cut and pieced in there to check for fit.
I glued and brad nailed the side rails into place. The center of the side rail is flush with the radius established by the round frame. The problem with this is that the corners stick out.
About an hour on the 16" bench sander (like a belt sander but stationary) I managed to get the side rails to match the curve established by the front and back plates.
Now the acrylic shell pieces fit flush against the wood frame and now I can concentrate more on the internals.
RELATED ARTICLES


MSI MPG Velox 100R Chassis Review
October 14 2021 | 15:04

Want to comment? Please log in.