
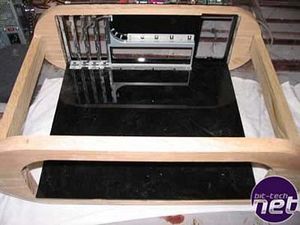
Using the router on the back plate, I cut a channel out so the back plate of the motherboard try would sit flush with the wood. Then, I cut out a piece of solid black acrylic to fit in it.
I needed to sand the outer corners so they matched the shape of the wood. With the acrylic firmly in place, this was an easy task on the bench sander.
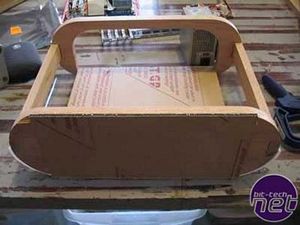
Here you can see the wooden frame with the major parts of the motherboard tray in place.

Now I needed an I/O solution. Looking through the garbage pile... er, my stockpile of old pc stuffs, I had an old HP desktop case. Turns out that these old cases used MicroATX boards and the only thing standing between me and sweet I/O freedom were a couple of rivets.
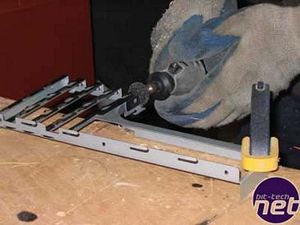
The HP I/O frame did have some parts I didn't want, a strip of metal across the top that I couldn't afford in my case dimensions so I decided to cut it off. (note the gloves, those are the ones I mentioned in my safety section earlier)
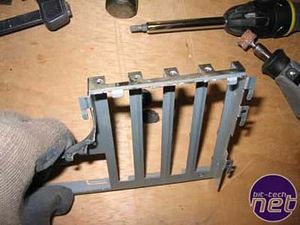
With the top of the frame liberated from it's oppressive metal strip overlord, it is free to play in the custom PC world and thrive.
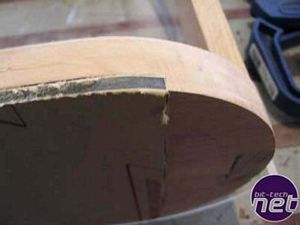
Disaster!!!!
I broke the back panel to my motherboard tray. Oh well, this isn't a setback, I consider this an opportunity to do it again, but better... after some gentle sobbing in my quiet corner of the shop.
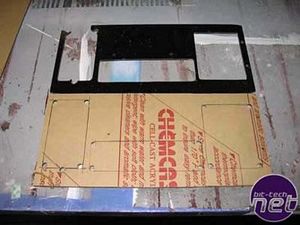
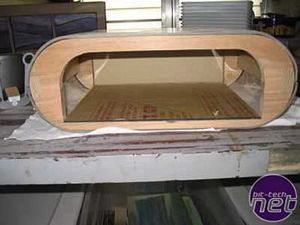
Using the technique bestowed upon us by the master macroman. I employed his use of strategically placed pilot holes that not only provide starting points for your jig saw but give you nice, rounded corners. People if we don't use these gems, they die with him and he's not getting any younger :P
With the new back plate in place, I check to make sure the I/O frame matches the window locations.
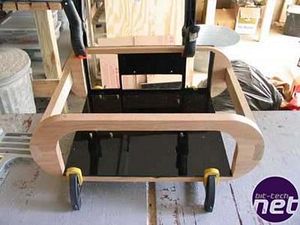
Now it's time to glue the parts together. Using my quick clamps (I better be getting some cash in the mail from them soon) I hold the pieces together. Too much pressure here is bad, I just need the pieces to stay where they are at so I get good capillary action with the IPS Weld-on. For the definitive guide on this process, you best get your ass over to Linear's guide on making an acrylic case.
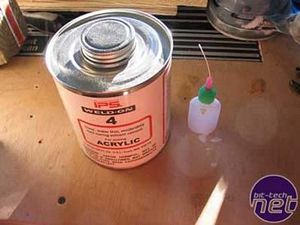
This is the stuff. IPS Weld-on #4 is the perfect glue for bonding acrylic and has a water-like consistency. You will need a squeeze bottle with a needle top (this one has a poly needle, meaning it is flexible) or a syringe. I highly recommend the squeeze bottle, it is perfect for applying the IPS right were you need it and at the right amount. Oh, and by the way, nobody... and I mean nobody needs this much IPS Weld-on. This is another classic case of me way overbuying. So little amount is needed per bond that it's silly to buy more than a pint of this stuff unless you are making a 1:1 scale acrylic model of the QEII.
RELATED ARTICLES


MSI MPG Velox 100R Chassis Review
October 14 2021 | 15:04

Want to comment? Please log in.