The components are so tightly squeezed in this case, I needed to make some space between the back plate of the motherboard tray and the power supply. When sitting flush with the back, the fan was too close to the keyboard/mouse connectors on the motherboard.
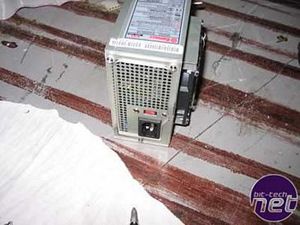
I cut out a piece of clear acrylic and made a spacer. This is basically a hard gasket with mounting screws and plenty of room for air to pass through. The power supply will be fastened to the spacer with screws and the spacer will be glued to the motherboard tray using IPS Weld-on.
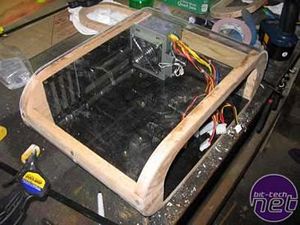
Put in place it works out well.
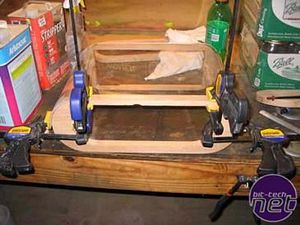
Then I clamped the panels to the frame to get the best possible fit.
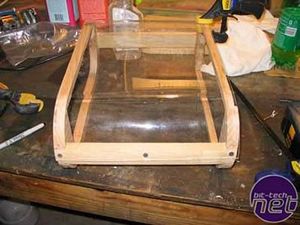
Then I drilled some countersunk holes in the acrylic and predrilled some holes in the oak for the screws that attach the panels to the case frame.
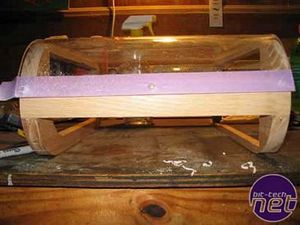
I used tape to mark exactly where the edge of the acrylic was. I left some extra on the end for fine tuning. After I had my line, I went to the bench sander and made the finer adjustments to make sure the panel was exactly the right size.
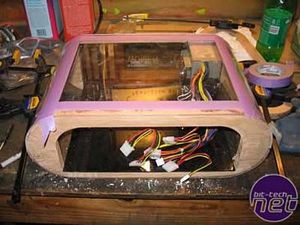
Once I got both top and bottom panels permanently fastened, I marked where I wanted my "window" to be with painters tape.

I cut out a piece of clear acrylic and made a spacer. This is basically a hard gasket with mounting screws and plenty of room for air to pass through. The power supply will be fastened to the spacer with screws and the spacer will be glued to the motherboard tray using IPS Weld-on.

Put in place it works out well.

Then I clamped the panels to the frame to get the best possible fit.

Then I drilled some countersunk holes in the acrylic and predrilled some holes in the oak for the screws that attach the panels to the case frame.

I used tape to mark exactly where the edge of the acrylic was. I left some extra on the end for fine tuning. After I had my line, I went to the bench sander and made the finer adjustments to make sure the panel was exactly the right size.

Once I got both top and bottom panels permanently fastened, I marked where I wanted my "window" to be with painters tape.

MSI MPG Velox 100R Chassis Review
October 14 2021 | 15:04


Want to comment? Please log in.