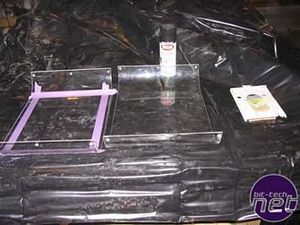
With the window marked, I put both the panels on a drop cloth along with the drawer tray from the DVD RW drive. I cleaned all the parts completely and prepared for masking. I am painting the DVD RW drive tray with these parts because I will be using paint specifically designed for plastic parts.
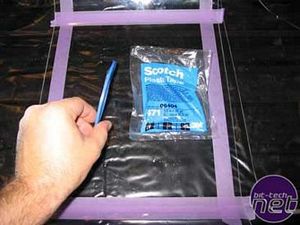
First order of business is to mask the window area so it doesn't get painted. I am using this trim tape from Scotch. A lot of people familiar with auto painting and detail work will be familiar with this stuff. It is perfect for this sort of work. It is a thin, plastic tape that, when applied to a smooth/clean surface provides a razor sharp edge preventing "bleeding" of the paint underneath the tape. Being so thin, you can create curved lines.
Basically you pull out about 8" worth and apply the end to the surface. For straight lines, you just press down the end near the roll and for curves you can run your finger along where it meets the material and create a curve.
I will be painting the inside facing side of the acrylic to exploit a cool effect best illustrated by macro's project macro black. From the inside, the paint looks matte and boring but when viewed from the outside, it looks super-glossy and prevents the paint from being scratched off.
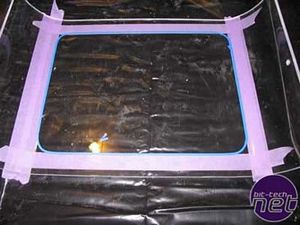
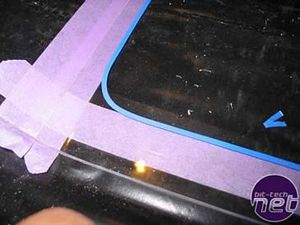
Here you can see one of the corners, it is really easy to create curvy shapes.
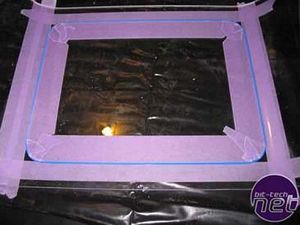
With the outline created, I went in with regular painters tape to create a nice, safe inside edge.
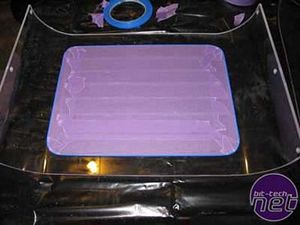
Then, I just filled in the rest with painter's tape.
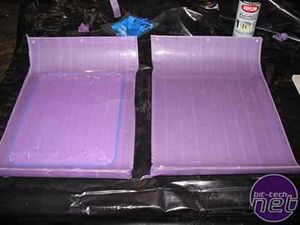
For extra insurance against "mis-sprays" I went ahead and taped the outside facing part of the panels to keep paint off of it.
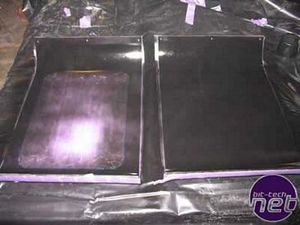
The paint I am using is from Krylon, it is called "fusion" paint. It sprays very smoothly. I just started at one end going from left to right overlapping each row of paint with each pass. I probably took 6-7 layers of paint for complete opacity. I would periodically check the progress by holding a panel up to a really hot light. If I saw any light, I kept spraying. The drawer tray only took about 4 light layers for complete coverage.
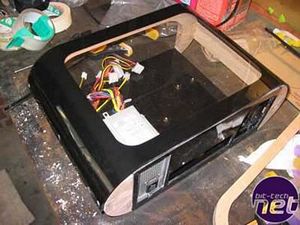
That's the glossy/opaque look I was going for.
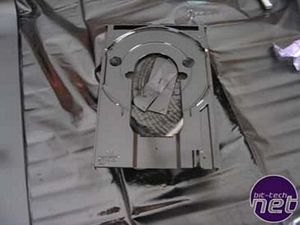
The drawer tray only took about 4 light layers for complete coverage.
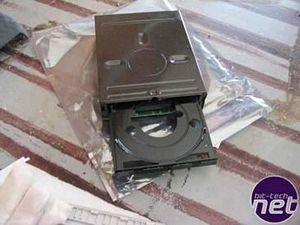
Once I was satisfied that all the painted parts where cured, I put the drive back together save the front bezels.

MSI MPG Velox 100R Chassis Review
October 14 2021 | 15:04


Want to comment? Please log in.