
THE ASSEMBLING
This is a decisive stage in the design concept and at this time one begins to realise of all the work achieved until now. It was time to move to the assembly various parts of the case - I really couldn’t wait to see the whole thing assembled…
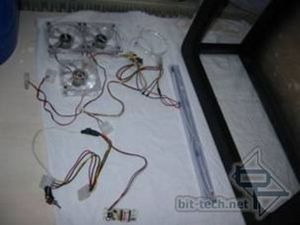
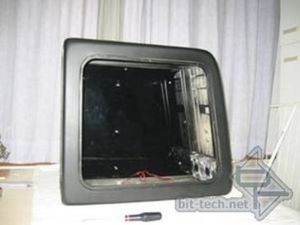
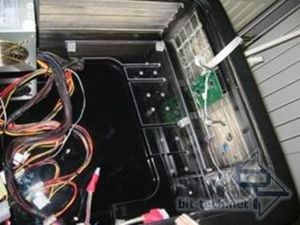
For the various sources of light, I used: 3 x blue LED fans, 2 x 10 cm blue cathodes and a round coming from a sunbeam fan .
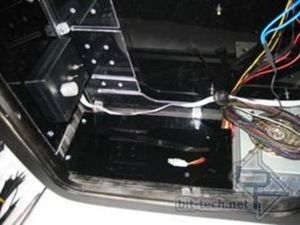
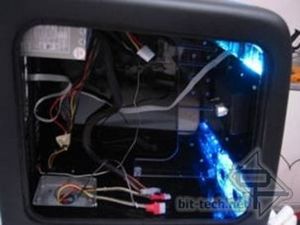
The majority of the case wires go throught the double panels and behind the motherboard.
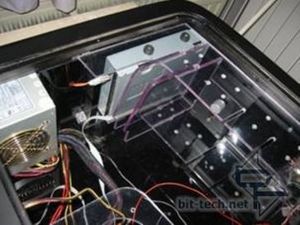
The slot-in DVD drive is fixed by rubber grommets to reduce vibrations and sound level.
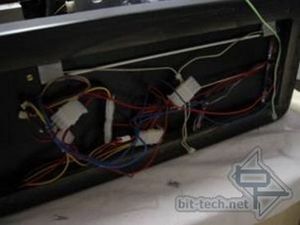
I placed a white cathode in the bottom of the case to give a UFO effect to the ground.
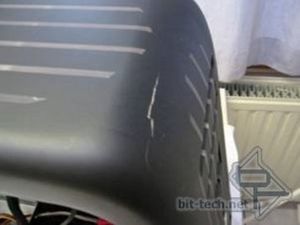
Oh my god! This is what happens when one makes a mistake in screwing in the assembly…
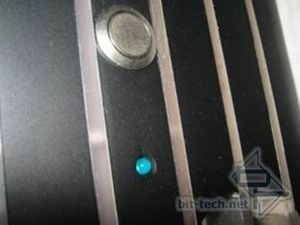
I used vandal switches for power and reset thus a blue LED which shows the hard drives activity.
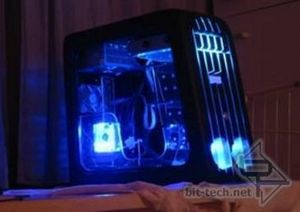
Once all the wiring of all the internals parts was finished, I was not able to resist carrying out a test in the dark to see how the lightning showed. The lights gave a really nice colour to the acrylic structure and give a great design to the case front bezel. That was much better than I had hoped for.
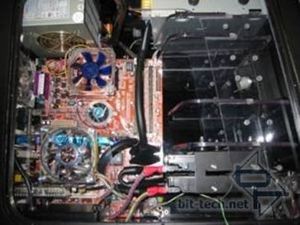
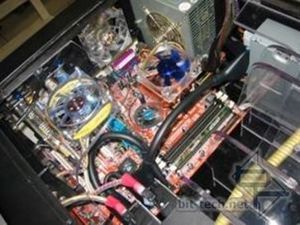
I then installed the hardware in the case. It gives a great contrast between orange colour of the motherboard and the shining black of the internal panels.
This is a decisive stage in the design concept and at this time one begins to realise of all the work achieved until now. It was time to move to the assembly various parts of the case - I really couldn’t wait to see the whole thing assembled…


For the various sources of light, I used: 3 x blue LED fans, 2 x 10 cm blue cathodes and a round coming from a sunbeam fan .


The majority of the case wires go throught the double panels and behind the motherboard.

The slot-in DVD drive is fixed by rubber grommets to reduce vibrations and sound level.

I placed a white cathode in the bottom of the case to give a UFO effect to the ground.

Oh my god! This is what happens when one makes a mistake in screwing in the assembly…

I used vandal switches for power and reset thus a blue LED which shows the hard drives activity.

Once all the wiring of all the internals parts was finished, I was not able to resist carrying out a test in the dark to see how the lightning showed. The lights gave a really nice colour to the acrylic structure and give a great design to the case front bezel. That was much better than I had hoped for.


I then installed the hardware in the case. It gives a great contrast between orange colour of the motherboard and the shining black of the internal panels.

MSI MPG Velox 100R Chassis Review
October 14 2021 | 15:04


Want to comment? Please log in.