
INTERNAL CONCEPT
As I explained at the beginning, I wanted to build all the internal parts of the case in acrylic for two reasons: firstly, I hoped by this way to obtain a good sound proofing (wood+acrylic) and secondly, I wanted to paint the non visible faces of the acrylic with black paint to get a nice mirror effect with the final one. I also wanted to use the space between the external wood and the double acrylic internal panes to pass all wiring and feed all the peripherals without the cables not being seen.
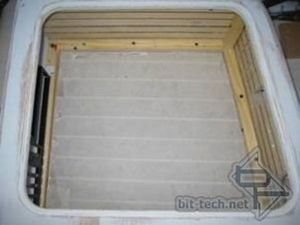
I started by cutting out the panel which will support the motherboard.
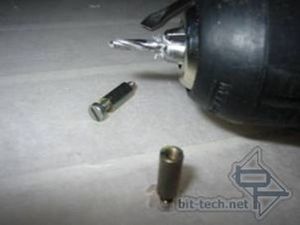
The motherboard fits in the case on the bottom acrylic panel by screws like this:
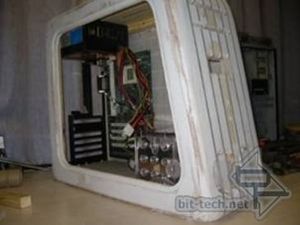
This is a little test I made with old components to see if everyithing was fitting well into the case.
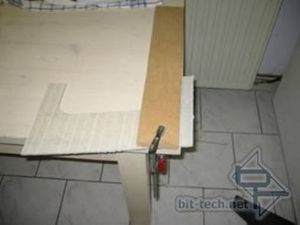
Then, I cut out the acrylic structure which will support the DVD and hard drives - I gave it a design which follows the case curves and the window cutout.
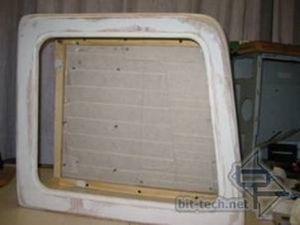
This panel is fixed at the bottom with 15 mm acrylic cubes bored and screwed in the bottom acrylic panel.
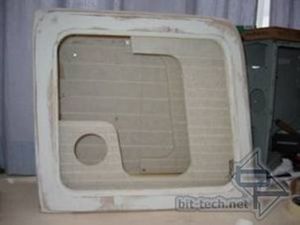
Here is other side of the structure in which I planned to fit a fan right in front of PCI cards.
I had considered several solutions to fix these: screws, adhesive? But I thought about something cleaner: this structure is neither screwed nor glued, it will be held / maintained by stages which will interlock in the left and right amounts from hand side.
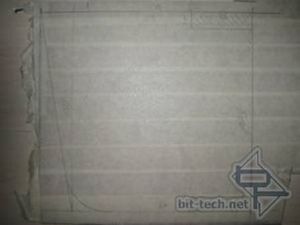
Here before cutting:
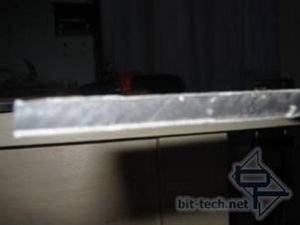
These cuttings needed to be polished…
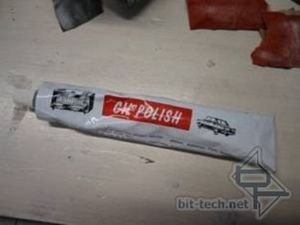
Here is the polish I used: this is metal polish - that was the only one I had and that functions very well.
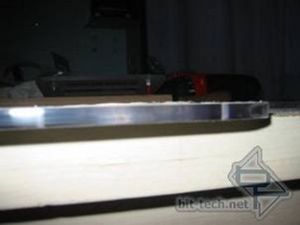
That’s rather better like that.
As I explained at the beginning, I wanted to build all the internal parts of the case in acrylic for two reasons: firstly, I hoped by this way to obtain a good sound proofing (wood+acrylic) and secondly, I wanted to paint the non visible faces of the acrylic with black paint to get a nice mirror effect with the final one. I also wanted to use the space between the external wood and the double acrylic internal panes to pass all wiring and feed all the peripherals without the cables not being seen.

I started by cutting out the panel which will support the motherboard.

The motherboard fits in the case on the bottom acrylic panel by screws like this:

This is a little test I made with old components to see if everyithing was fitting well into the case.

Then, I cut out the acrylic structure which will support the DVD and hard drives - I gave it a design which follows the case curves and the window cutout.

This panel is fixed at the bottom with 15 mm acrylic cubes bored and screwed in the bottom acrylic panel.

Here is other side of the structure in which I planned to fit a fan right in front of PCI cards.
I had considered several solutions to fix these: screws, adhesive? But I thought about something cleaner: this structure is neither screwed nor glued, it will be held / maintained by stages which will interlock in the left and right amounts from hand side.

Here before cutting:

These cuttings needed to be polished…

Here is the polish I used: this is metal polish - that was the only one I had and that functions very well.

That’s rather better like that.

MSI MPG Velox 100R Chassis Review
October 14 2021 | 15:04


Want to comment? Please log in.