
Motherboard tray
Fitting the motherboard in this case was always going to be a challenge - quite literally a square peg in a round hole. I looked at a number of different solutions and decided to mount it at the bottom on a sort of platform. So the first task was to design this platform...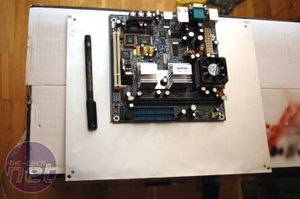
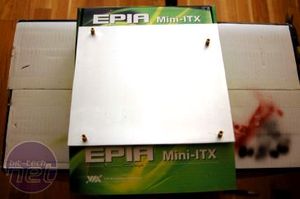
Once again, starting with the easy part first, I grabbed some 2mm sheet aluminium and cut out a 17cm x 17cm square. Four holes later and we have the stand-offs in place. So far so good.
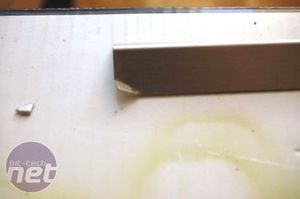
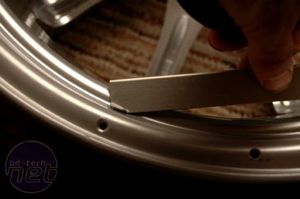
The motherboard tray needed support from underneath; effectively the joists to the tray's floorboards. I achieved this by using some common L-shaped aluminium cut to length. I had to bend the corner at each end to allow for the curve of the rim but otherwise this worked great.
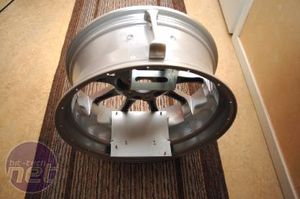
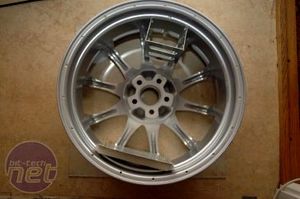
This is what it looked like. The actual motherboard tray sticks out the back of wheel by 12mm. This is definitely a problem but one I was willing to ignore for the time being.
Houston, we have a problem!
Hands up if you have heard the saying "Measure twice; cut once". Now let me introduce one of my own: don't measure; just cut it. There is a reason why one of them is a famous phrase and the other one is just a disaster waiting to happen. I think you know where this is going...The task was to make a mounting for a power supply. The mistake was thinking that I didn't need to measure it accurately to make it 100% parallel with the motherboard tray already in place.
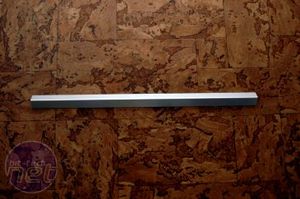
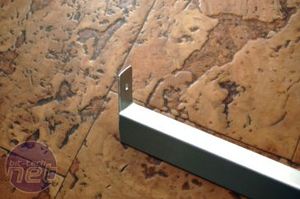
Two more lengths of L-shaped aluminium, tapered at each end to allow for the curve of the rim. I made two identical pieces and riveted them in place before I had realised my mistake...
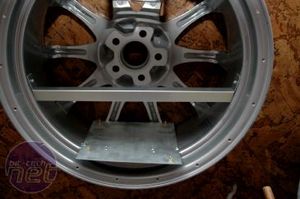
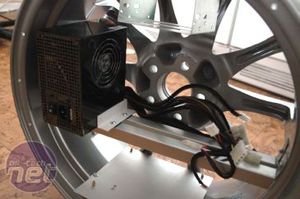
Here you can see the full horror of this error: the two lines are clearly not parallel. The actual mounting of the PSU worked out really well, but the fact that it's not horizontal is really, really annoying. There was little to be done about it so I just left it as it was and moved on to sorting the back panel.

MSI MPG Velox 100R Chassis Review
October 14 2021 | 15:04


Want to comment? Please log in.