
Phase II
At this point several people had visited my house and their reactions were very positive. However, I wasn't that happy with the wonky power supply mounting and when I spoke to Deputy Editor Geoff Richards we came up with some new ideas to make this project even better. Regrettably it meant trashing all the work I had done so far - that was pretty painful - but the new idea was a good one.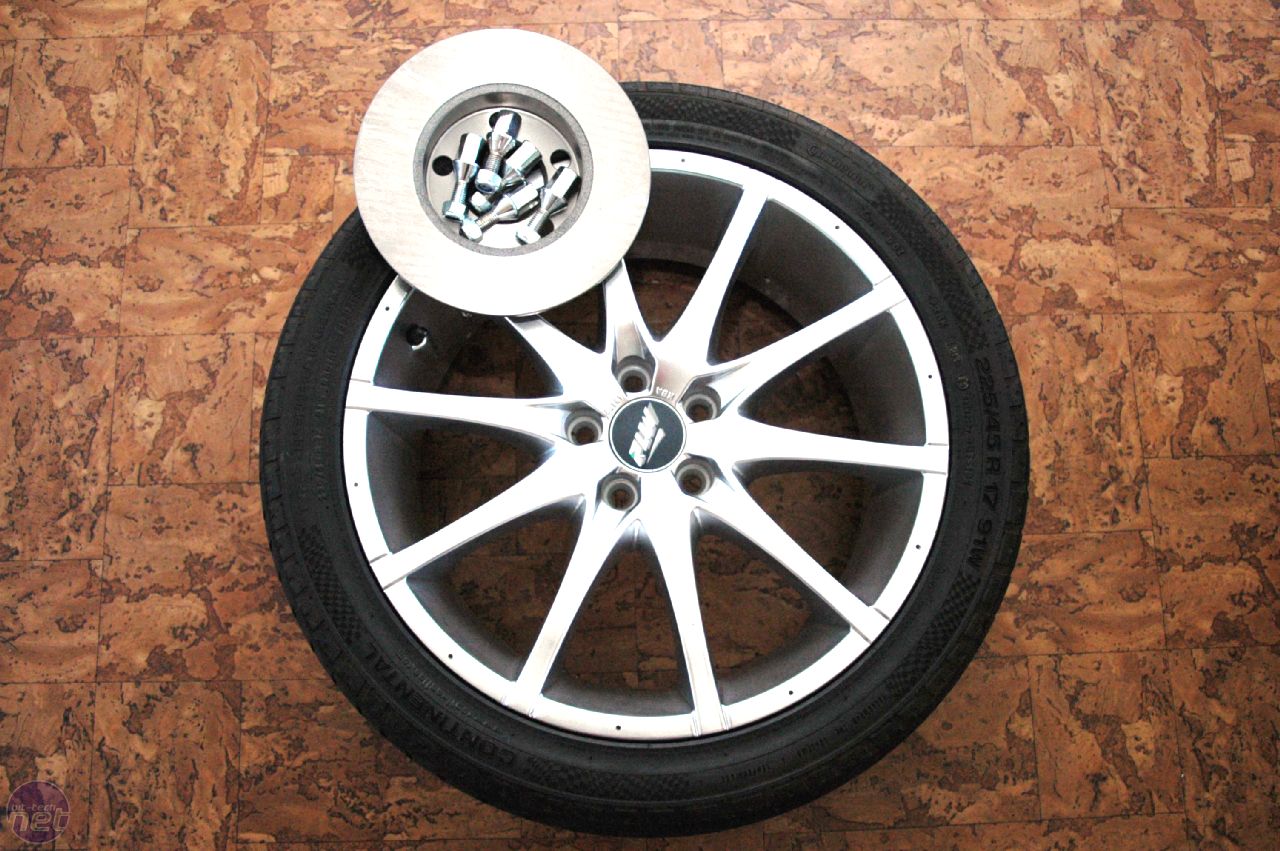
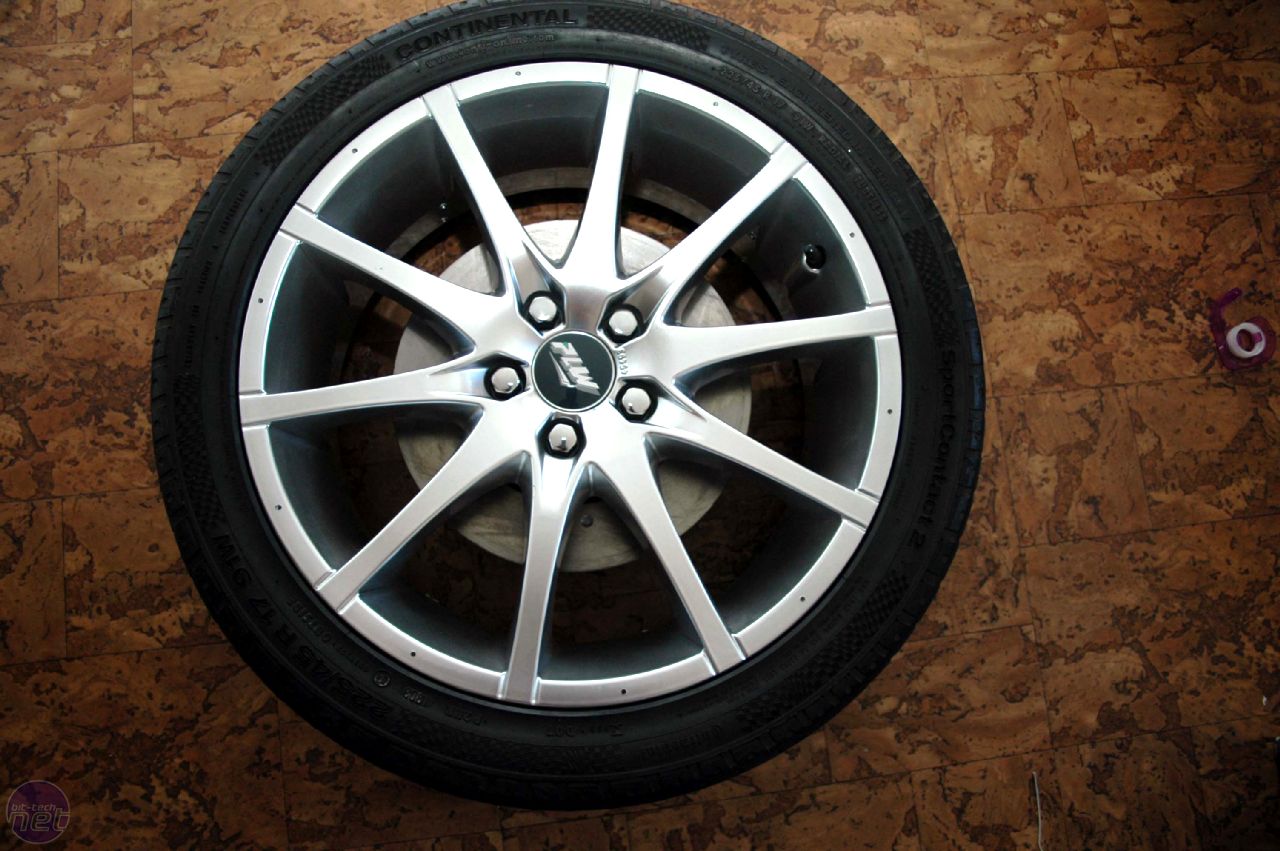
Having stripped it bare back to the original rim, the first thing I did was to have a real tyre fitted - a sexy 225/45 Continental Sport Contact 2. Modding runs in my family - my father modifies cars - so I when Geoff suggested I mount a real world brake disc on the hub, I gave my Dad a call. He couriered over a genuine Audi A4 brake disc and some chromed mounting bolts - the idea was already beginning to take shape.
Unfortunately, when I mounted it, I found that at 230mm it was simply too small for my 17" rim. As it turns out, it was a rear disc.
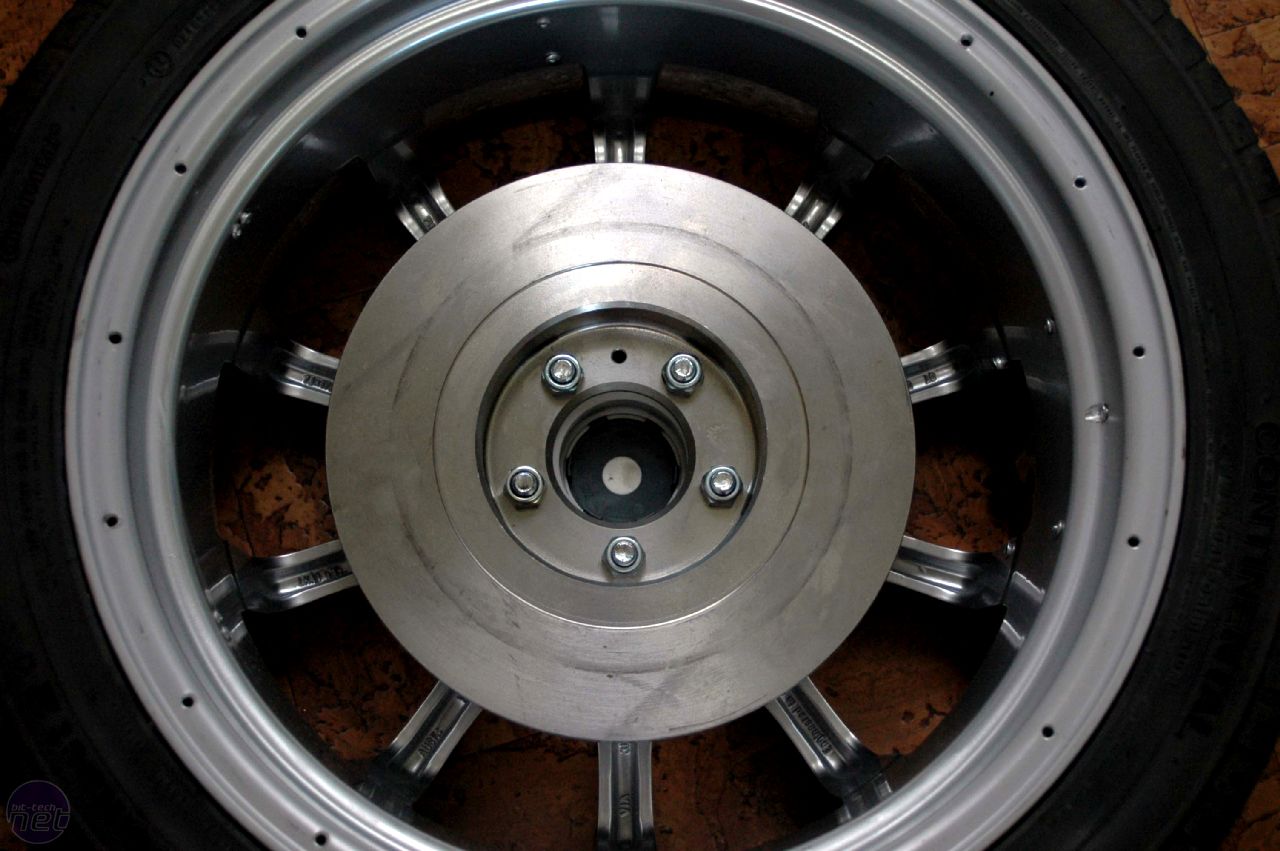
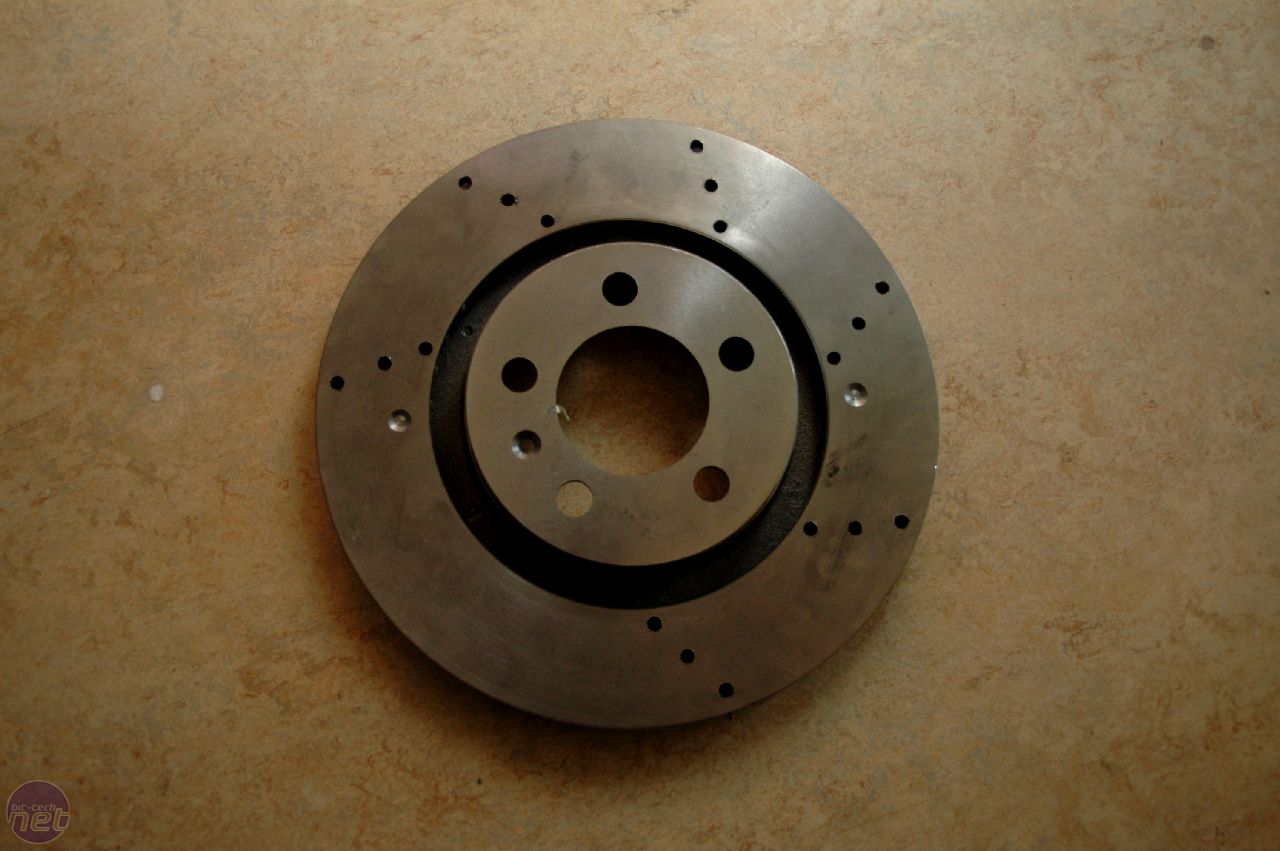
Another call to my Dad and he quickly arranged another delivery. This time it was a front disc - again from an Audi A4 - and this one was 380mm. It looked much better but it fell short of the fully pimped out street-racer look I was hoping for.
All the top sport cars and racers have cross-drilled discs; basically extra holes to improve cooling. Already on my second disc, I didn't want to upgrade again so I decided to make the most of what I had. Since this was destined to be a computer case and never used on a real car, I decided to make my own cross-drilled brake disc.
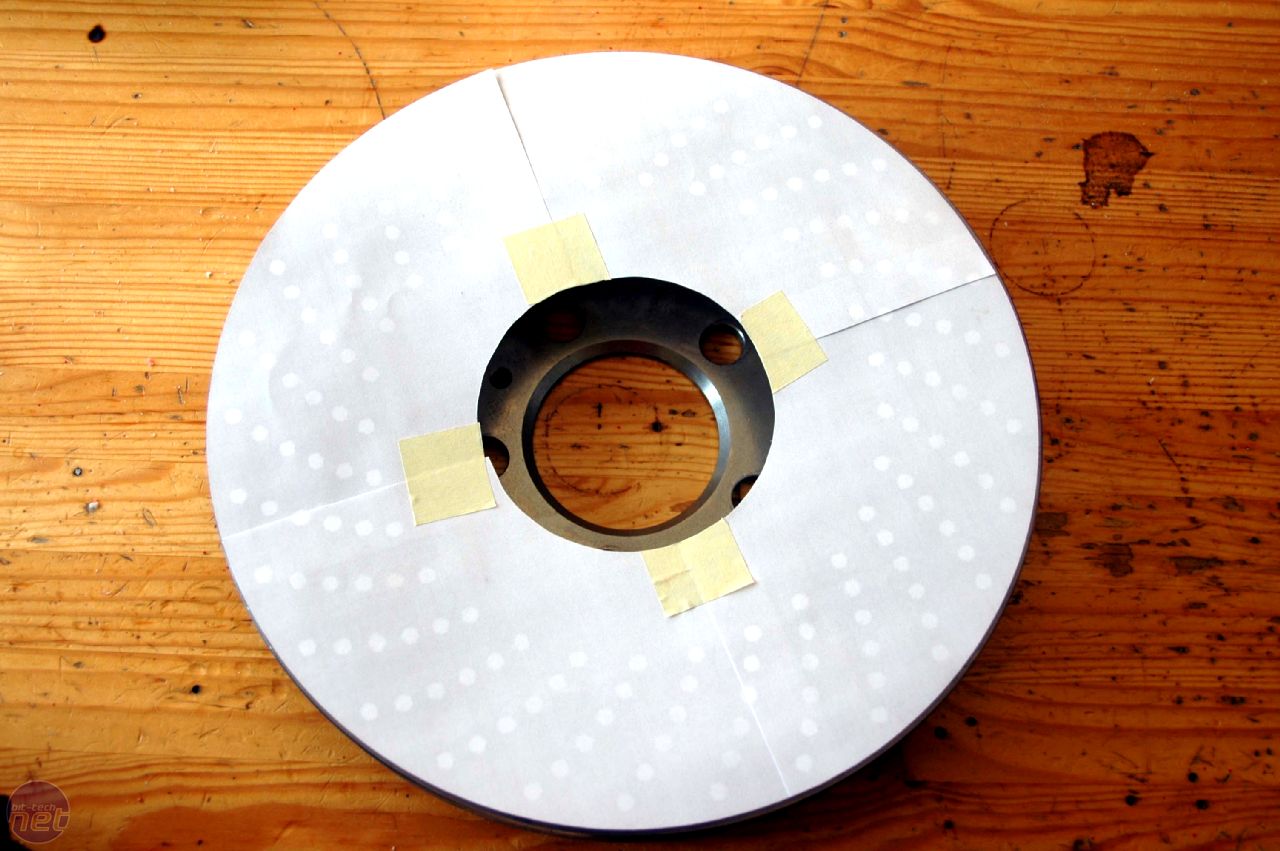
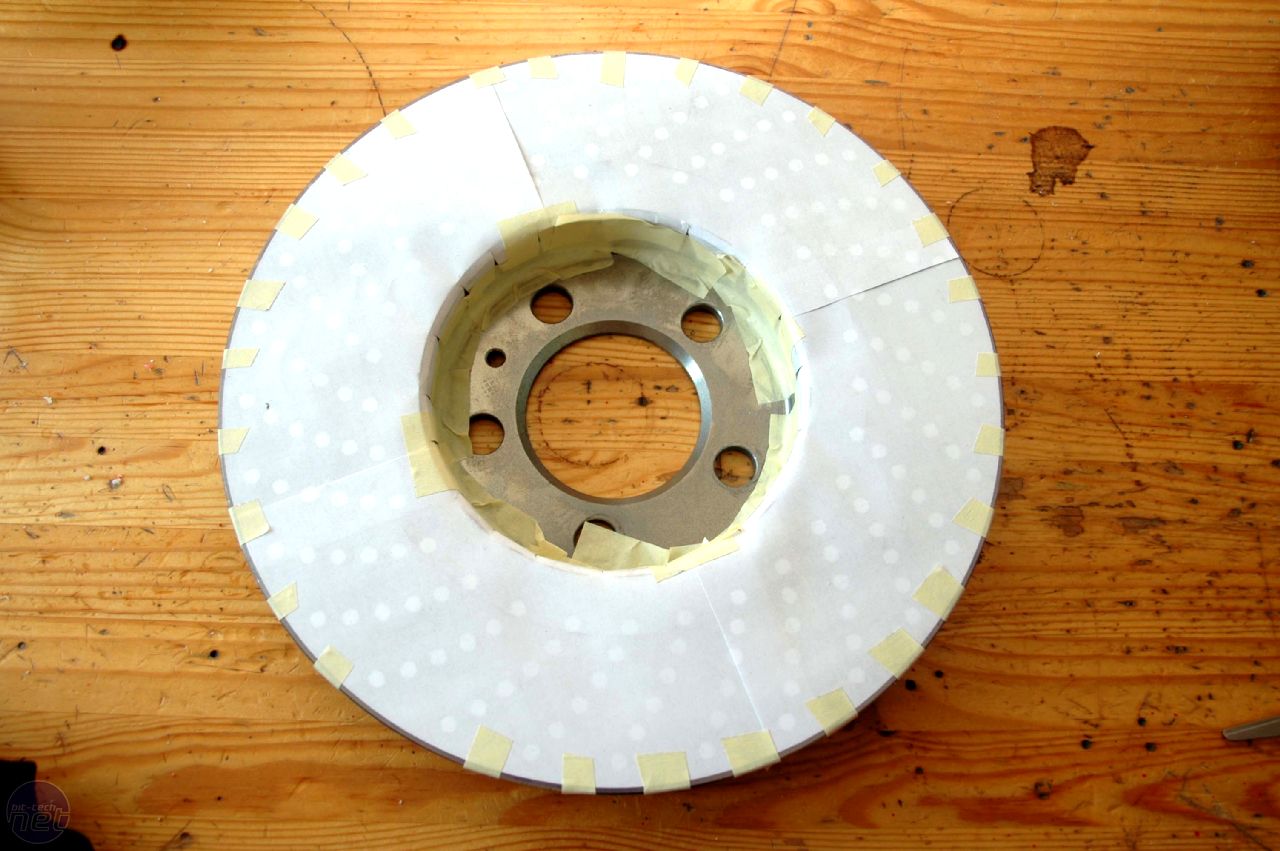
Obviously you can't just drill holes wherever you feel like it so I did some research and actually found a suitable pattern at the great modding resource that is the bit-tech forums. I enlarged the JPG in PhotoShop and printed it out to fit my 380mm disc. It was then a simple case of taping it securely to the disc itself. Easy so far, but there are approximately 210 individual holes on this template. Also worth considering is that brake discs aren't exactly made of paper mache - we're talking hardened steel here people.
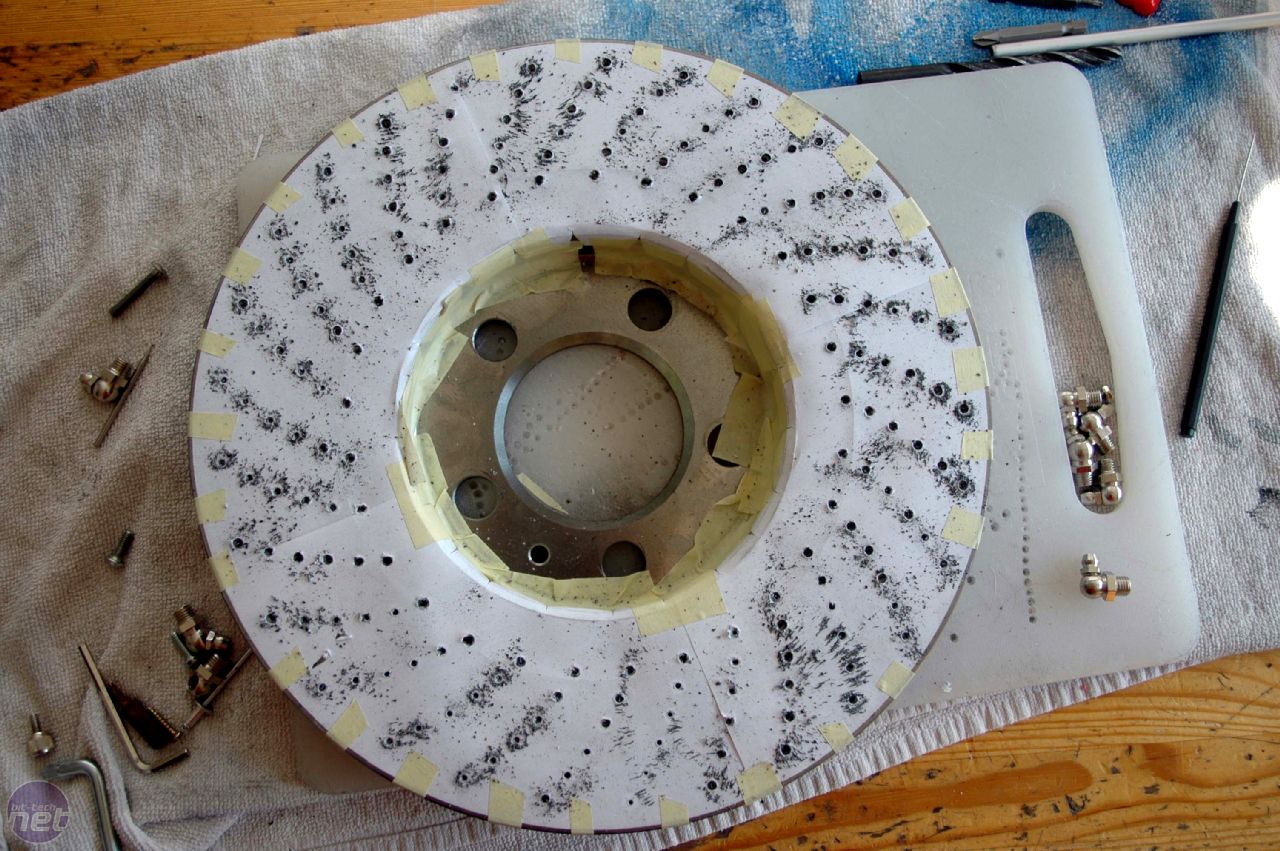
To start with, I used my cordless drill to simply mark the back of the disc with little dimples so I could strip away the paper template. At this point I have two "oh crap" moments in quick succession. For one, the steel proved to be even harder than I had feared. It was going to take a lifetime to drill all these holes. Secondly, I realised that even if I did manage this herculean feat, my brake disc would look more like swiss cheese.
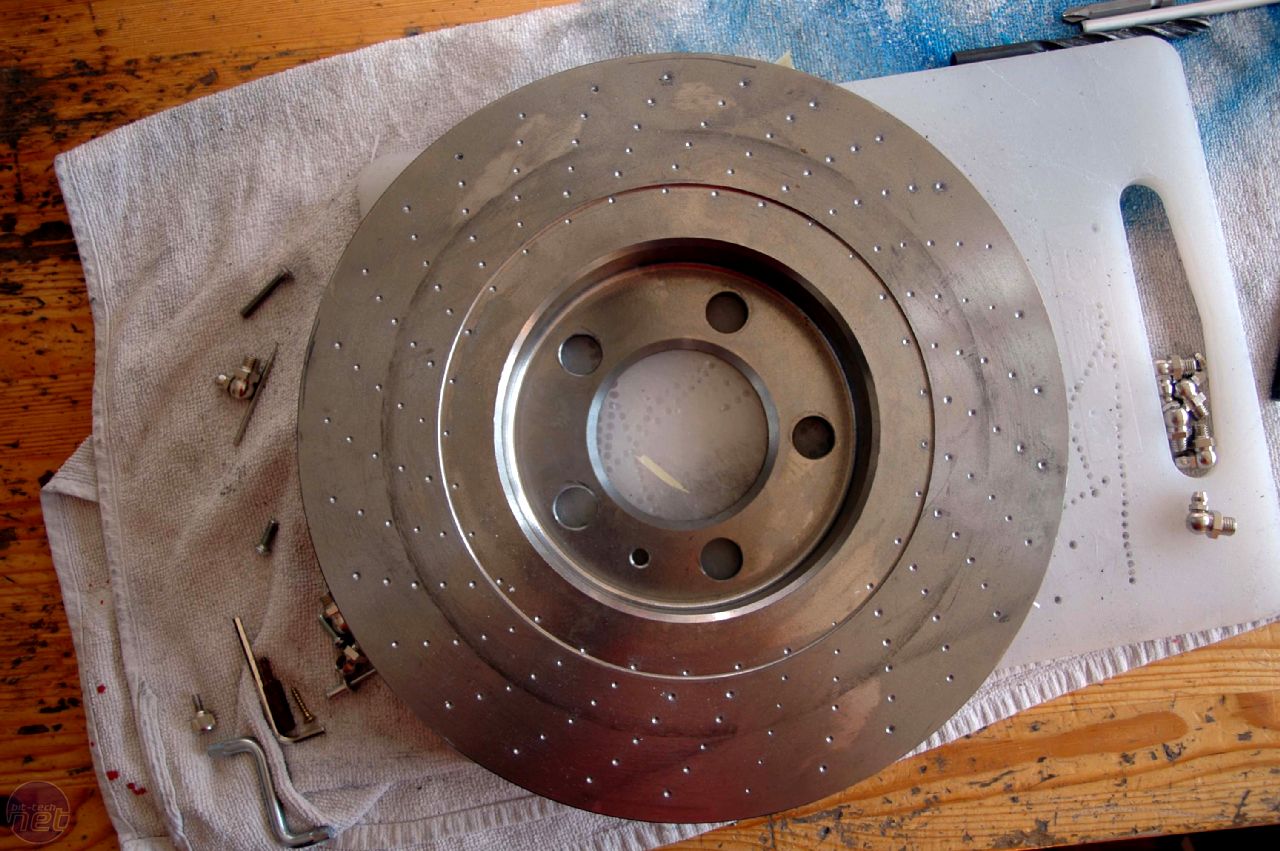
Another crisis meeting with Geoff and we decided it would be best to only drill out every fourth hole. This would produce a more realistic number of holes save me hour and hours of drilling. Sounds like a win-win decision, right? Well, when we counted out every fourth row we found there was an odd number of lines, meaning when you come full circle the spacing was wrong on the last row.
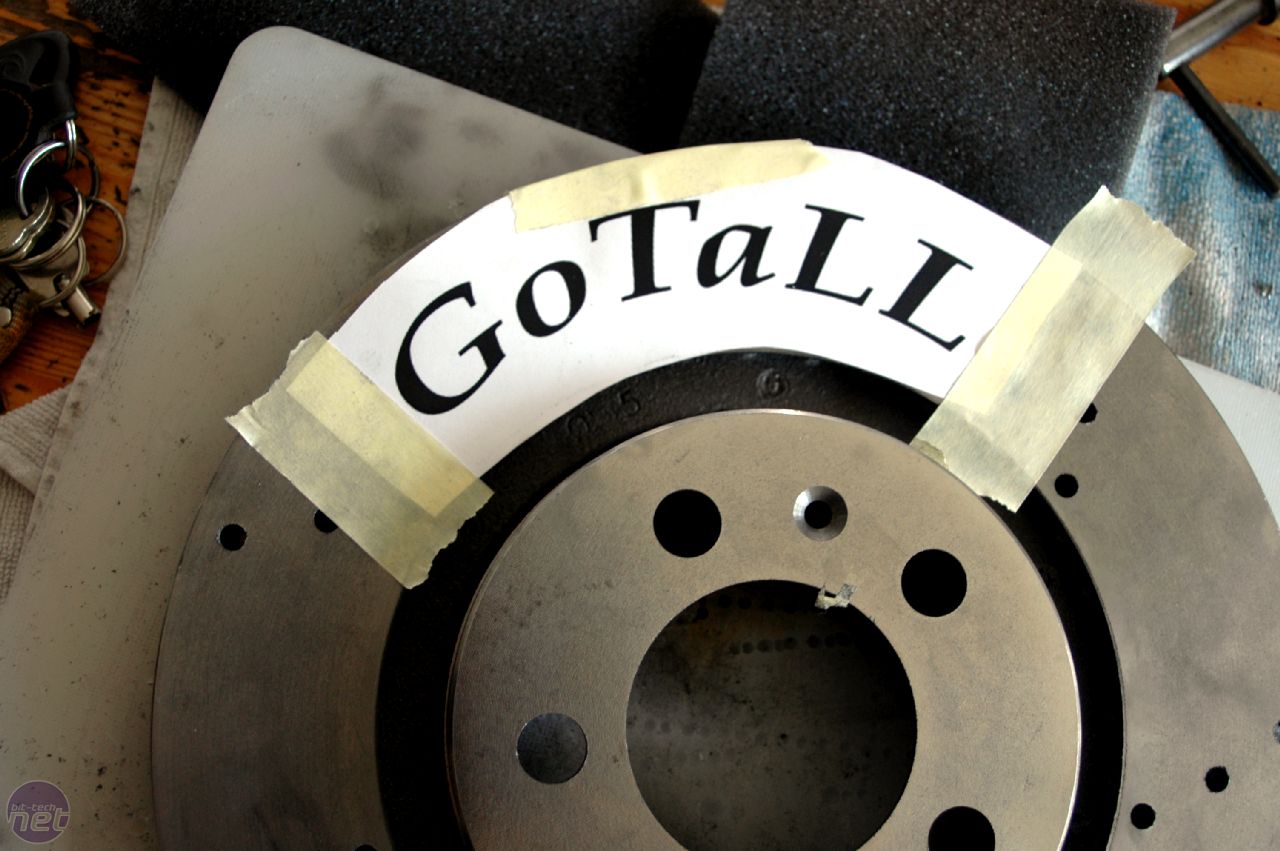
While Geoff grappled with trying all the combinations of "every second row vs every third row vs every fourth row" and so on, I realised there was a much simpler solution. Drill six rows and establish my own mark on this mod by engraving GoTaLL centered in the remaining space.
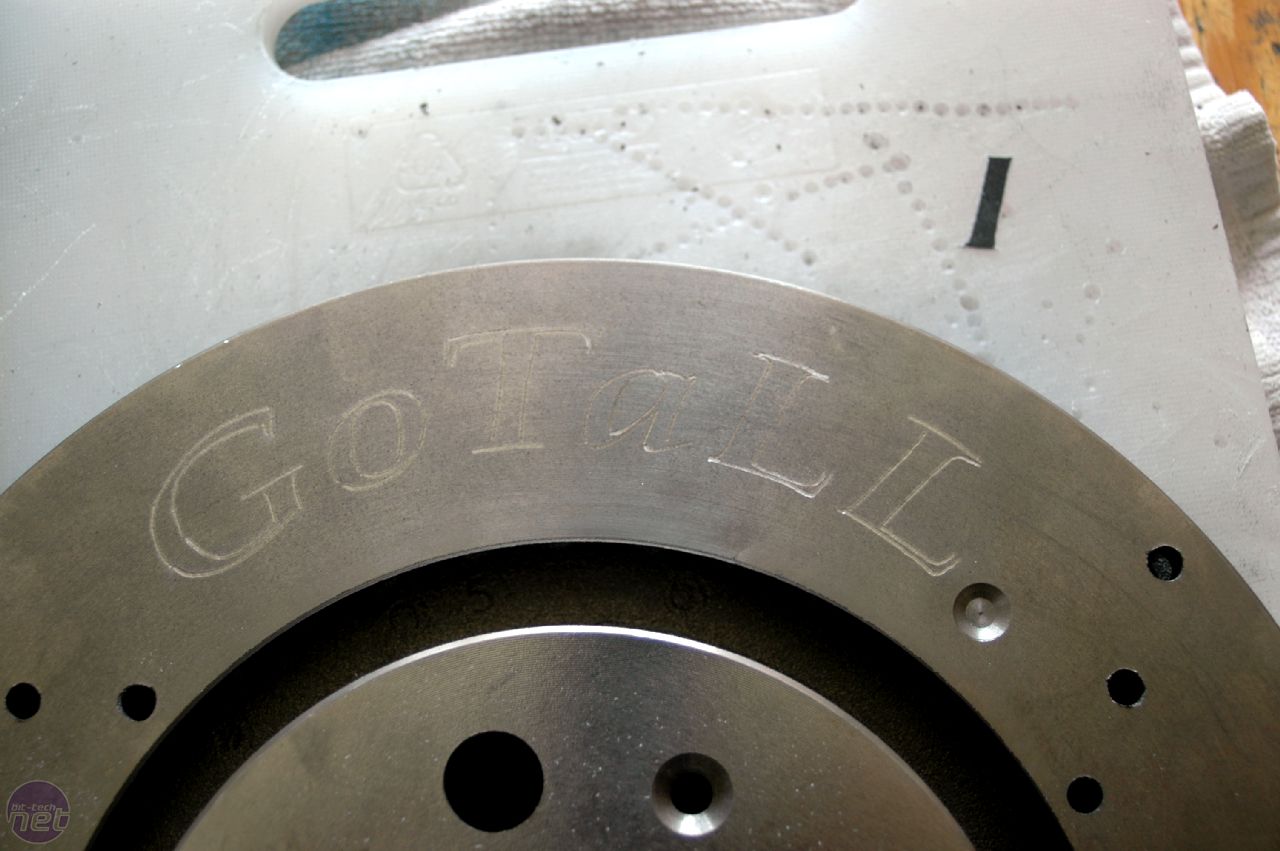
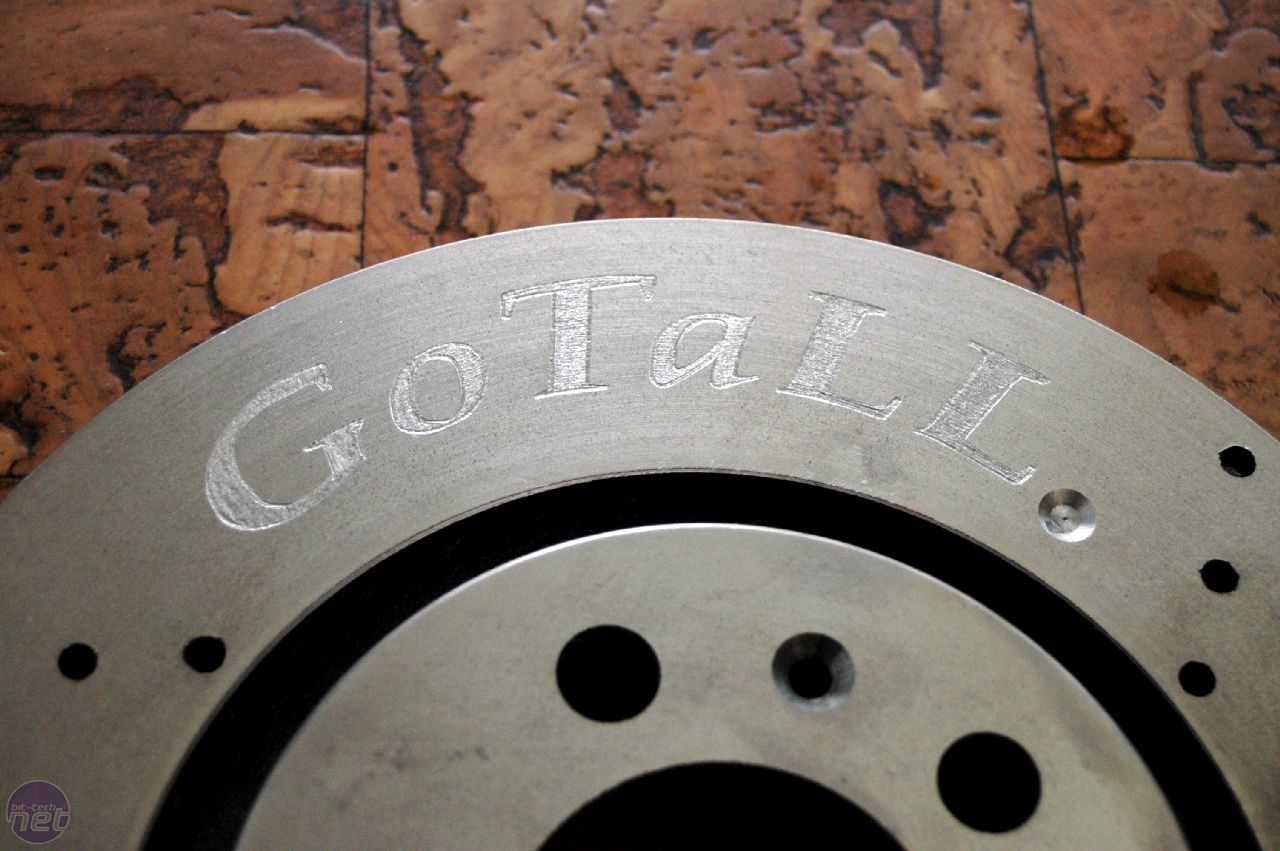
Simple but effective. However, I can tell you right now that I will never engrave a brake disc again in my life. If you thought it was tough to drill holes through, you just try and engrave a logo into one.
RELATED ARTICLES


MSI MPG Velox 100R Chassis Review
October 14 2021 | 15:04

Want to comment? Please log in.