

CORE BACK PLATE
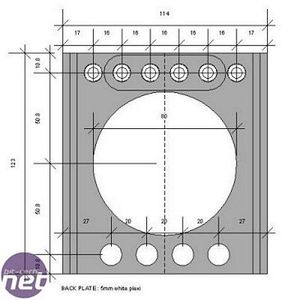
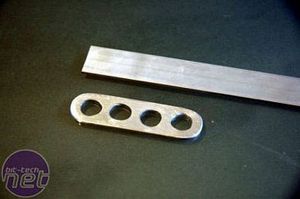
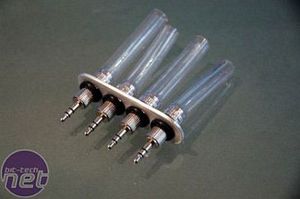
I had to get the four jacks in perfect alignment so they would plug in very easily when mounting the back panel. The solution was simple - a small piece of aluminium with four equally-spaced holes to hold the jacks the right distance apart.
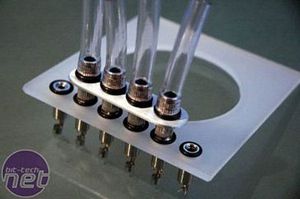
Sweet!
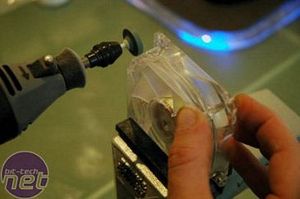
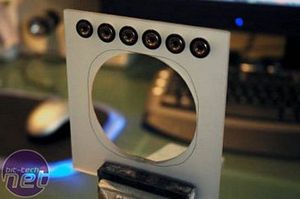
The 80mm fan also needed a little modding. With my trusty Dremel I chopped one side of the fan, so it would fit through the round hole... or so I thought: I had to make the hole a lot bigger! In the photo below you can see my markings on the round hole. The fan will be mounted from the outside - this way I get a nice finish on the outside of the panel and a little bit more room on the inside of the core; I need all the space I can get on the inside, because it is going to be very cramped when everything is in place.
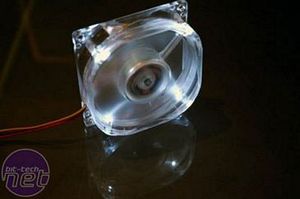
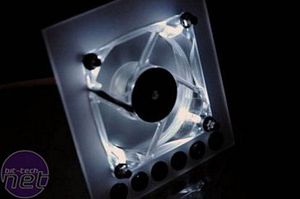
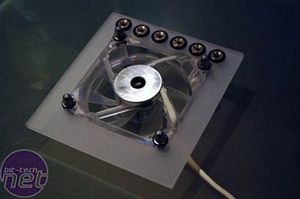
Time to put it all together: I finished off the fan with mounting bolts, each with a washer and a rubber grommet. Because this is an extraction fan to exhaust the hot air from inside the central core, I glued a large metal washer to the rotor hub to hide the green PCB inside.
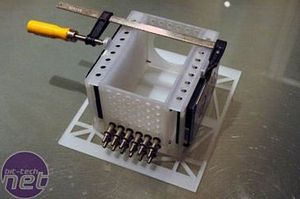
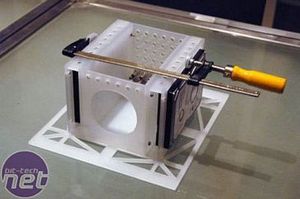
Here is the core pictured from both ends: the baseplate will be bolted onto the core.
With all this ready, it was time for a testfitting:
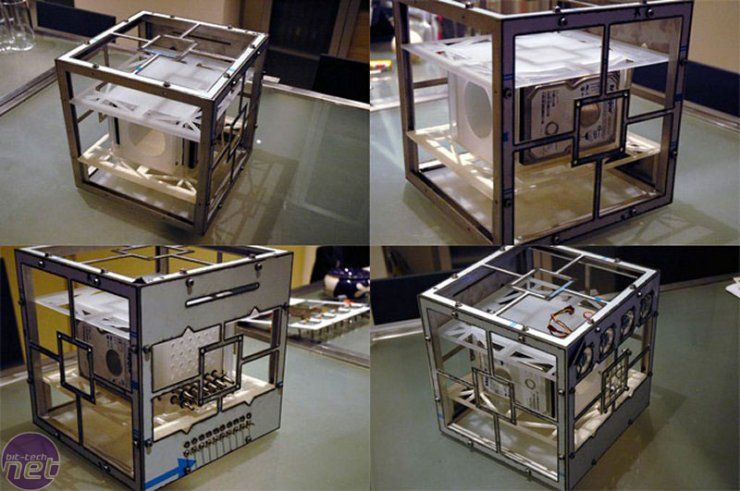
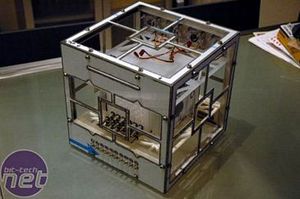
My CAD drawings really paid off: everything fitted perfectly! In later pages I will talk about the fans you see in the back of the case and the toggle switches on the front - other work awaits me!

MSI MPG Velox 100R Chassis Review
October 14 2021 | 15:04


Want to comment? Please log in.