

POLISHING THE DVD DRIVE
The polishing of the hard drives worked out quite well and I decided to do the same with the DVD drive. Actually it is almost going to be invisible, but just to know it\'s there is enough for me :-)
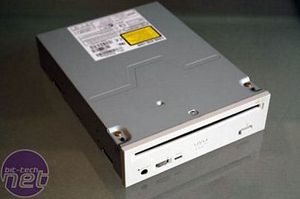
My slotload Pioneer 120S DVD-ROM drive
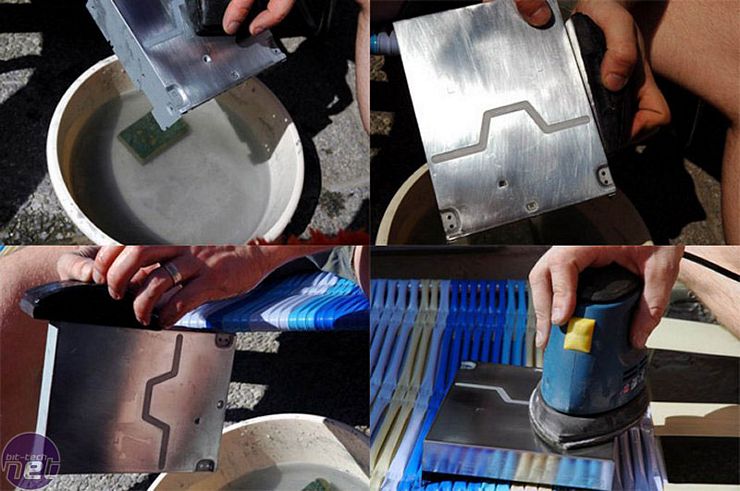
Out in the sun, removing the paint from the metal shell. I used a 600 wetgrid for it and after half an hour, all the paint has gone.
To get rid of the scratches I decided to polish it up with my sander.
It is starting to shine, but I\'m not there yet - more elbowgrease required!
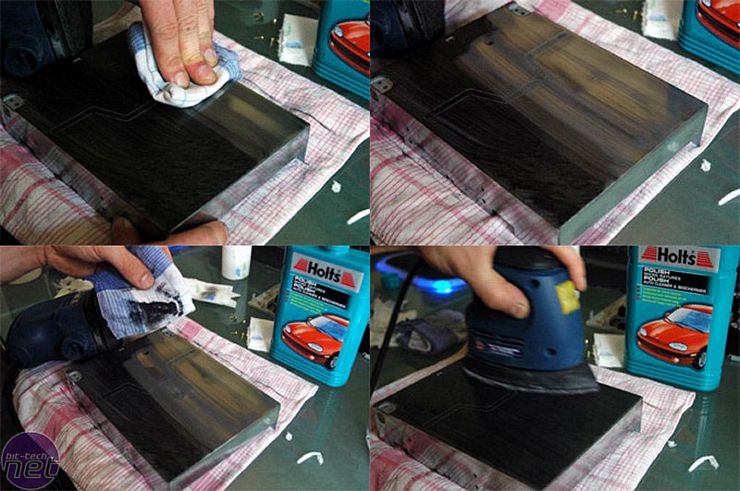
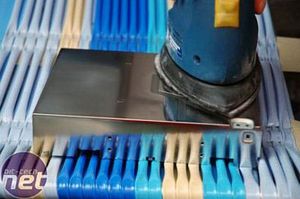
Here I am applying some Autopolish and polishing it up with the sanding machine. After doing this 4 times nearly all the scratches were gone and I called it quits.
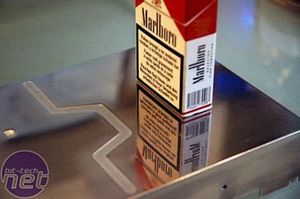
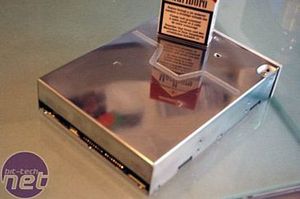
PS - Kids, don\'t smoke! ;-)
RELATED ARTICLES


MSI MPG Velox 100R Chassis Review
October 14 2021 | 15:04

Want to comment? Please log in.