

PROJECT RECAP
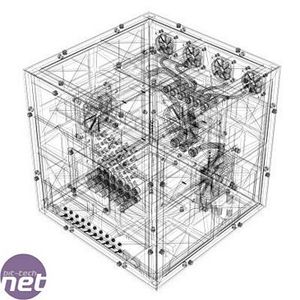
Before I present my Final Gallery, I want to give a quick recap of the project, for those who are reading this for the first time - click any of the images to read more detail about that part of the project.Some 6 months ago, having decided to base my project around the film Cube 2: Hypercube, I spent many weeks preparing a number of detailed plans and renderings of my idea...
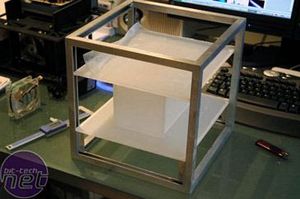

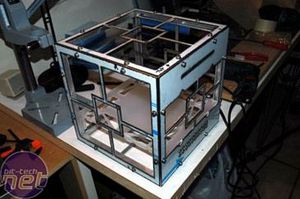
Stainless steel and white plexi was to be the theme, and once the panels returned from the laser-cutting shop, the basic frame came together quiet easily. Only there was much work still to be done.
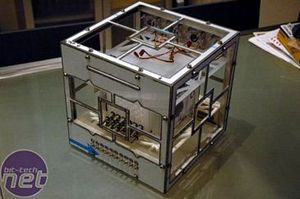

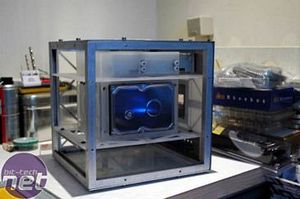
With the basic Core in place, both Hard Drives and the DVD drive where polished and mounted in custom-made brackets.
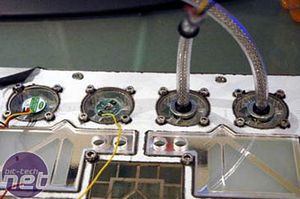
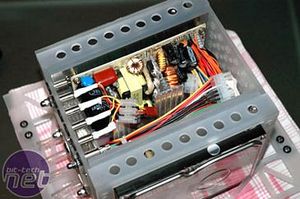
Ventilation primarily handled by two pairs of rear-mounted 40mm fans, creatively sleeved, and a PSU was stripped naked and squeezed into the Core between the two hard drives.
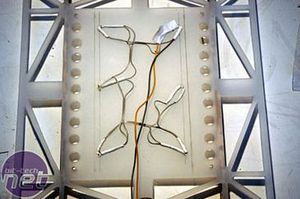
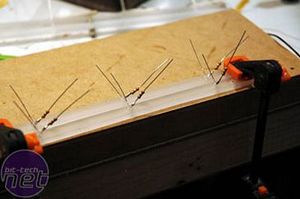
The lighting on this project was such an important aspect that I left nothing to chance - ultra-bright white LEDs were used throughout, and there wasn't much that didn't get at least a handful just for good measure. :)
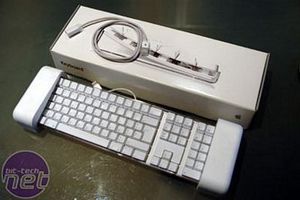
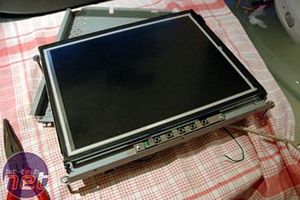
Not content with leaving the project at a mere "casemod", I modded an Apple Keyboard and perspex mouse to match the theme, and to cap things off, I built a themed frame to house a 12.1 inch touchscreen TFT.
Of course, I expect that if you are already familiar with this project, that you will have already skipped to the next page to view some of the final photos. However, if you want to experience the journey from beginning to end, go back to Part I and then read through Part II before turning the page...

MSI MPG Velox 100R Chassis Review
October 14 2021 | 15:04



Want to comment? Please log in.