
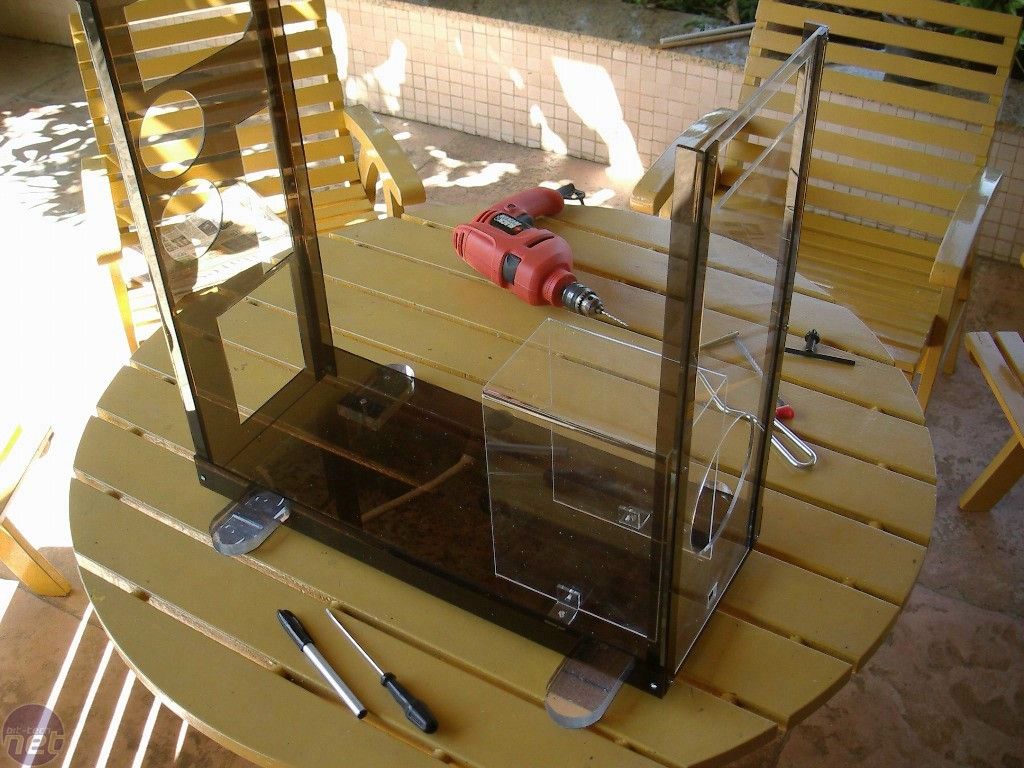
The Main Structure
I started off by mounting the structural parts, connecting the bigger parts by screws and checking out the dimensions. The attention to this phase would ensure the best stability and rigidity of the case.Every measurement was important, and there was really not a lot of room for error -- which is hard, because bent acrylic is not necessarily an exact science. Though you can get close to a ninety-degree bend, it will always have a little rounding to it. This makes screw hole positions especially dangerous, because it's easy to forget the slight bend and end up with a hole that's about a half of a millimetre off.
Because of that, I needed to be extra careful with my planning, particularly for the final hinge placements on the doors. Each half millimetre deviation from the right place for the first screws means bigger deviations for placing the last ones. Believe me, it’s a really arduous job!

Thanks to some careful measurement, the structural pieces of the case did not take long at all to come together. I used a smoked acrylic for the structural supports, as well as the back, top, and bottom of the case. The side panels and front panel are made from clear acrylic, but they'll get some considerable modifications as I start adding the accent pieces.
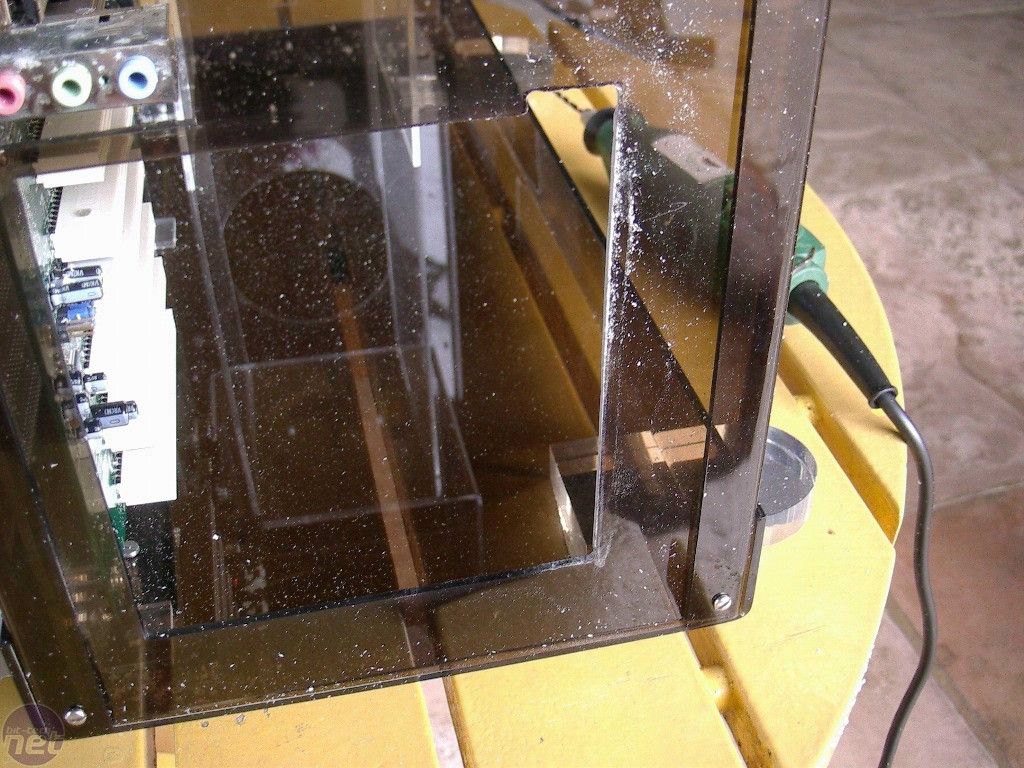
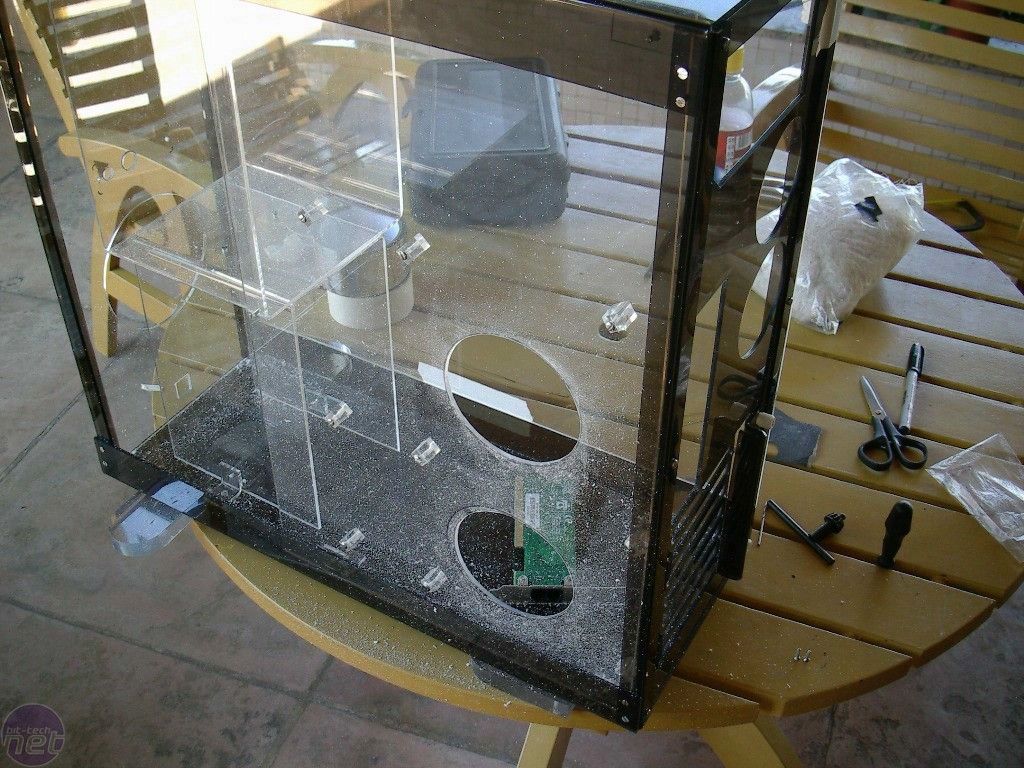
On the motherboard tray, I added two 80mm diameter holes for improving internal air circulation. This doesn't have any external ventilation, it's simply to help air move around inside of the case and provide a little cooling to the back of the motherboard. As so many motherboards have bunches of heatpipes stuck back here, I felt this was important. Rather than stand-offs, I used ten acrylic cubes, which are drilled to hold the screws for the motherboard. The extra elevation from the tray helps add to the airflow of the case.
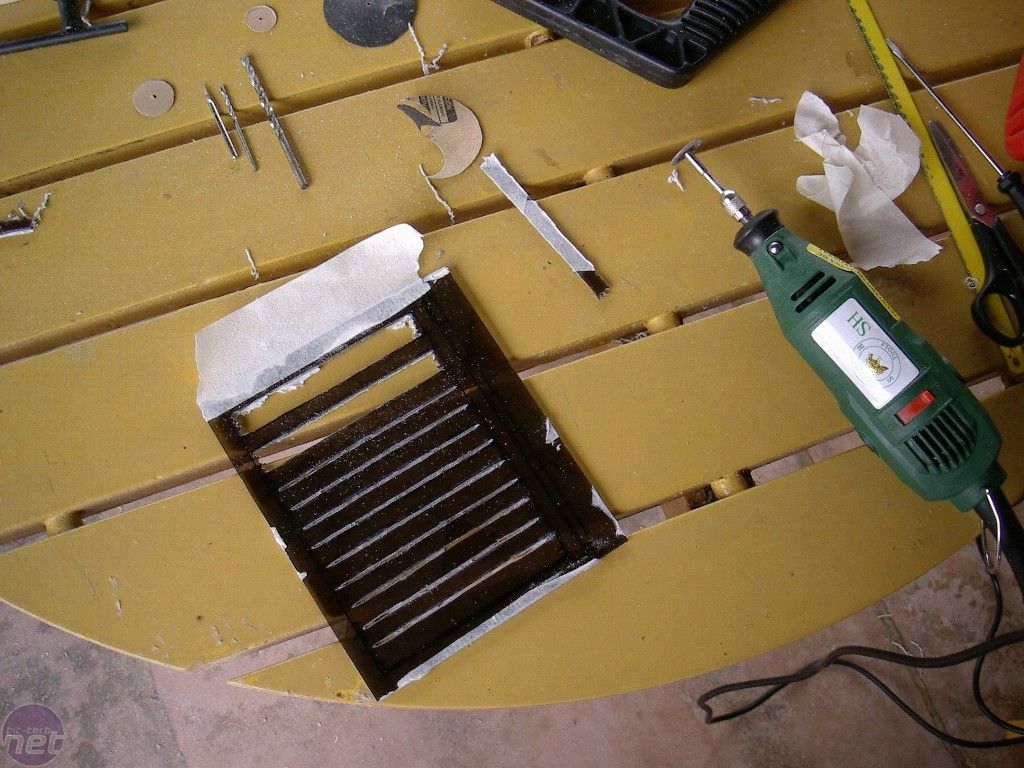

After some days of planning, I decided to create a new PCI board placement system. My idea was to build a "back door" system to make toolless PCI slots. To do this, I used a Dremel and carefully cut slot bays onto the new backplate. The parts were mounted and set firmly in place by two hinges and the slot plate rail piece, built from smoked acrylic.

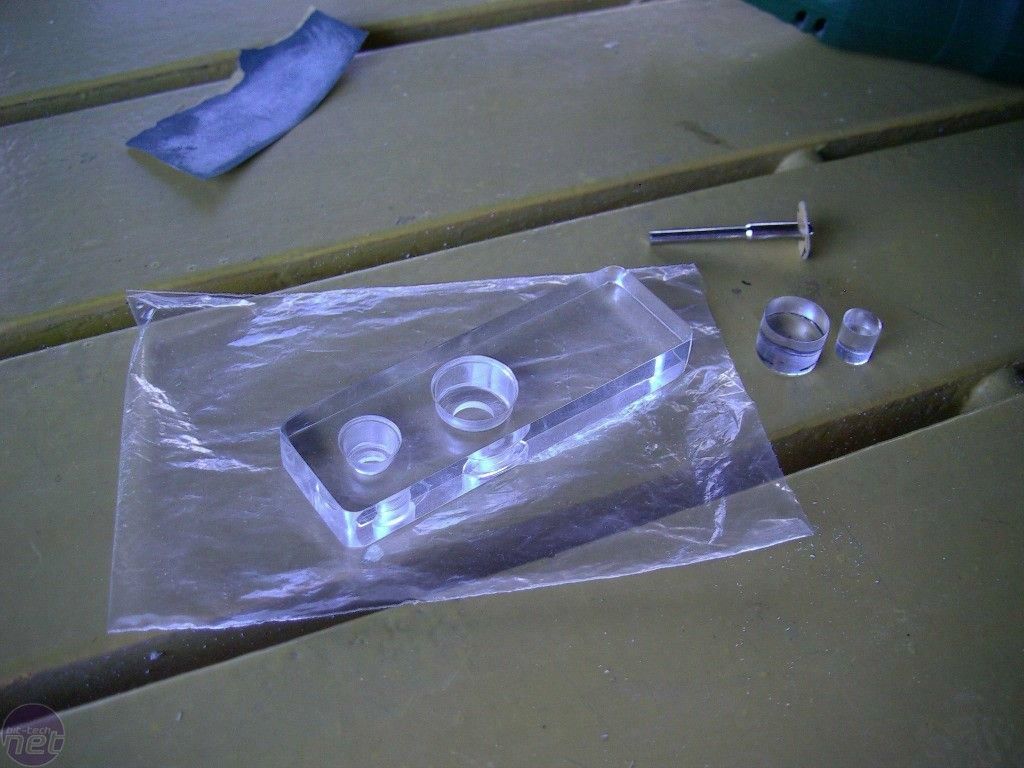
The next step was to build the front panel controls, using a 12mm acrylic piece. I had to sculpt each button hole manually to reach the desired shape. It was very, very hard work and took me three days to do what seems like a simple task.
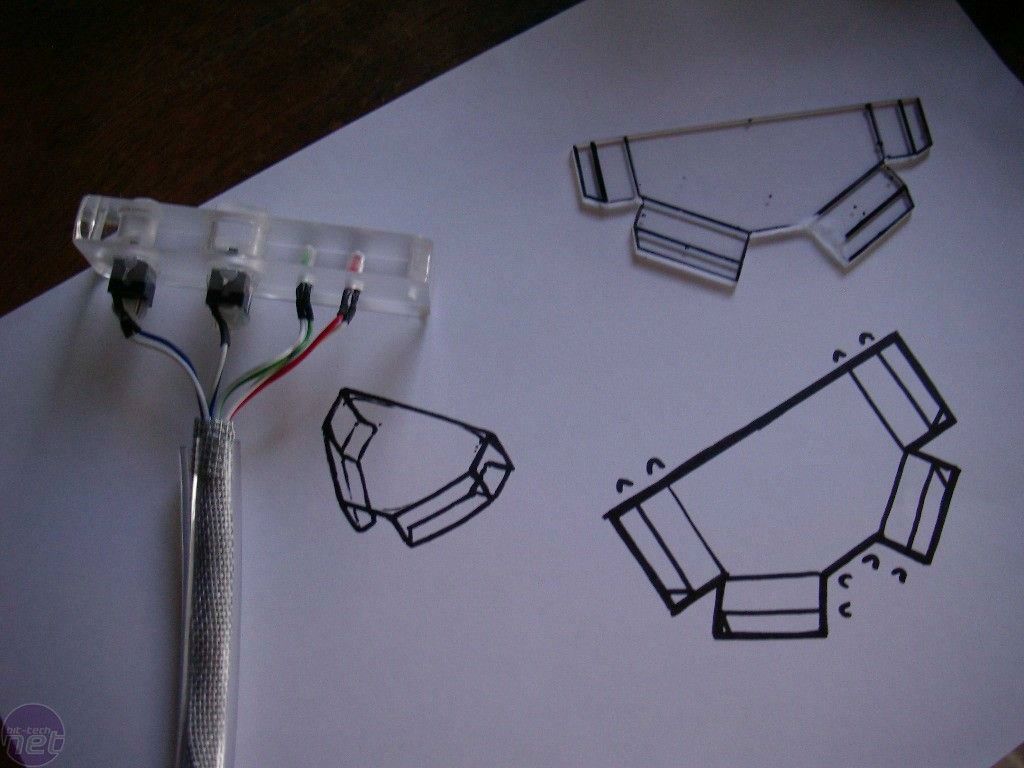
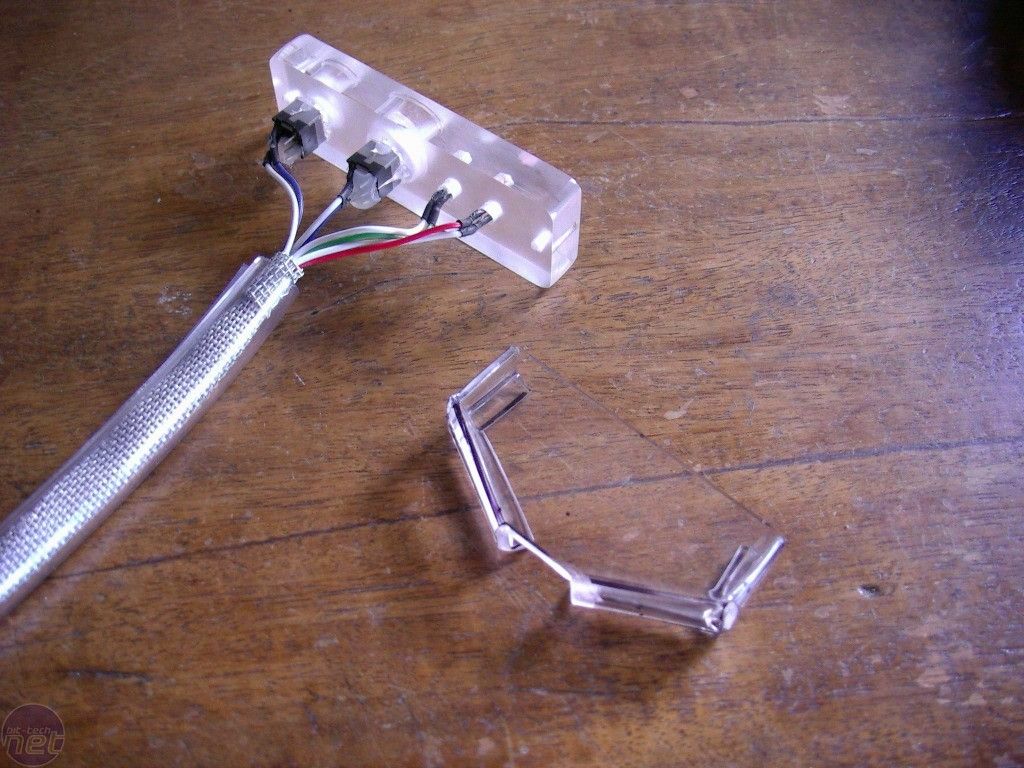
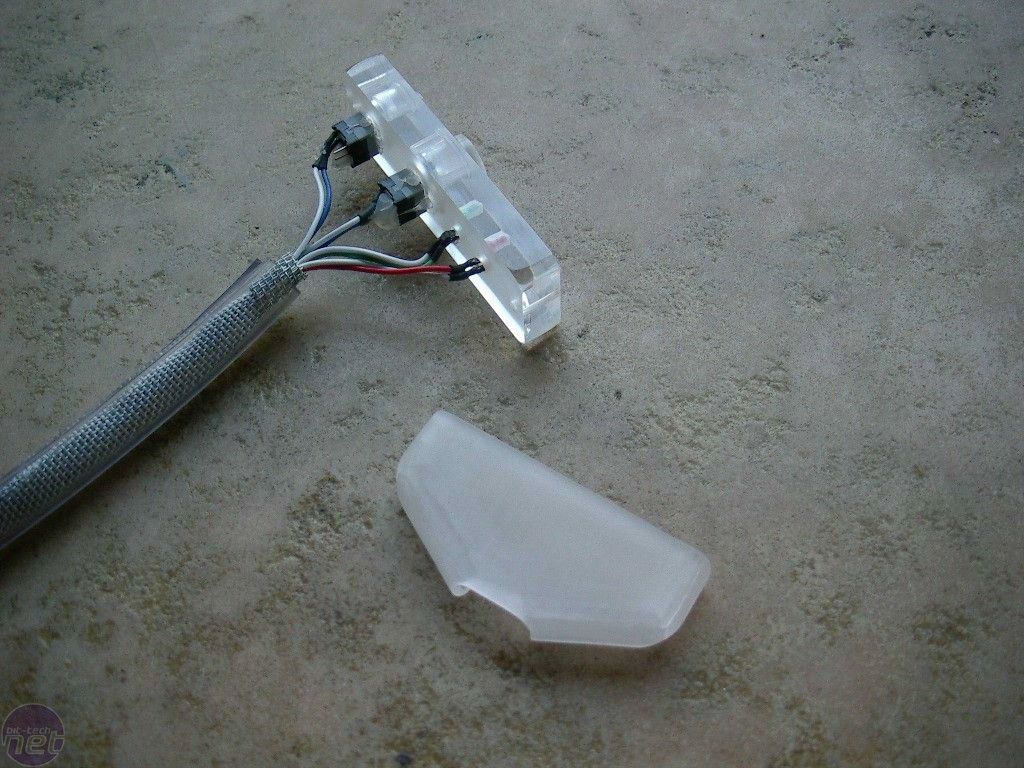

The face of each part was sanded to diffuse light, as I wanted a more uniform lighting effect. After finishing the panel, I secured the LEDs and switches with cold-heat glue. To hide the wires, I made a new foggy part that follows the original lines of the main panel.
RELATED ARTICLES


MSI MPG Velox 100R Chassis Review
October 14 2021 | 15:04

Want to comment? Please log in.